

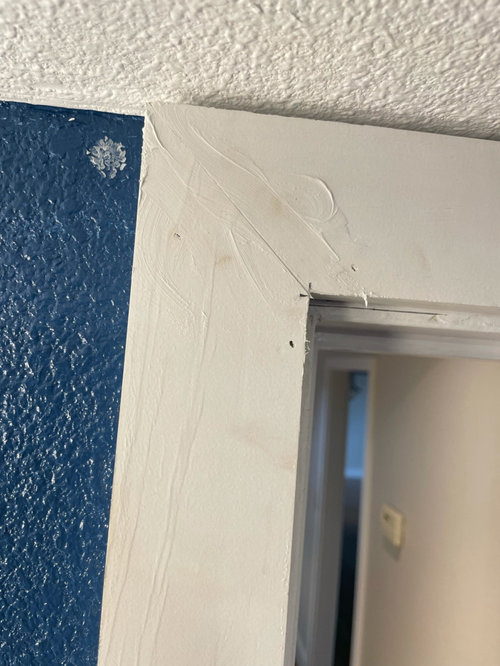
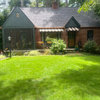
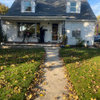
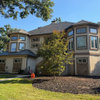
Can this be fixed, if so how?
5 years ago
Sort by:Oldest
Comments (18)
Related Stories
WALL TREATMENTS10 Ways Wallpaper Can Fix Design Quirks
Wallcovering is like good makeup. It can be used to disguise flaws and play up a room’s strengths
Full Story
BEFORE AND AFTERSHouzz Tour: Walls Come Down So an Apartment Can See the Light
A redistribution of space and a new color scheme turn a dreary former doctor’s office in Germany into a comfortable home
Full Story
THE POLITE HOUSEThe Polite House: What Can I Do About My Neighbors’ Trash Cans?
If you’re tired of staring at unsightly garbage way before pickup day, it’s time to have some tough conversations
Full Story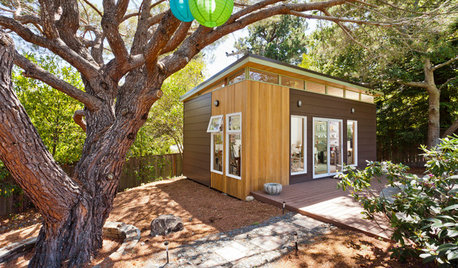
OUTBUILDINGSWe Can Dream: Look at All You Can Do With an Outbuilding
A bonus living space in the backyard expands the possibilities for work, family and fun. Here are 10 ways to imagine one
Full Story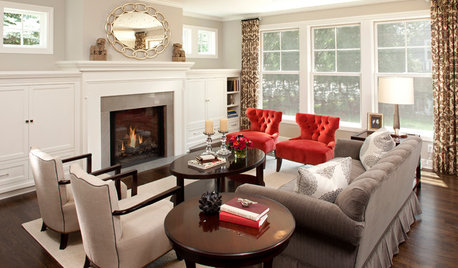
COLORColor Fix: Energize Your Room With a Colorful Club Chair
Less commitment than a sofa but making a major impact, club chairs in vivid hues can work wonders
Full Story
DECORATING GUIDESA Designer Shares His Go-To Decorating Fix
See what makes his choice the most versatile piece of furniture you can own
Full Story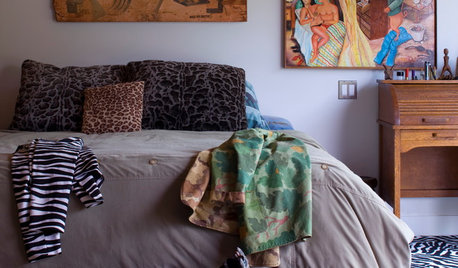
DECORATING GUIDESFix Those 'Whoopsies': 9 Fast Solutions for Decorating Mistakes
Don't suffer in silence over a paint, furniture or rug snafu — these affordable workarounds can help
Full Story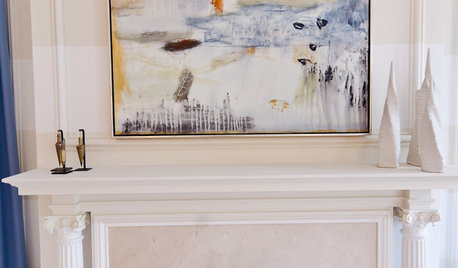
ACCESSORIES10 Ways to Fix Your Fireplace Up With a Screen Star
Make a match so right, you might see sparks — these unusual fireplace screens are worth the search
Full Story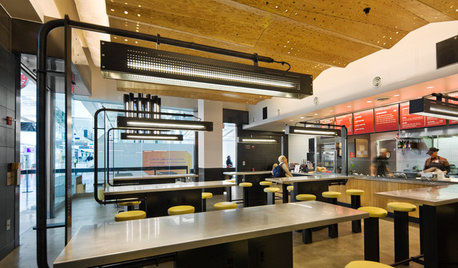
HOME TECHWhat Chipotle and Radiohead Can Teach Us About Sound Quality at Home
Contemporary designs filled with glass and concrete can be hostile environments for great sound quality. Here's how to fix that
Full Story
MOST POPULARSo You Say: 30 Design Mistakes You Should Never Make
Drop the paint can, step away from the brick and read this remodeling advice from people who’ve been there
Full Story

cat_ky
party_music50
Related Professionals
Jackson Home Remodeling · Fort Smith General Contractors · Ashland General Contractors · Chicago General Contractors · Mansfield General Contractors · Tallahassee Interior Designers & Decorators · Bowling Green Interior Designers & Decorators · Gaithersburg Interior Designers & Decorators · Minneapolis Interior Designers & Decorators · Mobile Bathroom Remodelers · Hopkinsville Bathroom Remodelers · Parkersburg Bathroom Remodelers · Lebanon Bathroom Remodelers · Gainesville Kitchen & Bathroom Designers · Pittsburg Kitchen & Bathroom DesignersJ LOriginal Author
J LOriginal Author
cat_ky
J LOriginal Author
kculbers
Home Reborn
cat_ky
J LOriginal Author
J LOriginal Author
kculbers
cat_ky
J LOriginal Author
LinaM
cat_ky
J LOriginal Author
LinaM