

Etsy plant graft question
3 years ago


Sort by:Oldest
Comments (4)

Related Stories
HOUSEPLANTSHow to Choose a Plant for Your Bathroom
An expert shares his top picks for houseplants that can stand low light and fluctuating temperatures
Full Story
GARDENING GUIDESGreat Design Plant: Tsuga Canadensis ‘Bennett’
Bennett Canadian hemlock thrives in shade and provides sculptural interest in eastern U.S. gardens
Full Story
GARDENING GUIDESGreat Design Plant: Cedrus Deodara ‘Feelin’ Blue’
The smallest of the cedars softens a hardscape while bringing structure and texture to the garden
Full Story
TREESHow to Plant a Fruit Tree
Great Home Project: Choose the best tree for your region, plant it to thrive and enjoy sweet rewards year after year
Full Story
LANDSCAPE DESIGNGreat Design Plant: Retreat to the Shade of Hardy Catalpa
Big foliage and a towering height provide a shady respite in summer, but that's not all hardy catalpa offers dedicated gardeners
Full Story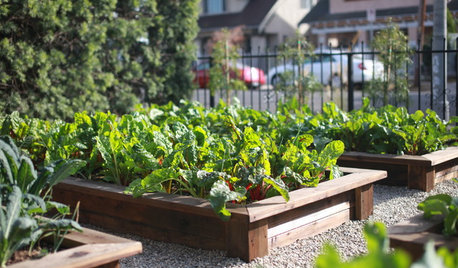
EDIBLE GARDENS10 Edible Greens to Plant Now
Get your cool-season garden started and look forward to harvesting lettuces, kale, arugula, chard and more
Full Story
GARDENING GUIDESPlanting Time! How to Order From the Garden Catalogs
Catalogs and online sources offer plants as well as seeds. Here’s what to look for before you buy
Full Story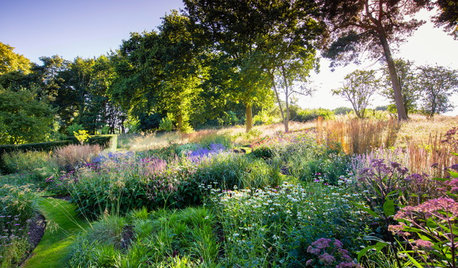
GARDENING GUIDESGot Allergies? 9 Plants to Avoid and What to Grow Instead
Having allergies doesn’t need to mean giving up your garden. Here are some options that will let you garden sneeze-free
Full Story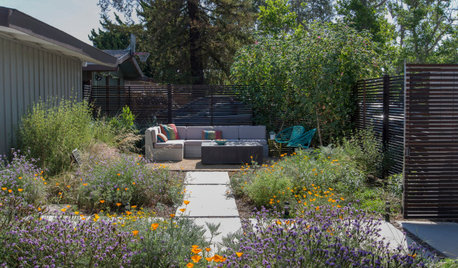
GARDENING GUIDESPlant Native Annual Flowers for a Garden Surprise Every Year
These 15 well-adapted native annuals can add spontaneity to gardens around the country
Full Story
ORGANIZINGPre-Storage Checklist: 10 Questions to Ask Yourself Before You Store
Wait, stop. Do you really need to keep that item you’re about to put into storage?
Full Story

bragu_DSM 5
cearbhaill (zone 6b Eastern Kentucky)Original Author
Related Professionals
Bloomington Landscape Architects & Landscape Designers · Cornwall Landscape Architects & Landscape Designers · Kankakee Landscape Contractors · Effingham Home Builders · Austin Home Builders · Plattsburgh Home Builders · Gillette Home Builders · Los Angeles Landscape Architects & Landscape Designers · Bronx Accessory Dwelling Units · DeRidder Architects & Building Designers · Bartlesville Architects & Building Designers · Utica Architects & Building Designers · Newport Architects & Building Designers · Oshkosh Architects & Building Designers · Spanish Fork Architects & Building Designerstapla (mid-Michigan, USDA z5b-6a)
cearbhaill (zone 6b Eastern Kentucky)Original Author