

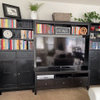
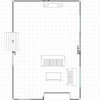
Help with wall gap
3 years ago
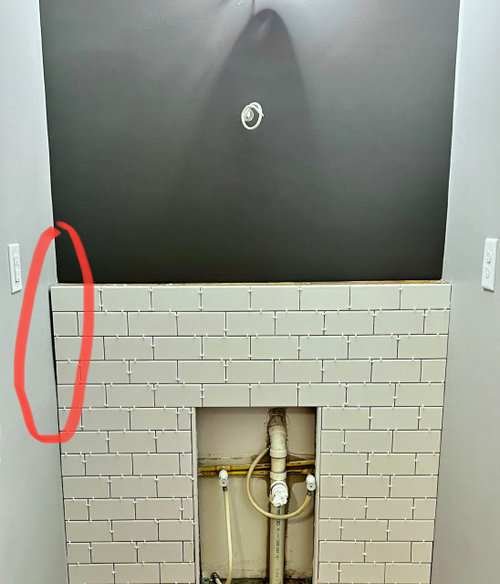
Featured Answer
Sort by:Oldest
Comments (18)
 PRO3 years ago
 3 years ago
Related Professionals
Cambridge Interior Designers & Decorators · Westminster Interior Designers & Decorators · Starkville Interior Designers & Decorators · Houston Interior Designers & Decorators · Mankato Interior Designers & Decorators · Missoula Interior Designers & Decorators · Owensboro Architects & Building Designers · Taunton Architects & Building Designers · Spokane Architects & Building Designers · Columbus Kitchen & Bathroom Designers · Muskogee Kitchen & Bathroom Designers · Temecula Kitchen & Bathroom Designers · Salisbury Kitchen & Bathroom Designers · Cowansville Bathroom Remodelers · Grand Island Tile and Stone Contractors- 3 years ago
 3 years agolast modified: 3 years ago
 3 years ago
 PRO3 years ago
 3 years ago
- 3 years ago
- 3 years ago
- 3 years ago
- PRO3 years ago
- 3 years ago


Related Stories
REMODELING GUIDES11 Reasons to Love Wall-to-Wall Carpeting Again
Is it time to kick the hard stuff? Your feet, wallet and downstairs neighbors may be nodding
Full Story
LANDSCAPE DESIGNGarden Walls: Dry-Stacked Stone Walls Keep Their Place in the Garden
See an ancient building technique that’s held stone walls together without mortar for centuries
Full Story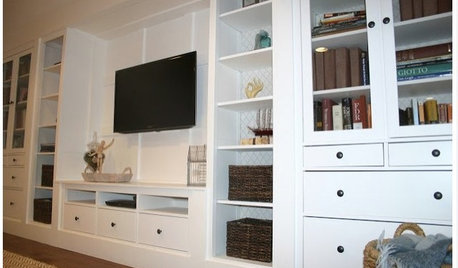
DIY PROJECTSHow to Create Your Own Semicustom Media Wall
Don’t let the price of a custom built-in stop you. Put one together with ready-made pieces and a little finish help
Full Story
LANDSCAPE DESIGN9 Of-the-Moment Materials for Modern Garden Walls and Fences
Cor-Ten steel, rock gabion and more help these garden fences keep an edge
Full Story
HOUZZ PRODUCT NEWSHow to Help a Client Visualize a Project When You Can’t Meet
Inspiration photos, mood boards, 3D models, sample boxes and even drones help bridge the gap in a remote client meeting
Full Story
MY HOUZZMy Houzz: Friends Help With the DIY Redo of a San Antonio Kitchen
A Texas homeowner and her pals transform the room with green painted cabinets, open shelving and shiplap walls
Full Story
DECORATING GUIDESIt’s a Mirror-acle! 5 Ways to Make Reflecting Walls Work
From the bedroom to the outdoors, mirrored walls can help reflect light and create the illusion of space
Full Story
DECORATING GUIDES10 Wonderful Ways to Colorize a White-Walled Room
Drawing a blank on white walls, you say? These decorating ideas can help your rooms come alive with color
Full Story
GARDENING AND LANDSCAPINGBoardwalks Bridge the Gap to Nature
Previously inaccessible parts of the landscape can roll out the welcome mat with help from these clever and beautiful pathways
Full Story

barncatz