

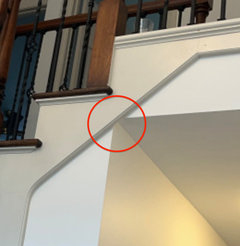
Help with metal balusters on stairs
last year
last modified: last year
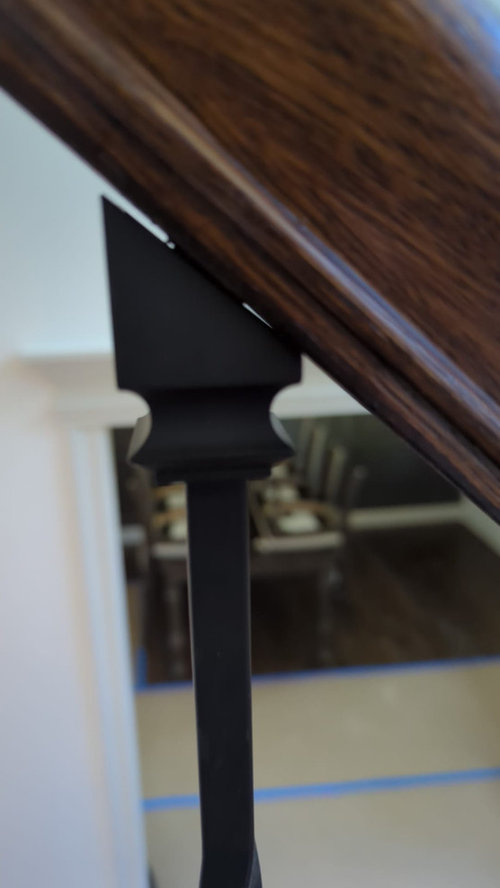
Featured Answer
Sort by:Oldest
Comments (14)
 PROlast year
 PROlast year
Related Professionals
Muskegon Home Remodeling · Hempstead Home Remodeling · Lagrange Home Remodeling · Daytona Beach General Contractors · Enfield General Contractors · Richmond Bathroom Remodelers · New Bedford Bathroom Remodelers · Amarillo Design-Build Firms · Montréal Design-Build Firms · Lagrange Home Builders · Pensacola Home Remodeling · Chula Vista Home Remodeling · Carbondale Bathroom Remodelers · Norfolk Bathroom Remodelers · Coldwater Bathroom Remodelers- PROlast year
 last year
- last year
- PROlast yearlast modified: last year
 PROlast year
- last yearlast modified: last year
- PROlast year
- last year
- last year
Related Stories
THE ART OF ARCHITECTUREHow to Use Perforated Metal in Your Home Design
The industrial material can bring strength, privacy and visual openness to stairs, walkways, screens and awnings
Full Story
REMODELING GUIDESArtful Stairs: Continuity in Steel
Ribbonlike Stairs of Steel Seem to Nearly Float on Air
Full Story
Design Opportunity: Style in the Stairs
From ornate iron scrollwork to spiral-cut wood dowels, balustrades are great supporting acts
Full Story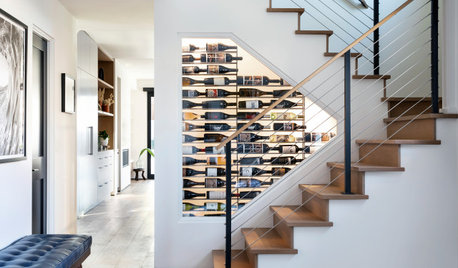
PHOTO FLIP20 Ingenious Wine Storage Areas Under the Stairs
Get your creative juices flowing with these ideas for wine racks and rooms built in spaces under stairs
Full Story
REMODELING GUIDESFlat-Sawn Balusters Give Railings All-Out Style
Showcase designs from Victorian patterns to hints at your hobby with this decorative wood railing detail
Full Story
STAIRWAYSBeautiful Stairs: Safety Meets Style
Solid to Near-Transparent Materials Turn the Humble Railing Into High Design
Full Story
HOUZZ TOURSMy Houzz: Going Heavy on the Metal for Industrial-Style Beauty
Steel and iron pieces mix with antiques and heirlooms in an eclectic Netherlands home
Full Story
MATERIALSClever Combo: Aged Wood and Metal
Mixing distressed wood and metal makes for a potent design combination in a single furniture piece or an entire room
Full Story
STAIRWAYSHow to Get Your Stair Runners Right
Add peace and quiet, beauty (and safety) with a pretty carpet on the stairs
Full Story
REMODELING GUIDESMaterials: The Advantages of a Metal Roof
Metal reigns in roofing style, maintenance and energy efficiency
Full Story
dani_m08