I just wanted to post to let anyone considering installing a stainless-steel backsplash know that it IS possible to do so with just screws (and no adhesive) so that the backsplash is removable.
When I searched this site before our install, all of the responses on the subject that I could find said that you needed to use adhesive, or you would run into countless problems. We had our backsplash installed back in May of 2021, so I now (in 2024) feel pretty confident saying that it works long term.
We were doing our kitchen remodel in stages, and I just knew that at some point, I was going to want to take the backsplash off. And, sure enough, at some point we had to have a vent installed so that we could go from our ventless range hood to a vented one. If we had had to destroy the stainless backsplash to do the work, I would have had a heart attack. Instead, our vent guys simply unscrewed the backsplash, installed venting, and then screwed the backsplash back on.
Because we did our backsplash as a standalone project instead of as part of a full kitchen remodel, we were able to use a sheet metal/HVAC specialist instead the backsplash being just another project for a general contractor. Because of this when I talked to our guy about installing with just screws, he said sure, no problem. We used Dan Martinelli of State Sheet Metal Works, Inc., 6084 Mission St, Daly City, CA, 94014, statesm2@comcast.net, https://www.statesheetmetalworks.com/, 650-755-5706. He was awesome!
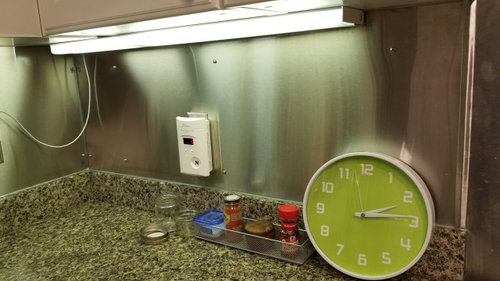
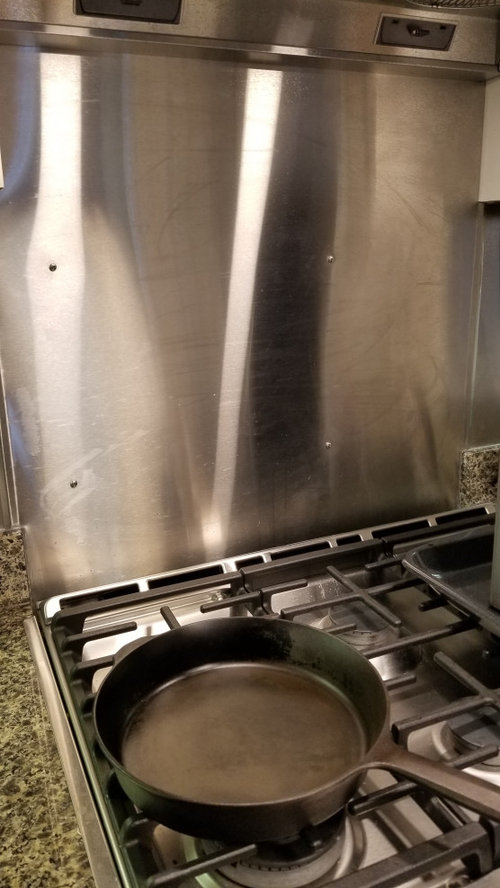
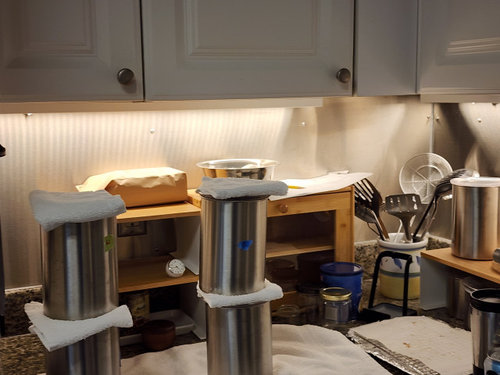
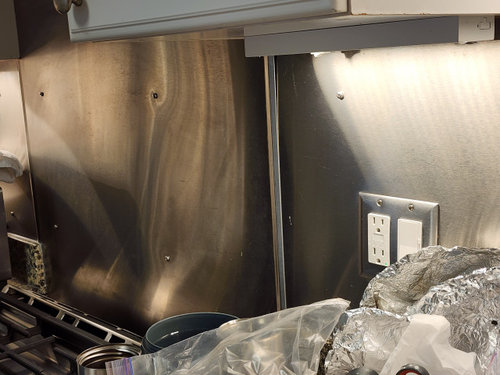
I apologize that the pictures aren’t of a pristine kitchen, but some of the comments said that using screws wouldn’t work behind a range because of the expansion/contraction resulting from the heat of the range. I wanted to cook for a while after our install to check on that before posting about our install. We haven’t experienced any such issues.
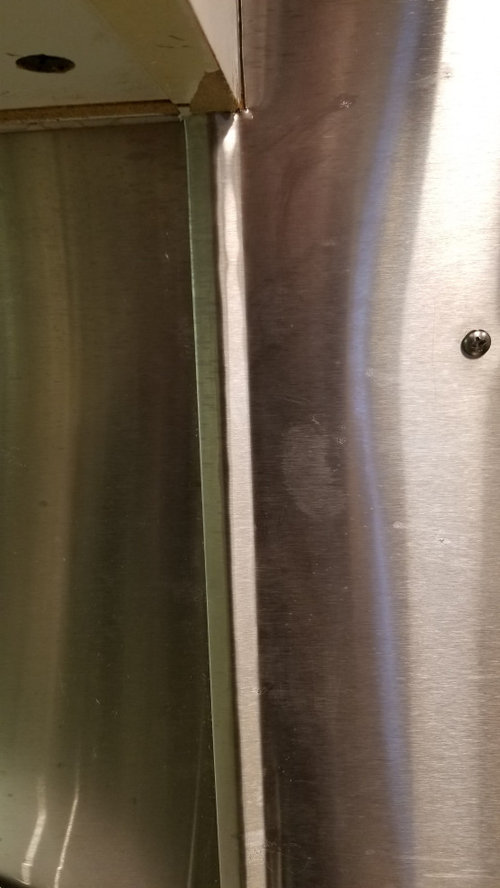
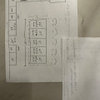
And that’s because our stainless guy had a very clever solution to that problem. Where the piece behind the stove stops and the stainless pieces on either side begins, he cleverly left a gap between the pieces and then he created “wings” on the piece behind the range that extend out over and sit on top of the adjoining pieces to cover the gap in a finished looking way while allowing the piece behind the stove to expand and contract into the gap between the pieces. You can see this in the attached pictures.
Our stainless guy screwed the screws into the studs in the wall behind. All screws are stainless steel, #10. He drilled slightly oversized screw holes for the part of the backsplash behind the range, again to deal with the expansion/contraction during cooking. At no time, however, do you see any space around the screw head.
Everywhere else where a piece of sheet metal meets another piece of sheet metal, he used a commercial grade, stainless steel colored silicone. If you’re in San Francisco, he bought it from Center Hardware on 3rd Street.
Other commentators cautioned about “oil canning” that might occur if you don’t use adhesive, which according to Google is visible waviness of flat areas of sheet metal. As I understand it, it’s akin to the shimmering effect that you might see if you looked at a reflection on a surface of a pot of oil. If that’s what oil-canning means, it’s not that noticeable in real life and doesn’t bother us.
You can kind of see it in the reflections in the photos.And if I hadn’t been looking for “oil canning” because of reading the comments, I would not even have noticed the slight waviness. It doesn’t even register in my awareness, as a flaw or otherwise. But your mileage may vary.
If you really want to avoid even that slight visual effect, you could try using a heavier gauge piece of stainless steel. We used a 0.22-gauge, no. 4 brushed finish. And after you finish, if you don’t like it, you can take the backsplash down (because it's removable!), apply adhesive, and put it back up .
Finally, of course, the screws mean that it’s not a smooth expanse of stainless steel but is interrupted by screws. Since we’re going for a commercial look with the stainless steel in the first place, the visible screws don’t bother me. And again, the whole reason for doing this is so that if I need to remove a section of backsplash, I can do so without destroying the whole wall.
The third picture shows the detail of the "wings" my stainless guy created. The stainless on the right is behind the range and the "wings" are in the middle of the photo running vertically. The "wings" are attached to the stainless on the right and they extend over a small gap between the piece on the right and the piece on the left and rest on top of the piece on the left.
As the piece on the right expands and contracts because of heat, the wings move left and right over the stainless piece on the left, but you never see a gap between the two stainless pieces.



John Liu
John Liu
Related Professionals
South Sioux City Home Remodeling · Erie Kitchen Remodelers · Sugar Land Bathroom Remodelers · Elgin Bathroom Remodelers · Springfield Interior Designers & Decorators · Fall River Interior Designers & Decorators · New York City Architects & Building Designers · Evansville Kitchen & Bathroom Designers · Jamestown Kitchen & Bathroom Designers · Montgomery Kitchen Remodelers · Roanoke Kitchen Remodelers · Lafayette Kitchen Remodelers · Rochester Custom Countertops · Youngstown Custom Countertops · Platteville Custom Countertopskazu1234Original Author
John Liu
la_la Girl
Andrea