

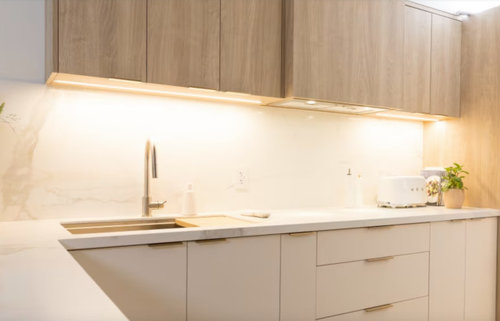
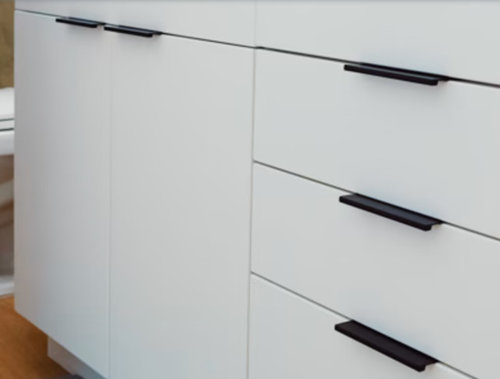
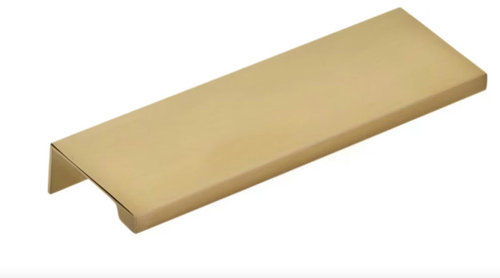
Emtek Modern Edge Finger Pulls
yesterday
Sort by:Oldest
Comments (5)
Related Stories
KITCHEN DESIGNGet a Grip on Kitchen Cabinets With the Right Knobs and Pulls
Here's how to pair the right style, type and finish of cabinet hardware with your kitchen style
Full Story
MOST POPULARModern Party Etiquette for Hosts and Guests
Learn the mannerly way to handle invitations, gifts and even mishaps for a party that's memorable for the right reasons
Full Story
DECORATING GUIDESHow to Pull Off a Minimalist Look Without Sacrificing Your Style
Minimalism doesn’t always mean white and characterless — it’s about playing favorites
Full Story
KITCHEN DESIGNA Modern Kitchen Inspired by Edwardian Style
Attention to detail and functionality make for a kitchen that is as beautiful to work in as it is to look at
Full Story
DIY PROJECTSMother’s Day DIY: A Modern-Glam Serving Tray
Make a chic personalized tray for Mom to corral her favorite things
Full Story
KITCHEN MAKEOVERSKitchen of the Week: Modern, Playful and Full of Personality
An architectural designer helps design aficionados create a kitchen that reveals its materials and craftsmanship
Full Story
BATHROOM MAKEOVERSBathroom of the Week: Scandinavian Modern Style on a Budget
A designer creates a warm and airy 50-square-foot master bath in a midcentury Tampa, Florida, home
Full Story
DOORSMini Project: How to Get a Live-Edge Barn Door
Introduce space-saving natural beauty with these tips on selecting and installing a live-edge slab door
Full Story
VACATION HOMESRoom of the Day: A Modern Lodge Embraces Universal Design
Homeowners design their Washington family vacation home to be accessible for their daughter with special needs and a mother in a wheelchair
Full Story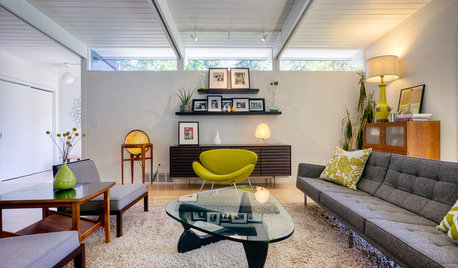
MOST POPULARWhy We Love Midcentury Modern Design
There's a method to all this 'Mad Men'-ness — just look to psychology, tough times and, believe it or not, Apple
Full Story
Mrs. Beasley
HU-478867315Original Author
Related Professionals
Clarksdale Interior Designers & Decorators · Seattle Interior Designers & Decorators · Milwaukee Architects & Building Designers · Toms River Kitchen & Bathroom Designers · Killeen Kitchen & Bathroom Designers · Burlington Kitchen & Bathroom Designers · Flint Kitchen & Bathroom Designers · Decatur Kitchen & Bathroom Designers · Flagstaff Kitchen & Bathroom Designers · Kissimmee Kitchen Remodelers · Longview Kitchen Remodelers · College Station Custom Countertops · Houston Custom Countertops · Hartford Custom Countertops · Sioux City Custom Countertopspalimpsest
K Laurence
JAN MOYER