
Search results for "Apply believing" in Home Design Ideas
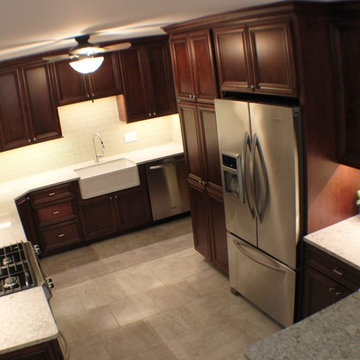
 Village Home Stores
Birch cabinetry by Koch in the "Legacy" doorstyle and stained "Burgundy" with a black accent glaze applied. Appliances by KitchenAid. - Village Home Stores

 Alison Kandler Interior Design
Photography by Mark Lohman
Example of a large cottage chic home design design in Los Angeles
Example of a large cottage chic home design design in Los Angeles
Find the right local pro for your project
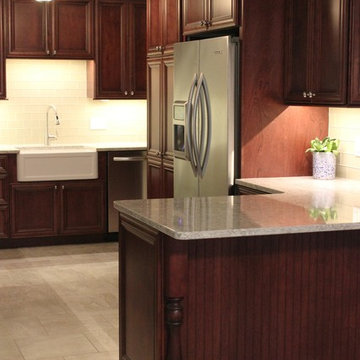 Village Home Stores
Birch cabinetry by Koch in the "Legacy" doorstyle and stained "Burgundy" with a black accent glaze applied. Cambria Quartz counters in the "New Quay" design. Appliances by KitchenAid. - Village Home Stores
 Village Home Stores
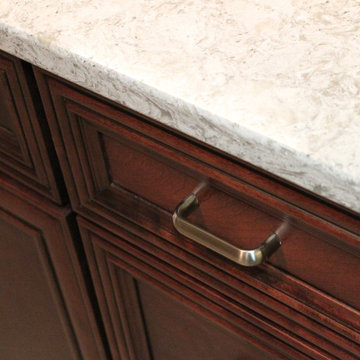
Birch cabinetry by Koch in the "Legacy" doorstyle and stained "Burgundy" with a black accent glaze applied. Cambria Quartz tops in the "New Quay" deisgn
 Manhattan Home Design
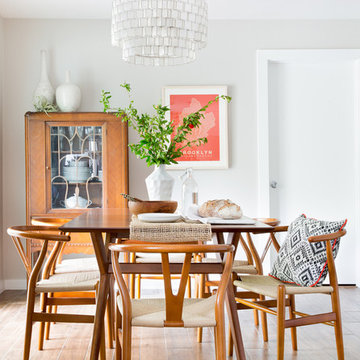
As the kitchen is in the center of the house, we finished it with wish bone chairs they perfectly complement industrial wooden table they have. We kept the old chandelier and vase.
 Eldorado Stone
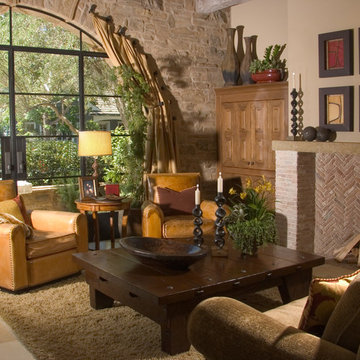
It was a mutual love of Italy, specifically the Tuscan countryside, that inspired renowned architect Mark Scheurer and his wife, Jane, to build their dream home in a simplistic, but elegant style reminiscent of a centuries old Italian farmhouse. Scheurer’s aim was to bring light, air, and an indoor/outdoor feeling into the home while preserving privacy throughout this rustic Southern California home, all of which was achieved a lot in part due to the implementation of Eldorado Stone.
The use of stone was a predominant element throughout the design. Scheurer used 2,800 square feet of a custom blend of Eldorado’s Veneto Fieldledge and Hillstone profiles, both of which were applied with an overgrout technique, creating a sense of ageless authenticity and textural beauty. Another 500 square feet was used in the interior to create a dramatic focal point of exposed stone in the living room and boast large, arching windows that open up the living room and filter in light. Upstairs, the master bedroom continues the home’s rustic Italian design with exposed stone walls that reach to the beamed ceiling above.
Although Scheurer is in a neighborhood that request for real products to be used in home construction, he had no problem obtaining approval to use Eldorado Stone, which speaks volumes about Eldorado’s beauty and believability. No one doubted the authenticity of the product. In fact, Scheurer believes that Eldorado is even better than natural stone in that the color palette is easily controlled as well as consistent.
Eldorado Stone Profile Featured: Veneto Fieldledge and Custom Hillstone with an overgrout technique
Architect: Scheurer Architects, Newport Beach, CA
Website: www.msa-arch.com
Builder: RS Construction Company, Corona del Mar, CA

Sponsored
Delaware, OH

Buckeye Basements, Inc.
Central Ohio's Basement Finishing ExpertsBest Of Houzz '13-'21
 Village Home Stores
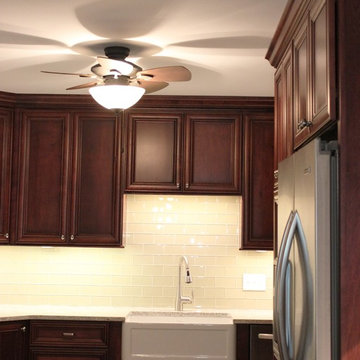
Birch cabinetry by Koch in the "Legacy" doorstyle and stained "Burgundy" with a black accent glaze applied. Appliances by KitchenAid. - Village Home Stores
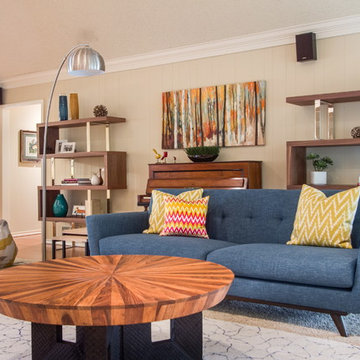
 ML Interiors Group
This family room offers plenty of conversation space with a couple of cozy stuffed ottomans for the kids. Designed and styled by Michelle Lynne INTERIORS Group. Unique Exposure Photography
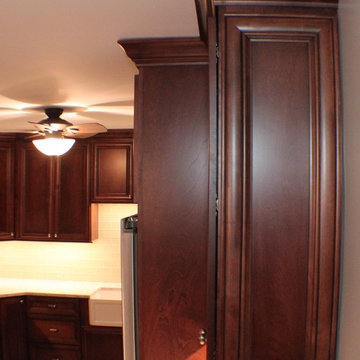 Village Home Stores
An integrated end panel with applied door adds dimension and a finished look. Cabinetry by Koch in the Birch "Legacy" door, "Burgundy" finish with black accent glaze.
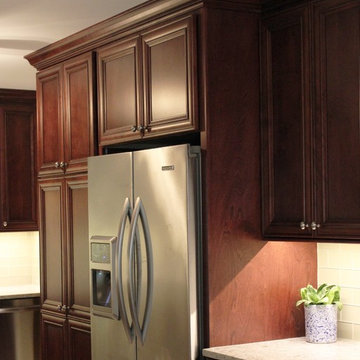 Village Home Stores
Birch cabinetry by Koch in the "Legacy" doorstyle and stained "Burgundy" with a black accent glaze applied. Appliances by KitchenAid. - Village Home Stores
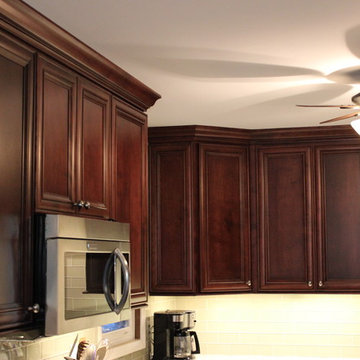 Village Home Stores
Birch cabinetry by Koch in the "Legacy" doorstyle and stained "Burgundy" with a black accent glaze applied. Appliances by KitchenAid. - Village Home Stores

 Tile Doctor Ltd
My client had recently moved into a bungalow in Godalming where they inherited the Limestone tiled kitchen floor pictured below. The previous owner had not looked after the floor very well and by the time they moved in it was pretty filthy. Limestone is a natural but porous stone where, unless sealed, attracts dirt into its tiny holes and as you would expect Cream Limestone shows the dirt easily. The protective seal had long since worn off this floor and was now ingrained with dirt it was now looking permanently dirty.
Before quoting I conducted a small test clean to work out the best method to renovate the stone and this also gives the client a good idea of how the floor will look after its finished. They were delighted with the initial result and happy with my quote gave me the go ahead.
On arrival first I helped the customer remove his tables and chairs and I then set about tapping up the plinths in the kitchen and the skirtings to protect them from cleaning solutions and equipment. The cleaning equipment I have invested in works more efficiently in open spaces, so it’s worth spending time at the beginning preparing the area first.
Next, I used a deck brush to apply a mixture of water and Tile Doctor Pro-Clean to the dirtiest tiles. Tile Doctor Pro-Clean works well when left to dwell for ten minutes or so. I also applied the same product to the grout over half the room so it could get a head start breaking down the dirt. Then using a stiff brush, I scrubbed the grout clean. Once it was worked loose, I extracted the now dirty solution with a wet vacuum.
With the grout clean I turned my attention back to the tiles with where the Pro-Clean had been left to soak in. Giving them a quick brush, I noted that what appeared to be permanently ingrained dirt had now come loose. To get the tiles really clean I used a 17″ rotary machine fitted with diamond encrusted buffer pads. This removes the tiny dots of dirt on the stone and with it comes any existing sealer and dirt.
A set of four burnishing pads were used, starting with a 400-grit, and finishing with a 3000-grit pad. The first 400-grit pad is coarse, and the grits become smoother as you work through the set. Water is used to lubricate the process and the released dirt is extracted in-between using the wet vacuum mentioned earlier. This process does take time but by the end of day one the floor was looking a lot better.
The next step is sealing however the floor needs to be bone dry for that, so I left a couple of industrial fans in place and left the Limestone to dry off overnight.
Returning the following day my first job was to ensure the floor was dry by taking multiple moisture readings with a damp meter. The readings were good, so I was able to make a start applying the sealer which for this floor was Tile Doctor Ultra Seal.
Ultra-Seal is an impregnating sealer that soaks into those small holes in the stone I mentioned earlier, I occupies the pores thus preventing dirt from becoming ingrained. The other feature of this sealer is it doesn’t change the appearance or colour of the stone leaving it with a very natural finish. Two coats of sealer were applied, leaving the seal to dry between each coat.
After the final coat was dried, I gave it a final polish with a soft nylon pad and the floor was finished. Before leaving we discussed after care which for this floor, I recommended Tile Doctor Stone Soap and I requested that the customer to stay out of the kitchen for a couple of hours while the sealer cured. They were over the moon with the new floor and could not believe the difference it had made to their kitchen.
Rupert Mcleod
West Surrey Tile Doctor

Sponsored
Columbus, OH

Hope Restoration & General Contracting
Columbus Design-Build, Kitchen & Bath Remodeling, Historic Renovations
 Tile Doctor Ltd
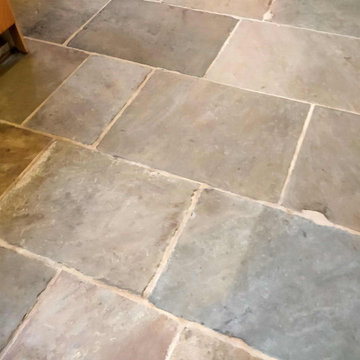
The owner of this period cottage in the old market town of Tadcaster near Leeds, had what was once a beautiful Yorkshire stone floor in the kitchen. It has been a long time since it had been given a proper clean so over the years and with the Kitchen being a high traffic area the whole floor including the grout had darkened and he now wanted it refurbished in time for Christmas.
I visited the property to assess what needed to be done and could see straight away that any protective sealer that was once on the floor had long since worn off. In fact, it was so consistently dirty with years of built-up grease and dirt I had to wonder if one had ever been applied.
I explained what the floor needed was a really deep intensive clean and then a sealer applied to make it easy to keep clean. The problem with most tile and stone is its porosity and if left unprotected dirt easily becomes lodged into its pores making cleaning a struggle.
To prove the difference that can be achieved and to allow me to work out a process on which I could base an accurate quote I ran a test clean on part of the kitchen floor. The test clean went very well, the difference was remarkable, and the cleaned section really stood out. Pleased with the potential of a clean floor they accepted my quote, and we pencilled a date in the diary.
I returned on the appointed date and began by removing the kickboards from under the kitchen units to protect them from splashing. Next, I set about spaying the floor with a strong dilution of Tile Doctor Pro-Clean, this is a purpose made tile and grout cleaner that eats into the grease and dirt so it can be removed. This product works best if you leave it for ten minutes before scrubbing in using a heavy-duty machine fitted with a heavy-duty brush. The soil released from the floor was then extracted using a wet vacuum.
The Pro-Clean did a good job on the grout however it was clear something stronger was required to really get the stone clean, so I stepped up a gear and applied Tile Doctor Remove and Go using the same process as before. This is a really good product for removing deeply ingrained grease and dirt.
The final step of the cleaning process was to give the stone and acid wash using Tile Doctor Grout Clean-Up to remove old grout haze and other mineral deposits; additionally, being an acidic product, it counters the alkaline cleaning products used earlier neutralising the pH level of the floor and leaving it ready for sealing.
Before sealing I like to discuss the different products available and the finishes they can provide. In this case my clients’ main concerns were that they wanted the stone to look natural and easy to maintain going forward.
With this in mind, Tile Doctor Seal & Go Extra was chosen, it’s a modern acrylic-based sealer that brings out the natural colours in the stone and gives a very slight smooth finish. The protection it provides will prevent dirt becoming ingrained int the pores of the stone and ensure the floor is easier to maintain. Several coats were applied, until we achieved the required finish.
The deep cleaning process and fresh sealer transformed the stone floor bringing out its original beauty and my customer couldn’t believe the difference in the floor and was highly delighted.
For aftercare I gave the client a bottle of Tile Doctor Neutral Cleaner, this product is pH neutral so it will clean the floor but won’t damage the sealer. Often people use household cleaners for cleaning tiled floors, but due to the strong chemicals they contain, they can do more harm than good by slowly stripping away the protective sealer and taking the floor back to square one. Tile Doctor Neutral Tile Cleaner is reasonably priced, and the concentrated formula means a small amount goes a long way so it’s well worth using.
This was a pleasurable job for me as it was good to see the floor transform from dull and lifeless to clean and showing the natural colour and beauty of the York stone, and always lovely to have another satisfied client.
Simon Testa
North East Yorkshire Tile Doctor
 PRASADA | Kitchens & Fine Cabinetry
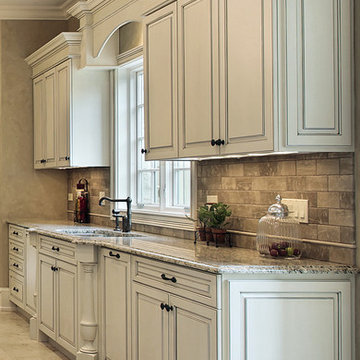
Lovely antique white kitchen with glazing. Features granite countertops, sink area with clipped corners and decorative arched valance, marble floors and stone tile backsplash. West Oakville
 Touch Interiors by Bronwyn Poole
Designer: Bronwyn Poole
Photographer: Matt Craig
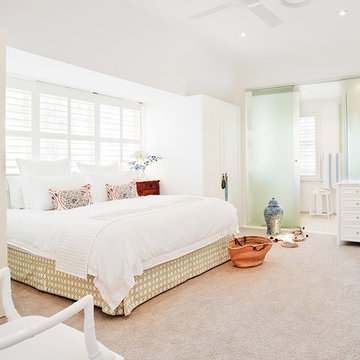
Example of a beach style master carpeted bedroom design in Los Angeles with white walls
Example of a beach style master carpeted bedroom design in Los Angeles with white walls
 LUX Design | Interior Design Build
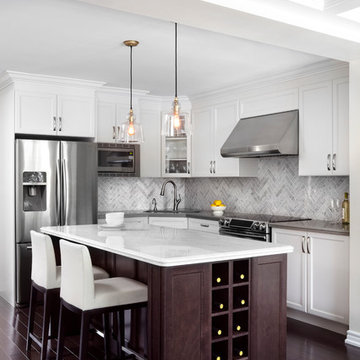
This white kitchen is grounded by the dark espresso island. Carrara marble island with wine storage on the side create a beautiful contrast to the white cabinets with the silestone grey countertops and herringbone backsplash tile. This kithchen renovation included the removal of a load bearing wall to open it up and make it feel bright and airy.
Sponsored
Columbus, OH
Hope Restoration & General Contracting
Columbus Design-Build, Kitchen & Bath Remodeling, Historic Renovations
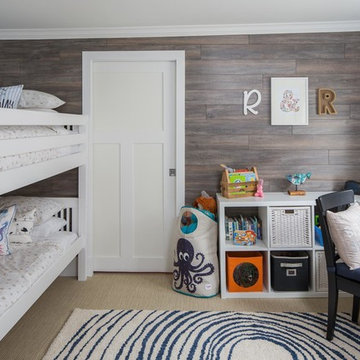
 Megan Leith-Menard Interior Design
Shared boy girl room in a beach house feel. Low ceiling height bunk bed. Work and play space. Lots of storage.
Photo byAdrian Shellard
Example of a small beach style gender-neutral carpeted kids' room design in Calgary with multicolored walls
Example of a small beach style gender-neutral carpeted kids' room design in Calgary with multicolored walls

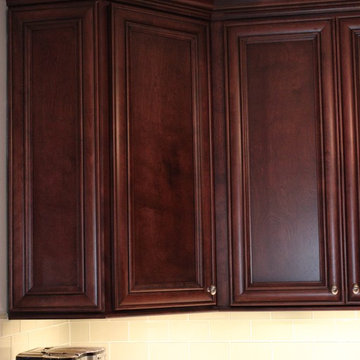 Village Home Stores
Birch cabinetry by Koch in the "Legacy" doorstyle and stained "Burgundy" with a black accent glaze applied.
Home design - mid-sized traditional home design idea in Chicago
Home design - mid-sized traditional home design idea in Chicago
9