
Search results for "Chapter i'll" in Home Design Ideas
 Design + Build by Lazar
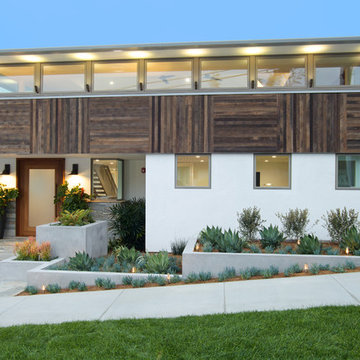
Steve Lazar's newest project, a six-bedroom residence built on a hillside peak of 30th Street in Hermosa Beach for design+build by South Swell, is a study in the functional exploitation of lot size and surrounding beauty. That, and an evolution of the designer’s singular style.
Modernist in its veins, the new home has the earmarks of a Lazar design inside and out. There’s a hint of lifeguard tower in its exterior, though more muted than visible in his past projects, mainly due to a ring of rusticated wood cladding swathed around its mid-section. Other signifiers are there, too, from a row of high-perched observation windows to a slightly raised metal hip roof of soft blue. Jutting out slightly over the home, its underside dressed in tidy shiplap, the roof contrasts smartly against the clean white stucco and earthy wood of the lower levels. In all, it’s still clean-cut Lazar, but more organic than sleek.
“I use a lot of the same ideas,” says Lazar, standing outside the structure while craftsmen and workers buzz around, putting finishing touches on the place. “ “I have a signature vocabulary, but I adapt it with each custom home to meet a client’s needs and maximize the particulars of that space.”
Thoughtfully designed by Steve Lazar design+build by South Swell. designbuildbysouthswell.com Photography by Joel Silva.
 Corvus Construction
Sometimes great things come from small things and this entryway project was exactly like that. This very small yet interesting project started almost by accident.
Entryway TileI had completed a tile job a few months before and had some high quality porcelain tile left over. It was nice tile so I was hesitant to toss it out but after moving the pile around my shop for several months I finally decided to throw it away. While loading my pickup with miscellaneous construction garbage – and this great tile – one of my neighbors stopped by for a chat about some of my recent projects.
I showed him the great left over tile that I was throwing away and asked him if he had any interest in taking it off my hands – for free. He said he was actually thinking about replacing his existing tile landing at his house because although it had been redone just a few years ago, it had cracked. We went over and took a look at his landing and decided the scrap tile might be a perfect solution.
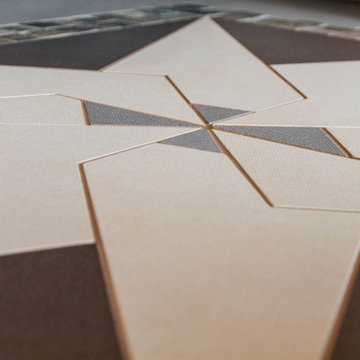
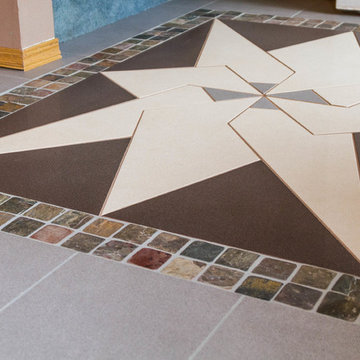
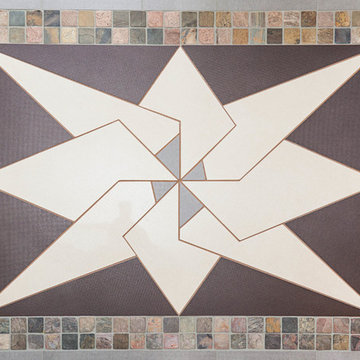
tile floorI told my neighbor “you come up with any design you want, and I’ll bring that to life.” He came up with an idea and sketched out the idea within a couple of days. As soon as I looked at the sketches, I knew it was going to be a very challenging project, but I also knew it would be a rewarding project I would be proud to put the Corvus name on.
We took the final sketch and imported it into a graphics design program to make the focal point of the design work within the existing space and fine tune the look of the project to fit the available space of the entryway. This was going to be a highly customized undertaking that was going to be all about the details.
Because every tile had to be custom cut, I printed out the final design from the program to create a stencil to trace the outline on each tile. After all of the painstaking tile cutting, I laid it out in a mock-up on the entry floor. Then we were ready to overcome our next challenge – the flexing and moving sub floor.
The existing tile landing that we were replacing had been installed just a few years earlier but had already cracked down the center. This fracture made me realize that we needed to find a way to somehow decouple the substrate from the finished tile surface to prevent the same problem from cropping up again.
tile floor entrywayI decided to go with a Schluter-DITRA™ tile underlay for this job. Working with DITRA™ was surprisingly simple. The only thing you need to remember is to use unmodified thinset mortar when setting tile over this substrate, because modified thinset would take a very long time to cure. We also decided to use QuartzLock™ urethane grout for the floor because it expands and contracts when the floor flexes under foot traffic and could help prevent future cracking.
In the end the project came out great! My neighbor is thrilled and can’t wait to show it off to anyone that stops by. This is a great example of how custom work can really amp up the appeal of your home and how a small change can make a big difference in the look of your home.
 Corvus Construction
Sometimes great things come from small things and this entryway project was exactly like that. This very small yet interesting project started almost by accident.
Entryway TileI had completed a tile job a few months before and had some high quality porcelain tile left over. It was nice tile so I was hesitant to toss it out but after moving the pile around my shop for several months I finally decided to throw it away. While loading my pickup with miscellaneous construction garbage – and this great tile – one of my neighbors stopped by for a chat about some of my recent projects.
I showed him the great left over tile that I was throwing away and asked him if he had any interest in taking it off my hands – for free. He said he was actually thinking about replacing his existing tile landing at his house because although it had been redone just a few years ago, it had cracked. We went over and took a look at his landing and decided the scrap tile might be a perfect solution.
tile floorI told my neighbor “you come up with any design you want, and I’ll bring that to life.” He came up with an idea and sketched out the idea within a couple of days. As soon as I looked at the sketches, I knew it was going to be a very challenging project, but I also knew it would be a rewarding project I would be proud to put the Corvus name on.
We took the final sketch and imported it into a graphics design program to make the focal point of the design work within the existing space and fine tune the look of the project to fit the available space of the entryway. This was going to be a highly customized undertaking that was going to be all about the details.
Because every tile had to be custom cut, I printed out the final design from the program to create a stencil to trace the outline on each tile. After all of the painstaking tile cutting, I laid it out in a mock-up on the entry floor. Then we were ready to overcome our next challenge – the flexing and moving sub floor.
The existing tile landing that we were replacing had been installed just a few years earlier but had already cracked down the center. This fracture made me realize that we needed to find a way to somehow decouple the substrate from the finished tile surface to prevent the same problem from cropping up again.
tile floor entrywayI decided to go with a Schluter-DITRA™ tile underlay for this job. Working with DITRA™ was surprisingly simple. The only thing you need to remember is to use unmodified thinset mortar when setting tile over this substrate, because modified thinset would take a very long time to cure. We also decided to use QuartzLock™ urethane grout for the floor because it expands and contracts when the floor flexes under foot traffic and could help prevent future cracking.
In the end the project came out great! My neighbor is thrilled and can’t wait to show it off to anyone that stops by. This is a great example of how custom work can really amp up the appeal of your home and how a small change can make a big difference in the look of your home.
Find the right local pro for your project
 Corvus Construction
Sometimes great things come from small things and this entryway project was exactly like that. This very small yet interesting project started almost by accident.
Entryway TileI had completed a tile job a few months before and had some high quality porcelain tile left over. It was nice tile so I was hesitant to toss it out but after moving the pile around my shop for several months I finally decided to throw it away. While loading my pickup with miscellaneous construction garbage – and this great tile – one of my neighbors stopped by for a chat about some of my recent projects.
I showed him the great left over tile that I was throwing away and asked him if he had any interest in taking it off my hands – for free. He said he was actually thinking about replacing his existing tile landing at his house because although it had been redone just a few years ago, it had cracked. We went over and took a look at his landing and decided the scrap tile might be a perfect solution.
tile floorI told my neighbor “you come up with any design you want, and I’ll bring that to life.” He came up with an idea and sketched out the idea within a couple of days. As soon as I looked at the sketches, I knew it was going to be a very challenging project, but I also knew it would be a rewarding project I would be proud to put the Corvus name on.
We took the final sketch and imported it into a graphics design program to make the focal point of the design work within the existing space and fine tune the look of the project to fit the available space of the entryway. This was going to be a highly customized undertaking that was going to be all about the details.
Because every tile had to be custom cut, I printed out the final design from the program to create a stencil to trace the outline on each tile. After all of the painstaking tile cutting, I laid it out in a mock-up on the entry floor. Then we were ready to overcome our next challenge – the flexing and moving sub floor.
The existing tile landing that we were replacing had been installed just a few years earlier but had already cracked down the center. This fracture made me realize that we needed to find a way to somehow decouple the substrate from the finished tile surface to prevent the same problem from cropping up again.
tile floor entrywayI decided to go with a Schluter-DITRA™ tile underlay for this job. Working with DITRA™ was surprisingly simple. The only thing you need to remember is to use unmodified thinset mortar when setting tile over this substrate, because modified thinset would take a very long time to cure. We also decided to use QuartzLock™ urethane grout for the floor because it expands and contracts when the floor flexes under foot traffic and could help prevent future cracking.
In the end the project came out great! My neighbor is thrilled and can’t wait to show it off to anyone that stops by. This is a great example of how custom work can really amp up the appeal of your home and how a small change can make a big difference in the look of your home.
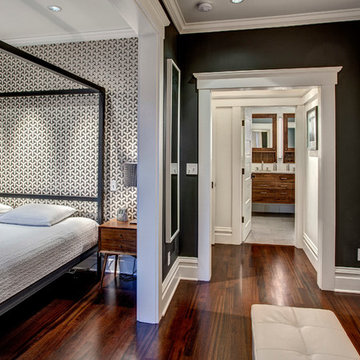
 Board & Vellum
Two smaller bedrooms were combined to create a generous Master Suite with a dressing area and built-in closets. John Wilbanks Photography
Inspiration for a transitional master dark wood floor bedroom remodel in Seattle with multicolored walls
Inspiration for a transitional master dark wood floor bedroom remodel in Seattle with multicolored walls
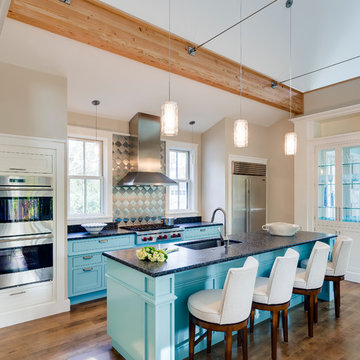
 Phi Builders + Architects
Design Build Phi Builders + Architects
Custom Cabinetry Phi Builders + Architects
Sarah Szwajkos Photography
Cabinet Paint - Benjamin Moore Spectra Blue
Trim Paint - Benjamin Moore Cotton Balls
Wall Paint - Benjamin Moore Winds Breath
Wall Paint DR - Benjamin Moore Jamaican Aqua. The floor was a 4" yellow Birch which received a walnut stain.
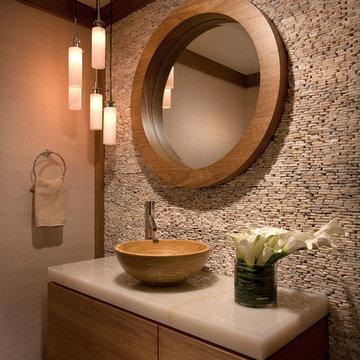
 Hyland Custom Cabinetry
Example of a transitional powder room design in Miami with a vessel sink and beige countertops
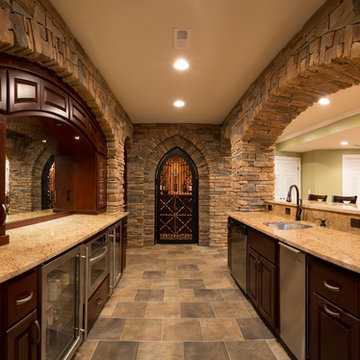
Sponsored
Delaware, OH

Buckeye Basements, Inc.
Central Ohio's Basement Finishing ExpertsBest Of Houzz '13-'21
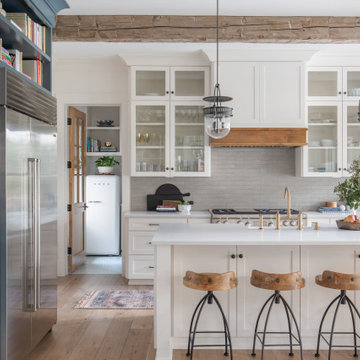
 Ariel Bleich Design
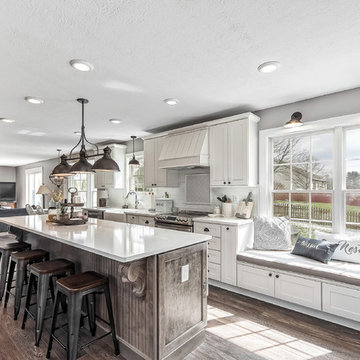
Example of a transitional u-shaped medium tone wood floor, brown floor and exposed beam open concept kitchen design in Austin with a farmhouse sink, shaker cabinets, white cabinets, quartz countertops, gray backsplash, stainless steel appliances, an island and white countertops
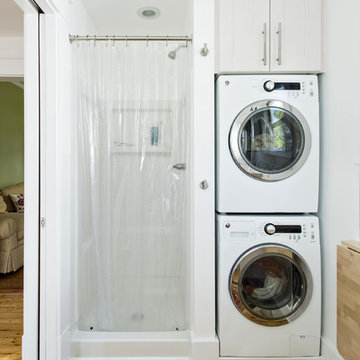
 Rock Paper Hammer
Construction by Deep Creek Builders.
Photography by Andrew Hyslop.
Elegant utility room photo in Louisville with a stacked washer/dryer
Elegant utility room photo in Louisville with a stacked washer/dryer
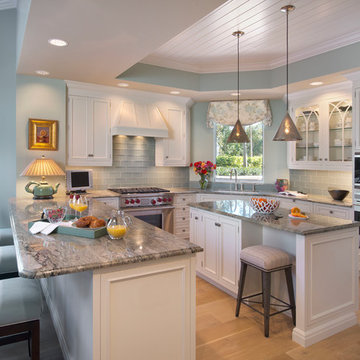
 Little Palm Design Group
Example of a large beach style u-shaped light wood floor eat-in kitchen design in Miami with an undermount sink, recessed-panel cabinets, white cabinets, granite countertops, blue backsplash, glass tile backsplash, stainless steel appliances and an island
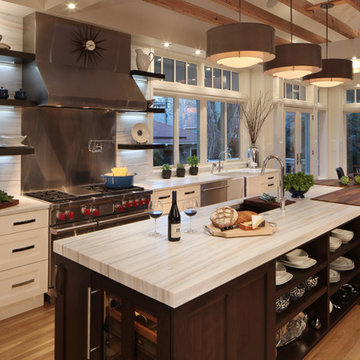
 Kitchen Distributors
This shot clearly shows the vaulted ceilings and massive windows that dominate this kitchen space. These architectural accents mixed with the finishes and appliances culminate in a magnificent kitchen that is warm and inviting for all who experience it. The Zebrino marble island and backsplash are clearly shown and the LED under-lighting helps to accentuate the beautiful veining throughout the backsplash. This kitchen has since won two awards through NKBA and ASID competitions, and is the crowning jewel of our clients home.
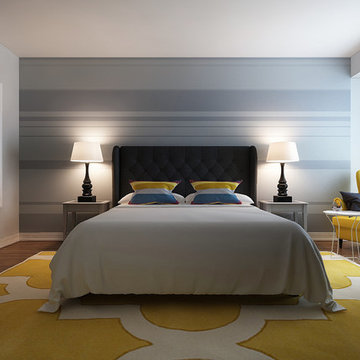
 Beauty on a budget
Create the Home of Your Dreams in three steps and in just about a week. Just choose a design for every room and we will adjust it to your floorpan, as well as provide you with the shopping list and installation details. Then you can DIY or with our help. Easy, convenient, prompt & amazing! And with financing available, it is as low as $40 per month / per room with zero down!
Welcome to your new home! We hope this will begin a great chapter in your life and this place will become a true foundation for it.
However, now that you have these empty rooms with white walls, what’s next? Will you rent used furniture or spend weeks in furniture stores buying random pieces? Are you going to paint walls and, if so, in which colors? What about rugs, mirrors, curtains or cushions? How much will it cost? How long will it take? And most importantly, will you be happy at the end?
We believe we have a unique design service that is perfect for you – fast, affordable, and beautiful.
All you need is to choose a design for every room (over 200 designs are already available and we constantly add more), approve the final concept adjusted for your floorplan (exceptionally realistic images) and we will purchase, paint, assemble, mount and stage everything on a turn-key basis under the paradigm of ‘What I See Is What I Get’ within a week or so.
Easy, convenient, prompt and amazing!
And with financing available, a wonderful room (a living room / dining room, a bedroom, a kid's bedroom), fully designed and furnished, can cost as low as $40 per month with no down payment!
For more details please visit www.beauty-on-a-budget.com
 Plain & Posh
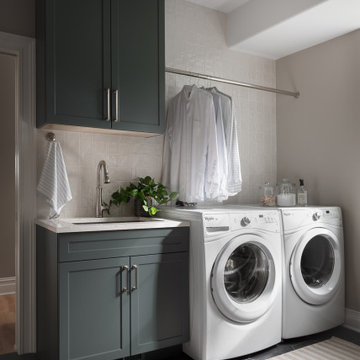
This young family moved to a lake community full time during Covid. They then wanted to allow the home to become a true year round home over the former weekend house. They wanted to open up the kitchen to allow views from the sink and new island to the views of the lake outside of the living area.
The homeowner also wanted an desk area for herself and a walk in pantry. I also took 10' out of their huge garage area and created a large mudroom and laundry room. The staircase was hidden behind a bookcase wall, not at all ideal with two young children up there. I opened that all up right off of the back end of the kitchen. Their house now flows much better and they love their new spaces!
Sponsored
Sunbury, OH

J.Holderby - Renovations
Franklin County's Leading General Contractors - 2X Best of Houzz!
 By Design Custom Home Concierge
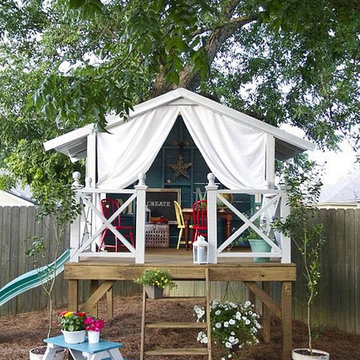
By Design I WANT THAT Wednesday feature of the week . . . OK, OK I know I'm a day late but for those of you with kids - this is worth the wait! You're kids may NEVER want to come in for dinner with a play house like one of these in the backyard! Be sure to click through and see all FIVE fantasy playhouses. I'd like one for ME!
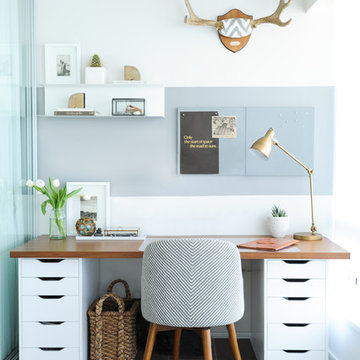
 SHIFT Interiors
traceyaytonphotography.com
Study room - transitional freestanding desk study room idea in Vancouver with multicolored walls
Study room - transitional freestanding desk study room idea in Vancouver with multicolored walls
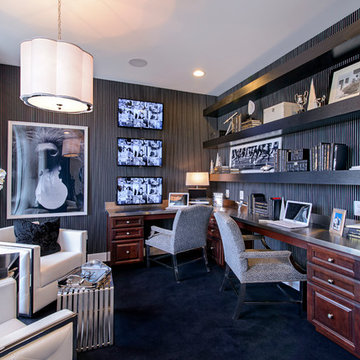
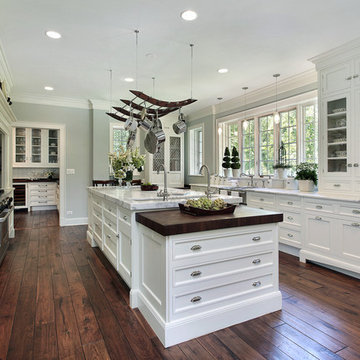
 Fitzgerald Stone & More
Transitional medium tone wood floor and brown floor kitchen photo in Boston with a farmhouse sink, white cabinets, stainless steel appliances, an island and glass-front cabinets


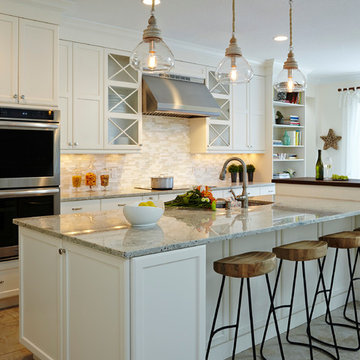

 M/I Homes
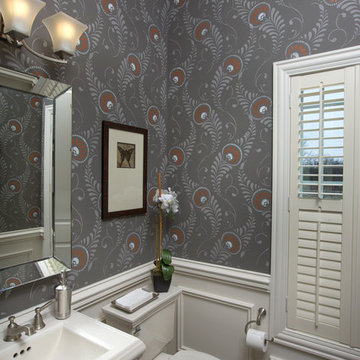
Powder Bath
Inspiration for a mid-sized transitional powder room remodel in Columbus with a pedestal sink and gray walls
Inspiration for a mid-sized transitional powder room remodel in Columbus with a pedestal sink and gray walls
 Alexandra Immel Residential Design LLC
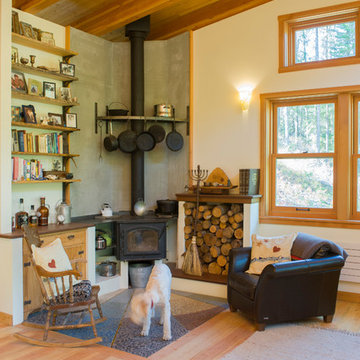
Living room - rustic light wood floor living room idea in Seattle with beige walls and a wood stove
58