
Search results for "Jointly" in Home Design Ideas
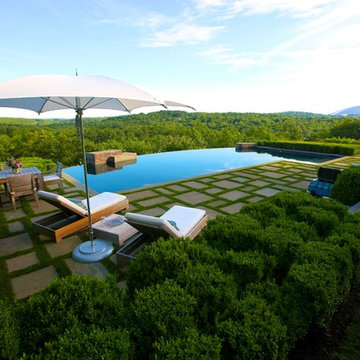
 Glen Gate Company
Inspiration for a mid-sized contemporary backyard rectangular and concrete paver infinity pool fountain remodel in New York
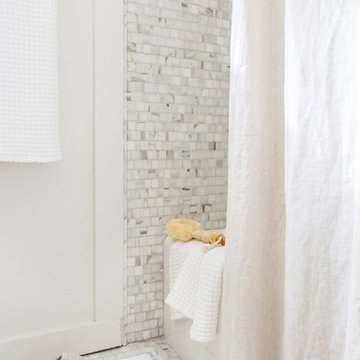
 Artistic Tile
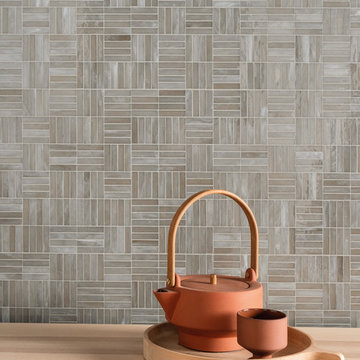
Artistic Tile | Calacatta Gold Broken Joint Mosaic. Designed by Scott Horne and Photographed by Sara Tramp.
A classic Italian polished white marble accented by soft grey and gold veining, Calacatta Gold is a highly desired luxurious stone. Its sophisticated and elegant appearance has graced beautiful homes for centuries. Along with being readily available in slab and various tile formats, Calacatta Gold is the perfect choice for our Tailored To custom mosaic and waterjet patterns.
 Mayne Construction, LLC
Matthew D'Alto Photography & Design
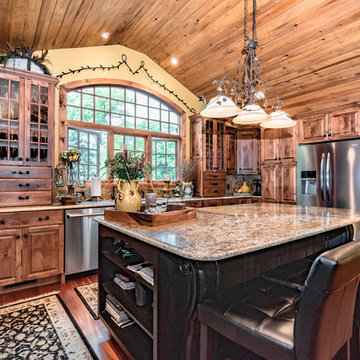
Inspiration for a large rustic u-shaped medium tone wood floor and brown floor open concept kitchen remodel in New York with an undermount sink, raised-panel cabinets, medium tone wood cabinets, granite countertops, brown backsplash, stone slab backsplash, stainless steel appliances, an island and brown countertops
Inspiration for a large rustic u-shaped medium tone wood floor and brown floor open concept kitchen remodel in New York with an undermount sink, raised-panel cabinets, medium tone wood cabinets, granite countertops, brown backsplash, stone slab backsplash, stainless steel appliances, an island and brown countertops
Find the right local pro for your project
 Rocky Hills Design Studio
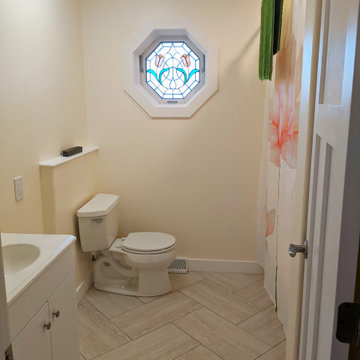
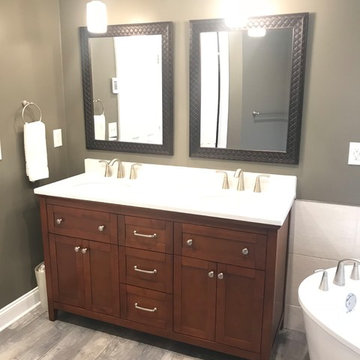
Guest Bathroom, in progress. All components are finished except for the vanity areas. The client is waiting on stone countertops and custom cabinetry.
 Chuy's Tile Works
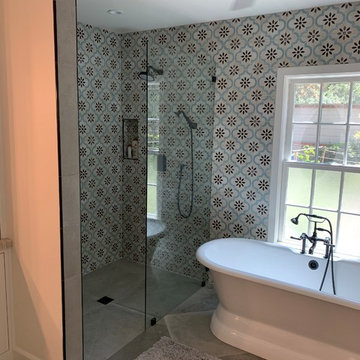
8"x8" decorative porcelain tile with 1/16" grout joint. Bathroom floor tile 24"x24" Eleganza porcelain tile with 1/16" grout joint. Floor patter is a diagonal checker pattern. Wall pattern is a grid pattern. Walk in shower with large shower floor tile cut in all 4 corners sloped to drain. Laticrete permacolor select grout: Color silver shadow.
 Cabinet & Stone City
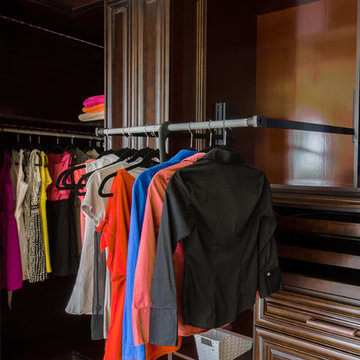
Example of a large classic gender-neutral light wood floor and brown floor dressing room design in Atlanta with raised-panel cabinets and dark wood cabinets
 Rocky Hills Design Studio
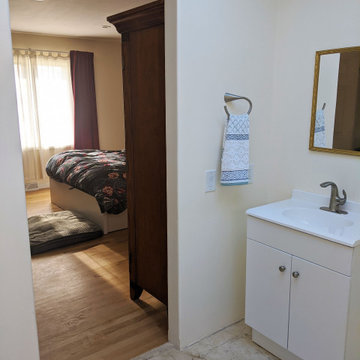
Master Bathroom in progress. All components are finished except for the vanity area sink, cabinets, mirrors, and light fixtures. The client is waiting on stone countertops and custom cabinetry.
 Glen Gate Company
Fog adds additional ambiance to a gorgeous infinity edge pool.
Inspiration for a large modern full sun backyard stone landscaping in New York.
Inspiration for a large modern full sun backyard stone landscaping in New York.
 Kipnis Architecture + Planning
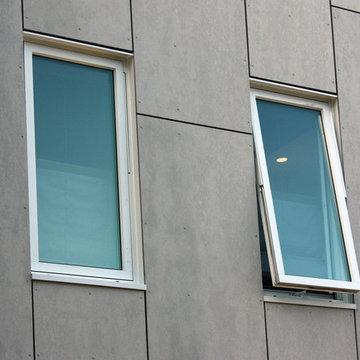
Detail photo of the high efficiency windows and new, open joint cement fiberboard panels set on a rain screen system. The panel joint lines were carefully aligned on all four sides of the buildling.
Kipnis Architecture + Planning

 Mastic Masters (Cavalier Services)
After Photo
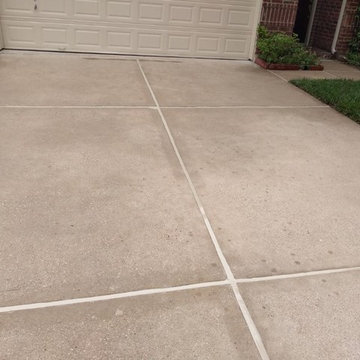
This is an example of a large traditional shade front yard concrete paver driveway in Houston.
This is an example of a large traditional shade front yard concrete paver driveway in Houston.


 Cabinet & Stone City
Inspiration for a large timeless gender-neutral light wood floor and brown floor dressing room remodel in Atlanta with raised-panel cabinets and dark wood cabinets
 Westlake Interior Painting
garage walls floor ceiling before 2 – Copy garage walls floor ceiling BEOFRE smoothing out wall and filling in joints 2 garage walls floor ceiling before 3 garage walls floor ceiling one wall done before garage walls floor ceiling BEOFRE smoothing out wall and filling in joints garage walls floor ceiling after wall ceiling before floor 3 interior garage avon 2 interior garage avon 3 interior garage avon 4 Interior garage avon
← 4 Bedroom Split in Westlake (previous entry)(next entry) 4 Bedroom Cape Cod in Sheffield Village →
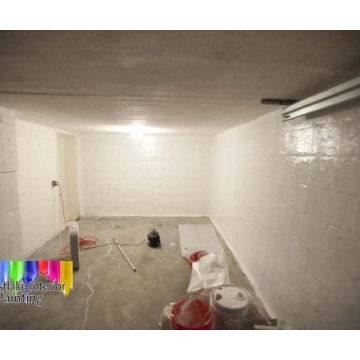
For the garage we started by doing some prep work. First we cleaned all the walls, ceiling and floor thoroughly.
Then we used a premixed acrylic mortar patch to fill in all the joints and cracks along the walls and floor. We followed this up by applying an Acrylic block fill primer to the walls to seal up and cover all the pores along the wall.
After the walls were primed we applied two coats of ceiling paint to the ceiling, two coats of a semi gloss finish to the walls, and on the garage floor we used an Exterior latex acrylic paint.
 Hask Custom Homes
Al Kelekci
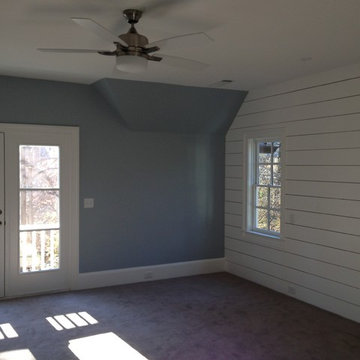
Mid-sized transitional guest carpeted bedroom photo in Atlanta with blue walls and no fireplace
Mid-sized transitional guest carpeted bedroom photo in Atlanta with blue walls and no fireplace

 Harmonic Horticulture and Construction
I think that many carpenters today consider nails and screws to be what holds a structure together. As a result, I think that many structures today are held together by little more than nails and screws. I often see knee braces bolted to the side of a post for a pergola when they should be positioned between the post and beam to take the load directly. Fasteners should not be load-bearing! They should be used to pin a piece of lumber into a position that allows it to shoulder the load directly.
Nails and screws are fast. When used appropriately, they can keep costs down by reducing the time it takes to build something. But they are not the answer to everything. Joist hangars do little to stop a deck from pulling away from a house, just as nailing from the side is not a replacement for putting a post directly under a beam.
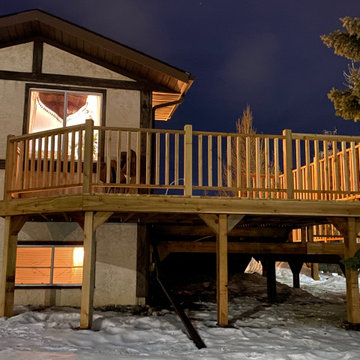
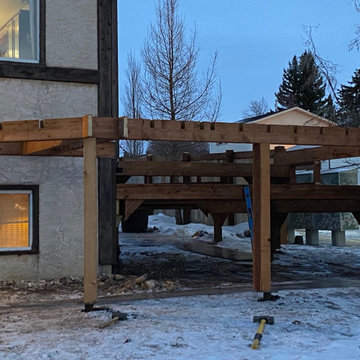
On more than one occasion I've solved a challenging framing problem by employing lap-joints. I've used lap-jointed framing to build curves without having to bend wood, and in the example shown I've used them simply to avoid having to look at an unsightly beam underneath a raised section of deck.
I cut notches half way through my beam where the joists will go, then I cut a corresponding notch into each joist that allows it to fit into the notch in the beam. This allows the joists to cantilever 'through' the beam, which gives me a number of advantages. Using this technique, I can build deck frames tight to the ground without having to rim the structure with joist-hangared beams. I can also use the cantilever to sculpt the edge of the deck into nearly any shape.
As the lumber is locked in from every direction, it is also a far stronger joint than a joist-hangared butt-end, as it resists pulling away, and it is stronger than joist-on-beam because it does not allow for any twisting or 'flopping' of the joists. The beam and joist are locked together, and they each replace the missing pieces of one another, so there is no strength lost in either member.
-Tyler Collins, Operations Manager
 Harmonic Horticulture and Construction
I think that many carpenters today consider nails and screws to be what holds a structure together. As a result, I think that many structures today are held together by little more than nails and screws. I often see knee braces bolted to the side of a post for a pergola when they should be positioned between the post and beam to take the load directly. Fasteners should not be load-bearing! They should be used to pin a piece of lumber into a position that allows it to shoulder the load directly.
Nails and screws are fast. When used appropriately, they can keep costs down by reducing the time it takes to build something. But they are not the answer to everything. Joist hangars do little to stop a deck from pulling away from a house, just as nailing from the side is not a replacement for putting a post directly under a beam.
On more than one occasion I've solved a challenging framing problem by employing lap-joints. I've used lap-jointed framing to build curves without having to bend wood, and in the example shown I've used them simply to avoid having to look at an unsightly beam underneath a raised section of deck.
I cut notches half way through my beam where the joists will go, then I cut a corresponding notch into each joist that allows it to fit into the notch in the beam. This allows the joists to cantilever 'through' the beam, which gives me a number of advantages. Using this technique, I can build deck frames tight to the ground without having to rim the structure with joist-hangared beams. I can also use the cantilever to sculpt the edge of the deck into nearly any shape.
As the lumber is locked in from every direction, it is also a far stronger joint than a joist-hangared butt-end, as it resists pulling away, and it is stronger than joist-on-beam because it does not allow for any twisting or 'flopping' of the joists. The beam and joist are locked together, and they each replace the missing pieces of one another, so there is no strength lost in either member.
-Tyler Collins, Operations Manager
 Intex Surface Solutions
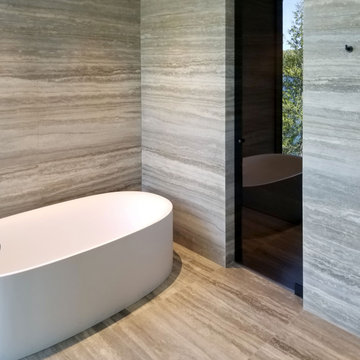
Some of the nicest travertine we've ever seen. Once the slabs are installed, we follow with colour matched epoxy, sanded smooth to match the surrounding marble. The stone is then thoroughly cleaned and sealed, ready to be enjoyed.
43