
Search results for "Moisturizing" in Home Design Ideas

 Staprans Design
Lucas Fladzinski Photography
Example of a small trendy master gray tile and cement tile bathroom design in San Francisco
Example of a small trendy master gray tile and cement tile bathroom design in San Francisco

 Winberry Homes LLC.
Example of a small transitional 3/4 gray tile, white tile and marble tile corner shower design in Tampa

 The Lighting Geek
Tommy Herren
Photo of a mid-sized traditional courtyard concrete paver water fountain landscape in Orange County.
Photo of a mid-sized traditional courtyard concrete paver water fountain landscape in Orange County.
Find the right local pro for your project

 Todd Alan
Epoxy flake system with urethane topcoat.
Garage - contemporary two-car garage idea in Denver
Garage - contemporary two-car garage idea in Denver

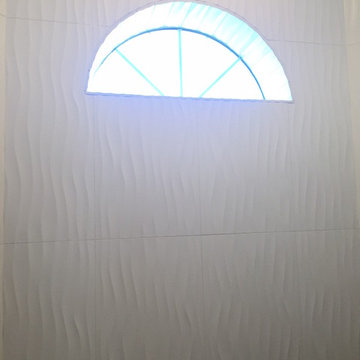
 Florida Design Works
While the lighting of this bathroom is a bit aggressive in the photo, this Atlas Concorde Dune White 3D wave tiles gives a calming feeling while you enjoy your shower!
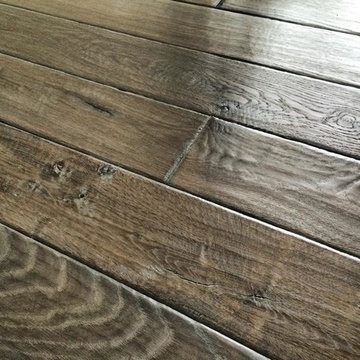
 Tom Brzoskwinia
One of the most popular hardwood floor finishing which offers Tom & Peter Flooring is provided by WOCA. If you’ve decided that you want a natural looking wooden floor that is lacquer-free, then the likelihood is that you’ve chosen oil as your way of protecting your wood and making your floor look great at the same time. WOCA for wood flooring comes in various forms and is a great way of making sure that your wood is protected, but at the same time looks natural. A highly popular as well as effective way of treating wood floors, oils effectively penetrate into the wood and in some cases harden into the surface of the floor to stop damage and to maintain the wood in its optimum condition.
WOCA Oil finish hardwood flooring has taken the United States market by in 2014 and shows no signs of slowing down in 2016 and now. Here are some of the most common questions we have regarding this type of finish which we will I’m to answer in today’s my blog:
Is oil finish as durable as traditional factory urethane finishes with aluminum oxide?
When it comes to durability, oil finish flooring tackles the issue with a completely different method. The penetrating oil serves as protection from moisture and wear while allowing the user to feel the wood grains in their bare feet. If compared directly to factory finished aluminum oxide finish, the oil finish flooring will not perform as well to abrasion and impact. However, the beauty of this finish is the fact that it will camouflage any scratches which will inevitably accumulate over time.
Will this finish evaporate over time and will this be harmful for indoor air quality?
Another concern for oil finished floors its effect on indoor air quality. For on-site applications, some varieties suggest several coats which typically require the residents to be out of the home due to mild odors. However, there are factory finished UV-cured or single coat applications which lessen the downtime. Despite the odors produced during the drying process, oil finish floors rank amongst the lowest for VOC (volatile organic compound) emissions. Certain brands even boast true zero VOC. This fact alone makes oil finished floors one of the best options for green building solutions.
“WOCA products are certified by independent laboratories, the German Institute for Biological Building Materials, and are in accordance with DIN–Norm 53–160. WOCA WoodCare Denmark products meet or exceed the most stringent U.S. standards for volatile organic compounds.” –WOCA Oil Finish Manufacture
Does this type of finish require additional maintenance which I am not familiar with?
For weekly cleaning, oiled floors use a special cleaner which contains an oil and soap mixture. After a period of 12-18 months some oil may evaporate causing the wood grains to appear dry. An additional layer of oil can be reapplied to keep the floor looking fresh. Although oil finished floors require more involvement in periodic maintenance in high traffic areas, this maintenance can be done much easier than the equivalent of an onsite sand and refinish.
WOCA Master Color Oil contains pigment, which provides a single-step hardwood floor staining process. Laying down the stain and the finish in one step.
This product comes 14 different colors, from Black to Extra White, and you can mix them freely to create various color palettes that will meet the demands of any job.
Below are some pictures of the finished job…


 Foundation Landscape Design
Foundation Design
Design ideas for a contemporary landscaping in Los Angeles.
Design ideas for a contemporary landscaping in Los Angeles.

 M J Pawlowski
Painted Faux Marble Trim and Faux inlaid Marble Pattern, bordering this metallic spotted ceiling
Inspiration for a large timeless dining room remodel with multicolored walls
Inspiration for a large timeless dining room remodel with multicolored walls

 H2D Architecture + Design
Design by: Heidi Helgeson, H2D Architecture + Design
Built by : GT Residential Contracting
Photos by: Dennon Photography

 Sustain
Small arts and crafts multicolored tile and stone tile linoleum floor bathroom photo in Portland with orange walls


 Anne Paul
Easily access the whole cabinet, and never lose anything in those "blind" areas again!
Transitional kitchen photo in Raleigh
Transitional kitchen photo in Raleigh
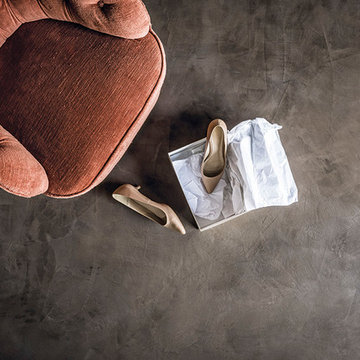
 BeriCalce USA LLC
Daydream to turn a floor in an emotional area, sensual and elegant: you thought about Marmorino Floor...
Example of a trendy home design design in Miami
Example of a trendy home design design in Miami
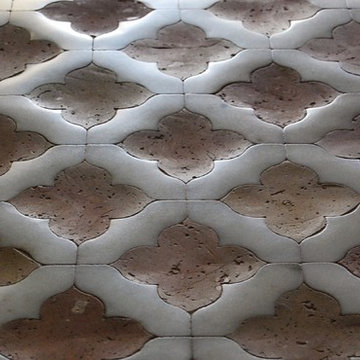

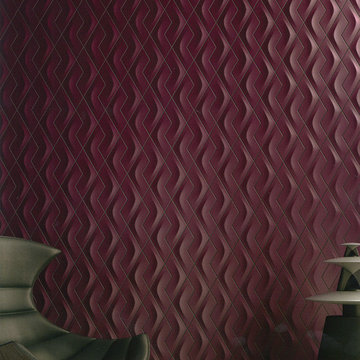
 New Jersey Tile & Stone Inc.
Arc Claret Red
Boomerang tile
Contemporary 3 Dimensional wall tile.
Designer friendly with numerous layout options.
Example of a trendy red tile and ceramic tile home design design in New York with red walls
Example of a trendy red tile and ceramic tile home design design in New York with red walls


 North Shore Kitchen & Bath
Shower corner seat
Walk-in shower - mid-sized transitional master white tile and ceramic tile porcelain tile walk-in shower idea in Milwaukee with an undermount sink, beaded inset cabinets, white cabinets, quartz countertops, a two-piece toilet and blue walls
Walk-in shower - mid-sized transitional master white tile and ceramic tile porcelain tile walk-in shower idea in Milwaukee with an undermount sink, beaded inset cabinets, white cabinets, quartz countertops, a two-piece toilet and blue walls

 David Lyles Decorative Painting
Close-up of the faux walnut--would you think this is paint?!
Example of a country home office design in Dallas
Example of a country home office design in Dallas
20