
Search results for "Peeling paint" in Home Design Ideas
 Pro-Paint Plus Inc.
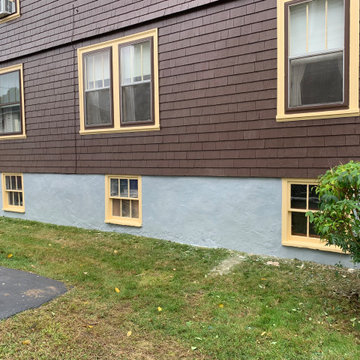
This home was built in 1925. One side of this project had not been done for 20+ years and basically the two sides included in this project were peeling and needed a lot of attention. Preparation included power wash and hand planing all shingles to make a smooth surface. More than half the paint was removed from the two sides of the building. Application of 2 dry film coats were applied to all side wall and trims. Metal storm windows, gutters and downspouts were painted with direct to metal paints. The work also included replacing some shingles, mortar work on the foundation, replaced all broken glass and reglazed all basement windows.
 Pro-Paint Plus Inc.
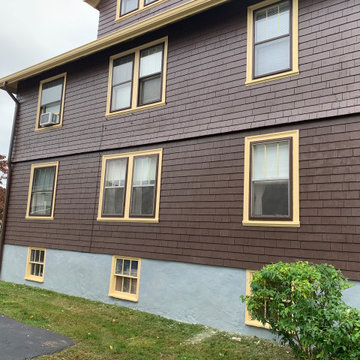
This home was built in 1925. One side of this project had not been done for 20+ years and basically the two sides included in this project were peeling and needed a lot of attention. Preparation included power wash and hand planing all shingles to make a smooth surface. More than half the paint was removed from the two sides of the building. Application of 2 dry film coats were applied to all side wall and trims. Metal storm windows, gutters and downspouts were painted with direct to metal paints. The work also included replacing some shingles, mortar work on the foundation, replaced all broken glass and reglazed all basement windows.
 House of a Different Color
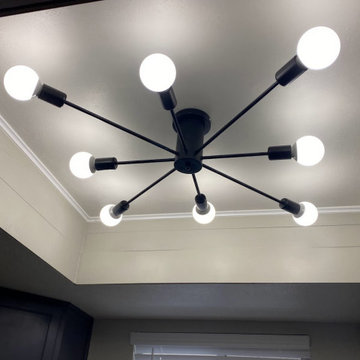
Shiplap was added to the tray ceiling and painted to match the walls for an additional design detail and to give the light fixture a more complete and finished surrounding.
Design consultation and advising for DIY/Budget Renovation.
Owner purchased this condo with a very cramped and dated kitchen and light fixtures, and early 2000s-era café paint colors.
Owner did a lot of the work himself or with friends to keep the budget down.
HDC advised on design details and paint colors, chose light fixtures (ceiling lights for kitchen and dining and arch floor lamp in living room). HDC also assisted with creating a new kitchen floor plan, which involved removing one wall, replacing existing tile and modifying flooring transition location, replacing all cabinetry except for the tall pantry cabinet, choosing cabinet paint, installing modern cabinet hardware, replacing laminate counters with a budget white quartz prefab counter, replacing appliances, sink, and faucet, and installing a low-cost peel & stick backsplash.
Due to budget constraints, we could not remove the entire wall between the kitchen and dining space to make the wall completely flush from the kitchen to dining area transition, but decided to relocate the refrigerator to that wall nonetheless, in order to improve sightlines and improve traffic flow and function for refrigerator access. We created a coffee/drinks bar where the original fridge was located. The owner decided to keep the existing water line that had serviced the ice maker in the fridge where it was previously located (and cap it temporarily). He plans to plumb it in the future to support a filtered drinking water line and auto-filling coffee maker to finish out the drink center.
Ultimately, we couldn't stretch the budget for a perfect layout, but we were still able to improve the function and open up the flow of this hub of the condo for better entertaining and more convenient homeowner use of the space.
Find the right local pro for your project

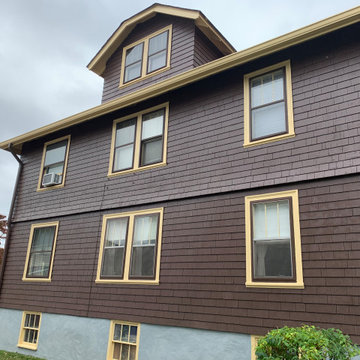 Pro-Paint Plus Inc.
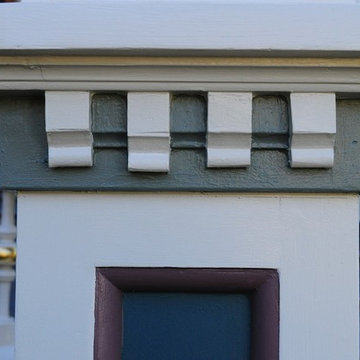
This home was built in 1925. One side of this project had not been done for 20+ years and basically the two sides included in this project were peeling and needed a lot of attention. Preparation included power wash and hand planing all shingles to make a smooth surface. More than half the paint was removed from the two sides of the building. Application of 2 dry film coats were applied to all side wall and trims. Metal storm windows, gutters and downspouts were painted with direct to metal paints. The work also included replacing some shingles, mortar work on the foundation, replaced all broken glass and reglazed all basement windows.
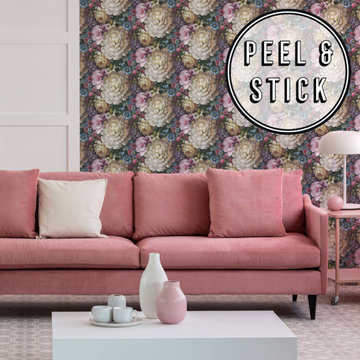
 Graham & Brown
The florals on this wallpaper portray hand painted flowers in bloom. Bold colors of pink, blue and purple stand out and are perfect for bringing brightness and fun into any space. Our peel and stick wallpaper is perfect for renters and redecorators. Shown here as a feature wall with accompanying pink furniture that enhances the pink tones in the wallpaper.
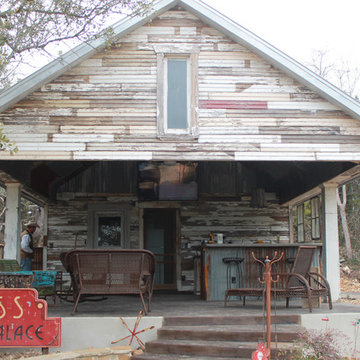
 Restoring Texas
Appearing as though this structure has stood in it's current spot for decades, this amazing pool house was created by Restoring Texas using mostly reclaimed materials harvested from local dilapidated Texas historical structures. Particularly, the siding, columns, doors, windows and many of other elements were salvaged from a Texas Craftsman style sharecropper home built in 1930. The tin was taken from the roofs of an early 1900's Texas barn. Historic signs such as the "Poss Pool Palace" sign bearing the name of its owners are reproduced and personalized by a local artist. Restoring Texas works closely with skilled builders and designers, and of course the home owners, throughout Texas to build these amazing works of art.
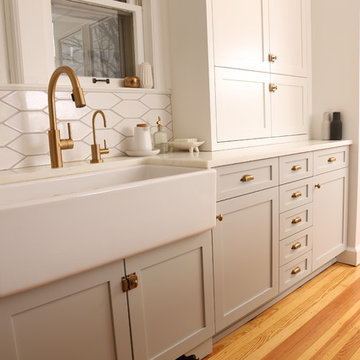
Sponsored
Columbus, OH

Snider & Metcalf Interior Design, LTD
Leading Interior Designers in Columbus, Ohio & Ponte Vedra, Florida
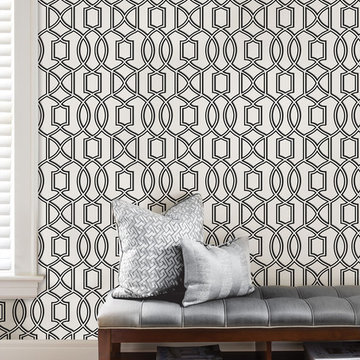
 Brewster Home Fashions
Update your walls with this black and white trellis peel and stick wallpaper!
Minimalist entryway photo in Boston
Minimalist entryway photo in Boston
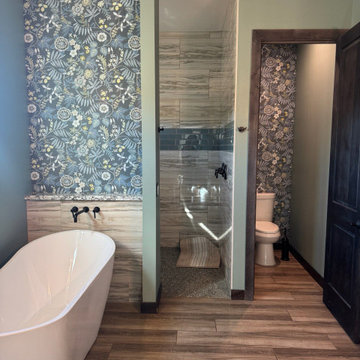
 Fort Worth Wallpaper Installer
Wallpaper installation in bathroom – Dallas, TX
Moisture-resistant peel-and-stick wallpaper was installed to create a vibrant feature wall behind the tub and shower. Perfect for high-humidity spaces, this vinyl design adds both durability and bold style. Installed with precision around fixtures for a seamless finish.
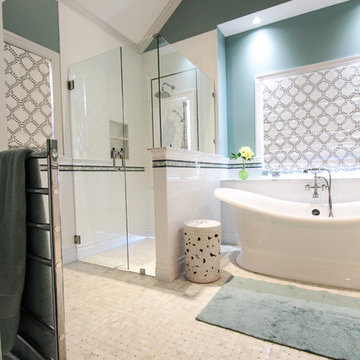
 Change Your Bathroom©
Marble basket weave tile floor, ceramic subway tile shower walls, hidden shower drain system with led lighting inside drain, Victoria and Albert bathtub, heated towel rack frameless glass enclosure.
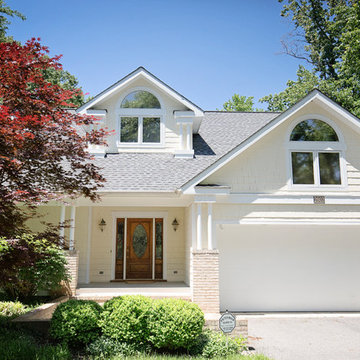
 Blue Star Paint & Property Services
This house was originally a dark grey color. The paint was constantly peeling from bad prep work. BlueStar stripped all the singled siding, neutralized the stripper and primed then stained the home with Olympic Solid stain matched to Sherwin Williams Morning Sun SW 6672. All trim was repainted in bright semi-gloss white.
 Oceanside Cabinetry Corp.
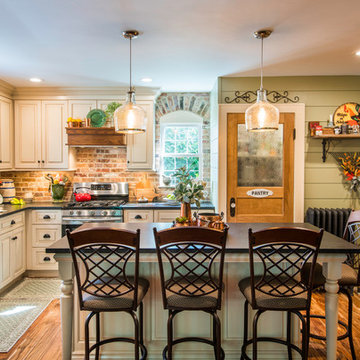
Eat-in kitchen - mid-sized cottage l-shaped dark wood floor and brown floor eat-in kitchen idea in New York with a farmhouse sink, raised-panel cabinets, beige cabinets, granite countertops, brown backsplash, brick backsplash, stainless steel appliances and an island
 One Kings Lane
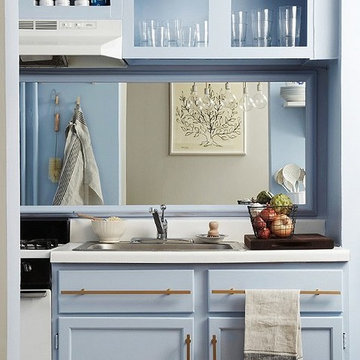
The Backsplash AFTER: While a backsplash was not at the top of my “want” list, there was a huge space behind the sink and the stove that begged for something. Megan came up with the genius idea of a large mirror. “The mirrored backsplash bounces natural light from the dining room and creates the illusion of a bigger and brighter space,” she says. “I painted the frame the same color as the wall to give it a built-in look.” Plus, I get to gaze at my chandelier when I am doing something as dull as peeling carrots.
Photos by Lesley Unruh.

 Vivian Ferne
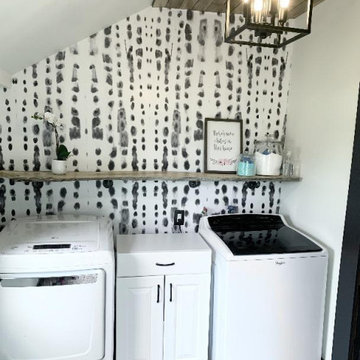
"Smoke Shadow" is the perfect contemporary black and white wallpaper to make a dramatic feature wall. Misty shapes, and moody grays and golds make our black and white wall mural a balanced blend of fun, neutral and pretty. The "Smoke Shadow" mural is an authentic Blueberry Glitter painting converted into 9' x 10' wall mural.
Each mural comes in 6 sections that are each 20" wide x 108" long for the 9' x 10 option and seven sections for the 8' x 12' size option
Peel and Stick: The adhesive application allows for easy removal with no damage to the wall. Click here to see the easy installation guide.
Installation Tip: Use a "Handy Scraper" for a professional, flawless install on our peel and stick wallpaper. The rubber end acts as a squeegee to removable the unwanted air bubbles for a smooth finish.
Pre-pasted: The pre-pasted wallpaper application is a common wall covering with glue paste on the back that activates when wet.
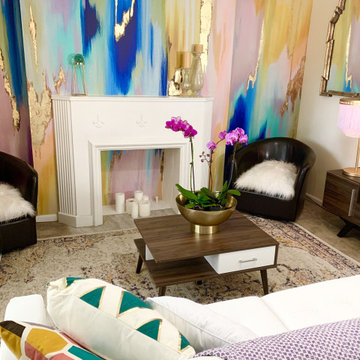 Vivian Ferne
Waves of lavender, navy, peach, blush, sage green and gold will transform an entire room! "Rainbow Eucalyptus" is an eye catching ikat pattern in a non-repeating design. Mural comes in 6 sections measuring 20" wide x 108" tall each. The 8' tall x 12' wide option comes in 7 equal sections.
Peel & Stick: The adhesive application allows for easy removal with no damage to the wall. Click here to see the easy installation guide.
Installation Tip: The "Handy Scraper" tool is ideal when installing peel and stick wallpaper murals. The straight edge allows the wall mural decal to fit evenly into corners, windows, and modeling. The flexible rubber squeegee will gently push out trapped bubbles and have a smooth finish.
Prepasted: The prepasted wallpaper application is a common wall covering with glue paste on the back that activates when wet.
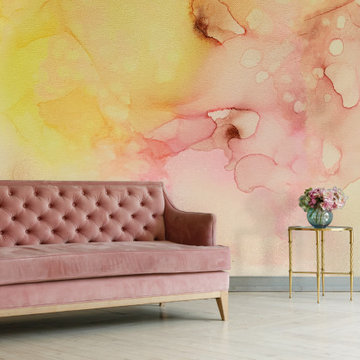 Vivian Ferne
"Bellini" is a peachy perfect print filled with shades of pink, peach, cream and yellow to make a stunningly airy accent wall. Large and stunning, perfect for a hallway, nursery, babe cave or bedroom. Create real gold tones with the complimentary kit to transfer gold leaf onto the abstract, digital printed design. The "Bellini" mural is an authentic Blueberry Glitter painting converted into a large wall mural.
Peel and Stick: The adhesive application allows for easy removal with no damage to the wall.
Pre-pasted: The pre-pasted wallpaper application is a common wall covering with glue paste on the back that activates when wet.
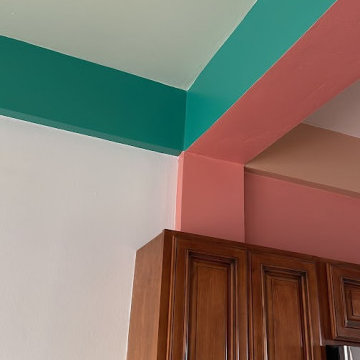 House of a Different Color
Photo of the intersection of tropical paint colors used in the dining room and kitchen. Recommended artwork that brings all of the colors together.
Dining room: white walls, seafoam green ceiling, deeper turquoise accent color on the beams.
Kitchen: terra-cotta walls and underside of beams, sandy-clay color trim on beams, white ceiling.
***
Hired to create a paint plan for vacation condo in Belize. Beige tile floor and medium-dark wood trim and cabinets to remain throughout, but repainting all walls and ceilings in 2 bed/2 bath beach condo.
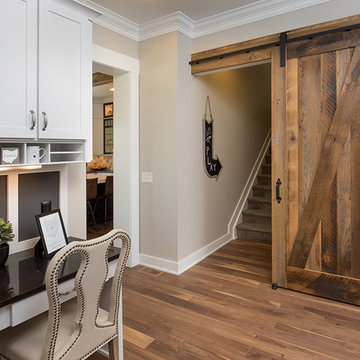

 A100 Remodeling and Painting, LLC
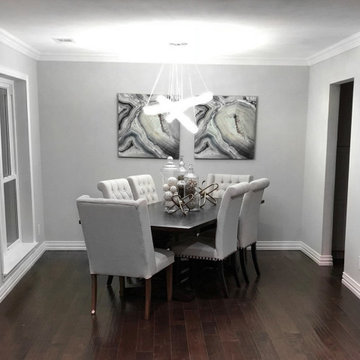
Shown in detail, Ornately placed crown molding and baseboards pair perfectly with the professional texture and paint. Texture and paint is a tedious process as it rquires the sanding of the previous texture and paint pattern to ensure smoothness of the drywall. Once this is reached its followed by a light layer of mud then texture (Orange Peel depicted here). Once texture has been completed a high quality primer is used following a shade of point handpicked by the client.
 Steven G. Graff
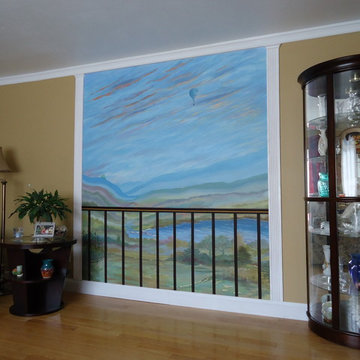
The "OZ" mural painted by Steven Graff in 2005 made the front page of the local newspaper along with the Artist.
The Artist has always enjoyed viewing the classic movie, "The Wizard of Oz" and wanted a permanent reminder. The mural is painted in durable acrylics. In fact, no acrylic painting or mural done by the Artist has ever cracked, peeled, or faded...paintings done in the mid-70's look exactly the same today. Reach the Artist with your comments or questions at his e-mail address: sgraff3@cox.net You may also enjoy reading storylines for some of his notable paintings at: stevethepaintist.simplesite.com
 tesa SE - International
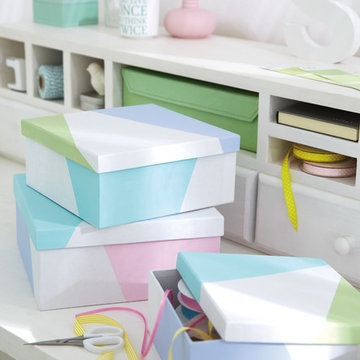
Everything in its place: One box for bows and ribbons, another for papers and a third for all those odds and ends – these boxes look great and keep order where you need it most.
HERE’S WHAT WE NEED:
Sturdy white cardboard boxes, paint brush, deco paints in a variety of pastel colours, tesa® Masking Tape for Wallpaper – Masking Tape PRECISION SENSITIVE 25 mm
AND THIS IS HOW IT’S DONE:
› Use the masking tape to create separate areas and press down the tape firmly.
› Paint each field with one of the pastel hues, while brushing away from the tape edge to prevent paint seeping underneath.
› Leave until touch-dry and peel off the masking tape.
› Leave the boxes to dry out completely.
23