
Search results for "Polished" in Home Design Ideas
 Dancer Concrete Design
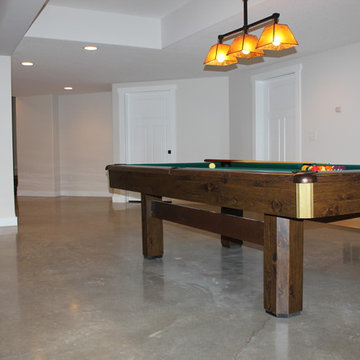
New construction opens a wide array of options when it comes to selecting finishes. For this particular client, they wanted a durable floor that was also aesthetically pleasing to complete their basement. Since there was no topical sealer on the new concrete, a polished flooring system was selected.
The basement itself was a little over 1200 square feet and featured a game room, main living area, bedrooms, bathrooms and a kitchen. All of the flooring was to be polished to a level 400 shine and finished with a densifier and stain guarding product. Polished concrete is the most durable flooring choice. It allows the concrete to breathe below grade, creates movement and character throughout the space and is very easy to maintain. With a pond out back, a polished concrete floor is easy to clean and will be able to withstand high traffic.
 Hawkins-Welwood Homes
Paul Go Images
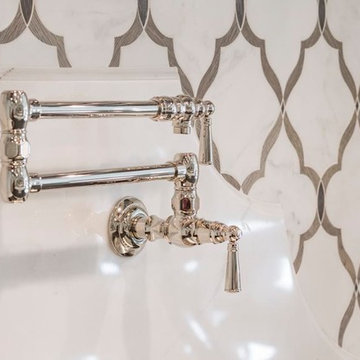
Example of a huge transitional l-shaped dark wood floor and brown floor eat-in kitchen design in Dallas with a farmhouse sink, raised-panel cabinets, white cabinets, marble countertops, multicolored backsplash, stone tile backsplash, stainless steel appliances and two islands
Example of a huge transitional l-shaped dark wood floor and brown floor eat-in kitchen design in Dallas with a farmhouse sink, raised-panel cabinets, white cabinets, marble countertops, multicolored backsplash, stone tile backsplash, stainless steel appliances and two islands
 collaborative interiors
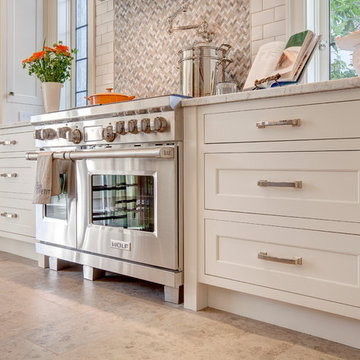
Cabinet design by: Collaborative Interiors |
Kitchen design by: Beverly Bradshaw Interiors |
Remodeler: McKinney Group |
Photographer: Tom Marks Photo |
***Please visit the Houzz page of Beverly Bradshaw Interiors for any info regarding this project***
Find the right local pro for your project
 Element Home Builders
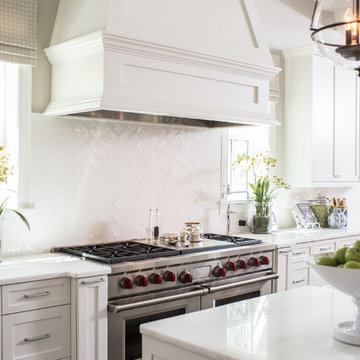
Inspiration for a mid-sized timeless l-shaped dark wood floor and brown floor enclosed kitchen remodel in Orlando with a farmhouse sink, shaker cabinets, white cabinets, solid surface countertops, stainless steel appliances, an island and white countertops
 Sweet Design Studio
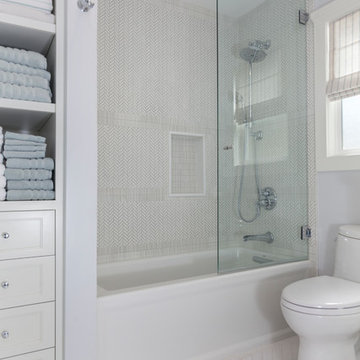
Mid-sized beach style kids' gray tile and ceramic tile ceramic tile and white floor bathroom photo in Huntington with shaker cabinets, white cabinets, a one-piece toilet, gray walls, a drop-in sink, quartzite countertops, a hinged shower door and white countertops
 The Schimberg Group Inc.
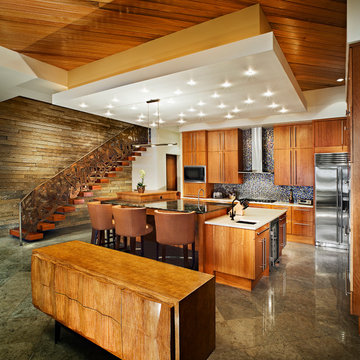
Trendy l-shaped kitchen photo in Tampa with an undermount sink, flat-panel cabinets, medium tone wood cabinets, multicolored backsplash, mosaic tile backsplash, stainless steel appliances and an island
 Clean Design
Donna Dotan Photography Inc.
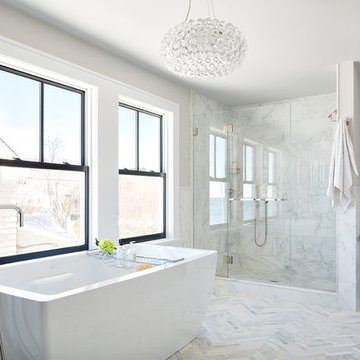
Example of a large trendy master white tile and stone tile marble floor bathroom design in New York with a one-piece toilet
Example of a large trendy master white tile and stone tile marble floor bathroom design in New York with a one-piece toilet

Sponsored
Sunbury, OH

J.Holderby - Renovations
Franklin County's Leading General Contractors - 2X Best of Houzz!
 GREAT FALLS Construction
Bob Narod Photography
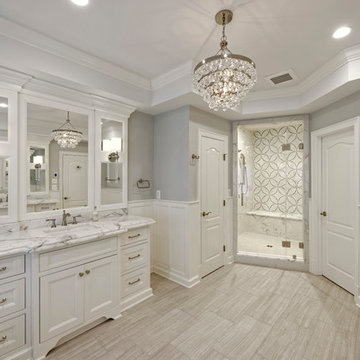
Freestanding bathtub - large traditional master porcelain tile and gray floor freestanding bathtub idea in DC Metro with shaker cabinets, white cabinets, gray walls, an undermount sink, marble countertops and gray countertops
Freestanding bathtub - large traditional master porcelain tile and gray floor freestanding bathtub idea in DC Metro with shaker cabinets, white cabinets, gray walls, an undermount sink, marble countertops and gray countertops
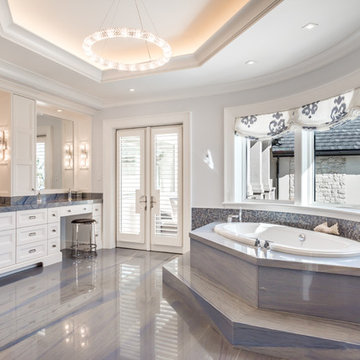
 BCB Homes, Inc.
Venjhamin Reyes
Tuscan master gray tile and mosaic tile gray floor drop-in bathtub photo in Other with recessed-panel cabinets, white cabinets, gray walls and gray countertops
Tuscan master gray tile and mosaic tile gray floor drop-in bathtub photo in Other with recessed-panel cabinets, white cabinets, gray walls and gray countertops
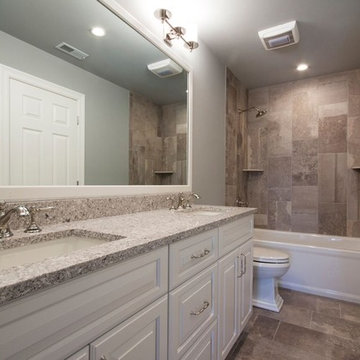
 QUALITY BUILDING AND RENOVATIONS LLC
Example of a mid-sized transitional 3/4 beige tile and travertine tile travertine floor and beige floor bathroom design in St Louis with raised-panel cabinets, white cabinets, a two-piece toilet, gray walls, an undermount sink and granite countertops
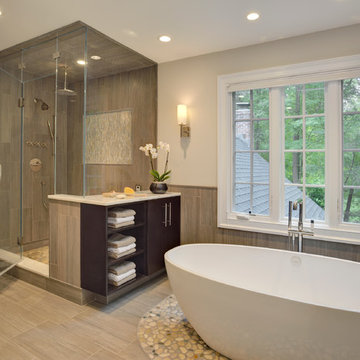
 Rachel Belden Interior Design LLC
Roy Weinstein and Ken Kast of Roy Weinstein Photographer
Inspiration for a large contemporary master gray tile and porcelain tile porcelain tile and beige floor bathroom remodel in New York with flat-panel cabinets, dark wood cabinets, marble countertops, a one-piece toilet, an undermount sink, gray walls and a hinged shower door
Inspiration for a large contemporary master gray tile and porcelain tile porcelain tile and beige floor bathroom remodel in New York with flat-panel cabinets, dark wood cabinets, marble countertops, a one-piece toilet, an undermount sink, gray walls and a hinged shower door
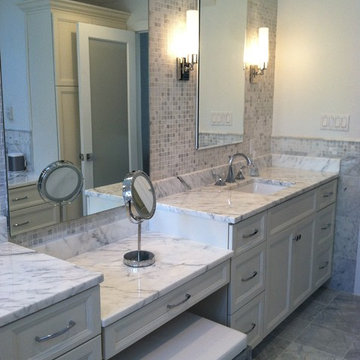
 Kitchen Technology
Beautiful carrera marble master bathroom accented with polished chrome hardware and fixtures.
Inspiration for a large modern master gray tile and stone tile marble floor bathroom remodel in Philadelphia with an undermount sink, recessed-panel cabinets, white cabinets, marble countertops, a one-piece toilet and gray walls
Inspiration for a large modern master gray tile and stone tile marble floor bathroom remodel in Philadelphia with an undermount sink, recessed-panel cabinets, white cabinets, marble countertops, a one-piece toilet and gray walls

 Proto Homes, LLC
Proto Homes, LLC
Living room - contemporary open concept living room idea in Los Angeles with a ribbon fireplace
Living room - contemporary open concept living room idea in Los Angeles with a ribbon fireplace
Sponsored
Columbus, OH

Hope Restoration & General Contracting
Columbus Design-Build, Kitchen & Bath Remodeling, Historic Renovations

 Tile Doctor Ltd
This Tumbled Travertine tiled floor at a beautiful house in Horley had been poorly maintained through the years using the wrong type of sealer which quickly wore down allowing dirt to become ingrained in the stone. The owner had become concerned about the state of the tiles and decided it was time to call in an expert that could restore the tiles to a condition that complimented the environment in which it was situated.
Travertine is known for being very distinctive in character and very durable, making it a very popular choice for tiled flooring in properties worldwide. However, the stone does require regular professional maintenance and polishing to keep it looking it top shape and home owners rarely realise this when they decide to have it installed. Fortunately, in the UK at least you can rely on your local tile doctor to maintain it for you.
The first part of the job involved giving the floor a thorough clean to remove what was left of old sealers and any polishing compounds that remained on the floor. Before beginning that however I brought in all my equipment and products into the house and then prepped the area by taping up the woodwork to protect it during the renovation process.
To remove what was left of the old sealers and other coatings still present on the floor a strong solution of Tile Doctor Remove and Go was applied to the floor and left to soak in for about ten minutes before being actively worked in with a rotary machine fitted with a black scrubbing pad. The solution turned black with the soil as it was lifted out of the pores of the stone and it was then rinsed off with water and extracted with a wet vacuum.
Following this, we moved on to a process we know as burnishing that hones the stone and brings up the polished appearance. Working in sections due to the size of the floor It involves the application of a series of diamond encrusted burnishing pads from coarse through to very fine.
The coarse 400-grit pad fitted to the rotary floor buffer and run over the floor using only water for lubrication. The water turns into a slurry as the pad does its job removing dirt and this has to be rinsed off the floor and extracted with the wet vacuum before applying the next pad. The process was then repeated with medium 800 grit pad for an initial polish followed by the Fine 1500 grit pad for the second polish using water for lubrication and rinsing and extracting in between each pad.
The last pad is a very fine 3000 grit pad for the final polish and is applied with only a little water sprayed onto the floor using a technique we call a Spray Burnish. This last pad really brings up the polished appearance of the stone.
To bring up the appearance of the stone even further and add a really durable polish Tile Doctor Shine Powder was applied. This is a crystallising powder sealer that ensures a very high shine and a tough, durable finish. This powder is applied directly to the tiles in combination with approximately ½ a litre of water and a soft white buffing pad.
Last step was to add to the protection provided by the Shine Powder with two coats of Tile Doctor Ultra-Seal which is a natural look sealer that doesn’t change the look of the stone and is applied to the stone and grout. This sealer works by seeping into the stone, occupying the pores and preventing dirt from becoming ingrained.
The customer was ecstatic with the results, being particularly pleased that she got the floor looking the way she originally wanted without significant expense, not to mention stress.
Michael Conlon
East Surrey Tile Doctor
 Tile Doctor Ltd
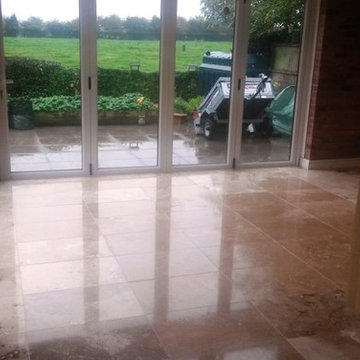
This customer had some real difficulty in getting their fantastic Travertine tiled kitchen area looking as good as it should. The cleaning methods they had previously employed were unable to prevent the tiles from appearing dull, and the customer was also unable to deal with the displeasing marks and small cracks damaging the stone.
Keen to get the floor back to looking its best, the customer called me down to their property, which overlooks the beautiful countryside area of Ashbourne, to see what could be done to restore the tiles.
Upon my arrival at the property, I assessed the situation and resolved that the best way to restore the polish and general appearance of the floor was to use a process known as burnishing. The burnishing process, which involves the application of four diamond encrusted polishing pads of varying grit, works to grind away ingrained dirt while smoothing and polishing rough surfaces. Most commonly we use burnishing to restore the shine to Limestone and Marble tiles, but it can be used on most types of natural stone floor where a deep polish is required.
To start the process, I applied the Coarse 400 grit burnishing pad to the floor using a small amount of water as lubrication in order to break down and remove any old sealer from the stone. Once this had been done across the entirety of the floor, I removed any soiled water with a wet-vac machine; this removal of soiled residue was repeated after each use of a burnishing pad.
Next, I moved on to the Medium 800 grit pad which is less coarse than the 400 grit, but still rough enough still to break down layers of ingrained dirt. I followed this up with the application of a Fine 1500 grit pad, which started to smooth down the rough areas of the surface to prepare the floor for a final polish with an even finer burnishing pad later on. Before moving straight on to the final of the four pads, I took the time to carefully fill in the all of the small cracks and holes in the stone, before leaving the floor to dry until the next day.
The next morning, I returned to the property to finish off the floor restoration. As soon as I arrived I used a damp tester to make sure the floor was completely dry. Noticing a number of small damp spots, I opted to use my heat gun to speed up the drying process.
Once the floor was completely dry, I used the Very Fine 3000 burnishing pad – the last of the four – without any lubricant to finally achieve a high quality polished finish. For polished floors it is recommended to use an impregnating sealer that penetrates into the pores of the stone rather than sitting on the surface of the floor, as this ensures the quality of the polish isn’t damaged.
As such I opted to use Tile Doctor Colour Grow to seal the tiles. This is a colour intensifying sealer that provides durable surface protection and allows the surface to breathe whilst enhancing the natural colours in the stone. It’s important that any sealer that doesn’t penetrate into the stone is removed by polishing it off with a cloth.
After completing the seal, I went over the floor for a final time with the 3000 grit diamond burnishing pad to leave a smooth and shiny polished finish. Needless to say that the customer was very happy with result as they had never before been able to get the floor looking this good!
Tony Olmet
Derbyshire Tile Doctor
 RÜME
RÜMEEmily O'Brien
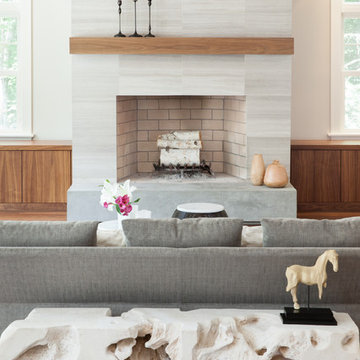
Inspiration for a large transitional open concept medium tone wood floor living room remodel in Boston with gray walls, a standard fireplace and a stone fireplace
Inspiration for a large transitional open concept medium tone wood floor living room remodel in Boston with gray walls, a standard fireplace and a stone fireplace
 Kelly Marie Interior Design
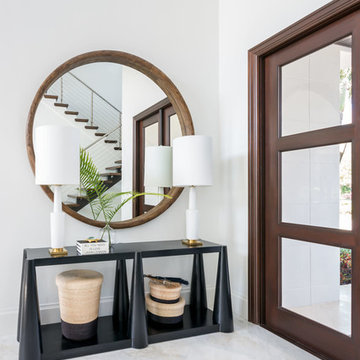
Example of a beach style white floor entryway design in Miami with white walls and a glass front door
Sponsored
Sunbury, OH
J.Holderby - Renovations
Franklin County's Leading General Contractors - 2X Best of Houzz!
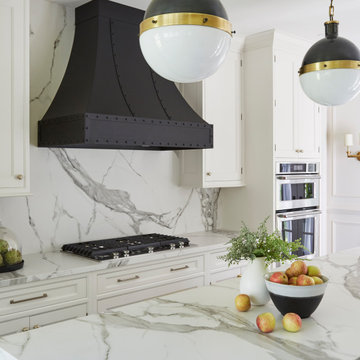
 PB Kitchen Design
The light filled space has large windows and four doors, but works well in the strategically configured floor plan. Generous wall trim, exquisite light fixtures and modern stools create a warm ambiance. In the words of the homeowner, “it is beyond our dreams”.
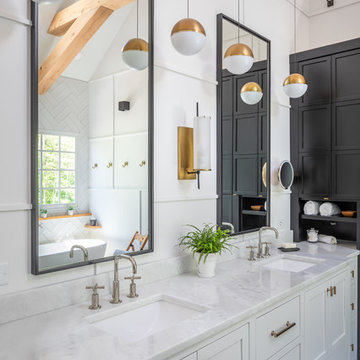
 Clearcut & Co
Example of a mid-sized cottage master white tile and ceramic tile porcelain tile and brown floor bathroom design in Raleigh with recessed-panel cabinets, white cabinets, a two-piece toilet, white walls, an undermount sink, marble countertops, a hinged shower door and white countertops
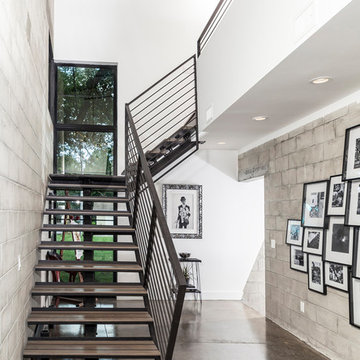
 Joe Traina Photography
Staircase - industrial l-shaped open and cable railing staircase idea in Tampa
47