
Search results for "Preparation" in Home Design Ideas
 Darcy Bean Custom Construction Inc.
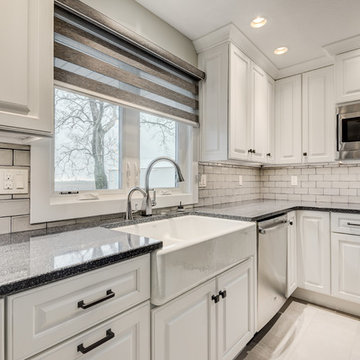
White cabinetry with raised panel doors will stand the test of time, radiating a fresh and clean appearance. Modern lines and spacious countertop allow for plenty of preparing and entertaining space!
#modern #doors #preparing #panels #appearances #countertops #entertaining #prepare #radiation

 Villa Inspired / San Diego Faux Finish
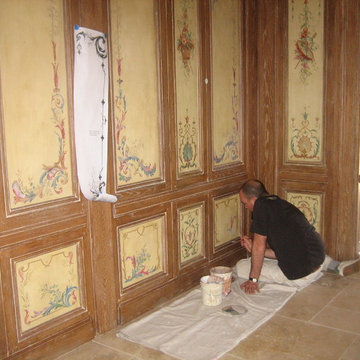
Custom hand painted panels on the right and left side of each center. Matching the style and painting technique of the original French Chinoserie panels. Artist Dan Allen
Find the right local pro for your project
 Threaded Studios, PLLC
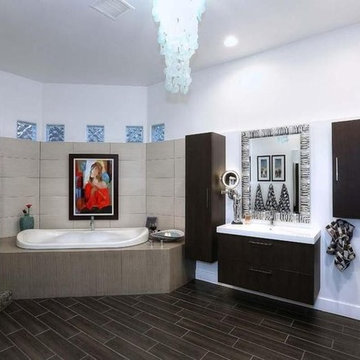
Example of a mid-sized trendy master beige tile and porcelain tile porcelain tile drop-in bathtub design in Phoenix with flat-panel cabinets, brown cabinets, a two-piece toilet, white walls, an integrated sink and solid surface countertops
 Effectively Organized
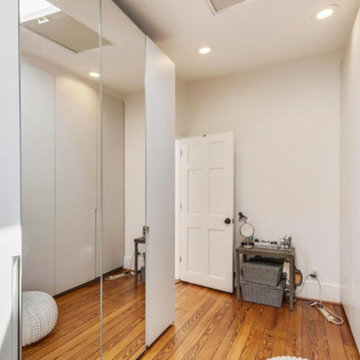
Inspiration for a small timeless gender-neutral dark wood floor and brown floor reach-in closet remodel in DC Metro with flat-panel cabinets and white cabinets

 Renovate Paint and Design
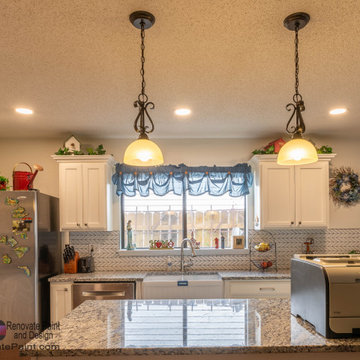
Updating Process:
> Prepare/Demo: Protect flooring and furniture with plastic. Remove: flooring, fixtures, countertops and cabinets, vent hood ,stove, ceiling light boxes. Tape, float, and texture area as needed. Haul off all debris.
> Construct, paint, and install new wall, soft-close cabinets. Install door and drawer pulls.
> Construct, paint, and install new island, soft-close cabinets. Install door and drawer pulls.
Kitchen Countertops and Tile Backsplash:
> Install new quartz countertops Level 3 with standard edge profile and cut out for farm house sink.
> Prepare wall surfaces between cabinets for tile backsplash.
> Install and grout tile backsplash.
Kitchen Plumbing and Appliances Installed:
> Install new farm house sink and faucet and connect up plumbing.
> Install stove, vent hood, dishwasher, garbage disposal.
Kitchen Electrical:
> Install 2 pendant lights over bar. Install new switch.
> Install 4 new recess LED lights in front of kitchen cabinets.
Flooring Installed:
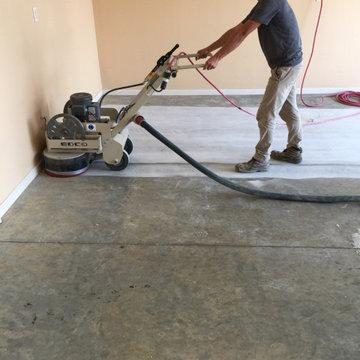
> Where flooring was removed prepare concrete surfaces.
> Install new Luxury Vinyl Floor in kitchen, eating area, laundry room, living space, foyer, and small hall.
> Once flooring is installed, install shoe molding along baseboards. Caulk and fill nail holes.
Additions:
> Install 24 inch new credenza on cabinet wall. Credenza will have two rows of drawers.
> At the end of the island, install new personal desk.
> Prime and paint ceiling light over dining table.
 Keep Calm and Stage LLC
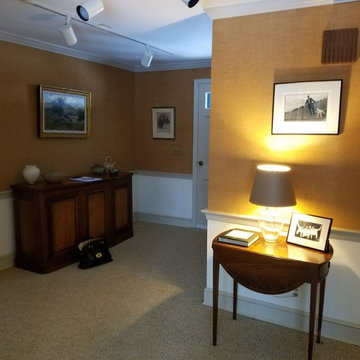
Before photo of entry hall.
Dark, dated lighting, old, stained carpet.
Inspiration for an eclectic entryway remodel in New York
Inspiration for an eclectic entryway remodel in New York



 Homeowner Services of Michigan LLC
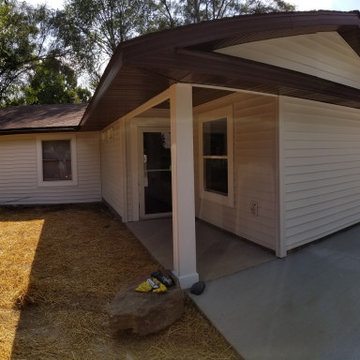
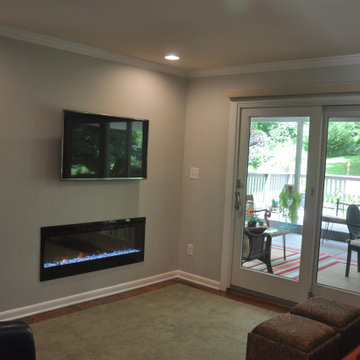
Homeowner Services of Michigan (HSM) is excited to share the details of a new 16' x 22' family room expansion in Ann Arbor, Michigan. This project reflects our dedication to meeting our clients' specific needs.
Our clients approached us needing more space for their growing family and wanted a seamless integration with their existing home. After thorough consultations, we developed a plan to bring their vision to life.
The project began with careful architectural planning. We worked with a local architect to create detailed plans and secured all necessary permits to ensure compliance with local building codes.
Site preparation involved demolishing an existing carport, grading, and excavation to prepare the building pad for the new foundation. This step was essential to ensure a stable base for the construction.
Our team then focused on structural framing, tying the new addition to the existing home. We ensured that the new structure matched the current architectural style for a seamless blend. The addition was then roofed and sheathed to provide a sturdy and weatherproof exterior.
Next, we addressed the electrical work, installing new circuits for lighting, HVAC, and receptacles, and adding smoke and carbon monoxide detectors to meet safety standards. A licensed journeyman electrician performed the electrical service to ensure high-quality and compliant installations.
Insulation and drywall installation followed. We installed batt insulation to meet or exceed Michigan Energy Code requirements. The interior surfaces were finished with drywall, taping, mudding, sanding, and priming to prepare for painting. Baseboard molding and trim around doors and windows added the finishing touches.
Exterior features were also important. We framed and installed new windows and a front entry door and added a front eyebrow vent feature to match the existing structure. Vinyl siding was installed to complete the exterior, ensuring a cohesive look and enhanced curb appeal.
Throughout the project, we maintained a clean and professional worksite, disposing of debris responsibly and minimizing disruption to the client's daily lives. Our focus was always on delivering quality and ensuring client satisfaction.
This home addition project highlights our commitment to understanding and fulfilling our clients' needs. We are proud to have added valuable space and enhanced the overall functionality and aesthetic of the home.
These folks had a vision, a budget, and a whole lot of patience. We got through this family room remodel during a global pandemic. What great people to work with!



 Margot Hartford Photography
Photo: Margot Hartford © 2016 Houzz
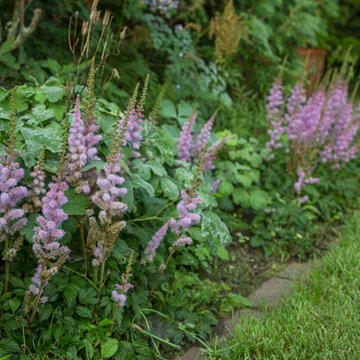
Photo of a traditional landscaping in Toronto.
Photo of a traditional landscaping in Toronto.

 Peacock & Owl
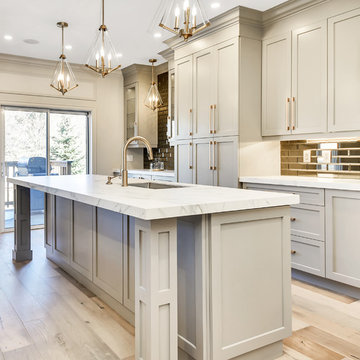
For Resale purposes we left the back windows open to keep the emphasis on the trim work and not hide the beautiful view. I
Inspiration for a transitional kitchen remodel in Toronto
Inspiration for a transitional kitchen remodel in Toronto
 Margot Hartford Photography
Photo: Margot Hartford © 2016 Houzz
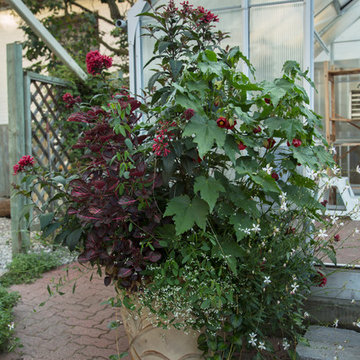
Photo of a traditional landscaping in Toronto.
Photo of a traditional landscaping in Toronto.
 Peacock & Owl
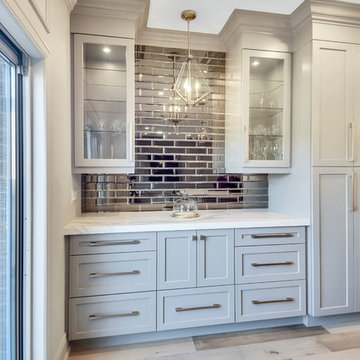
For Resale purposes we left the back windows open to keep the emphasis on the trim work and not hide the beautiful view. I
Transitional kitchen photo in Toronto
Transitional kitchen photo in Toronto
 Peacock & Owl
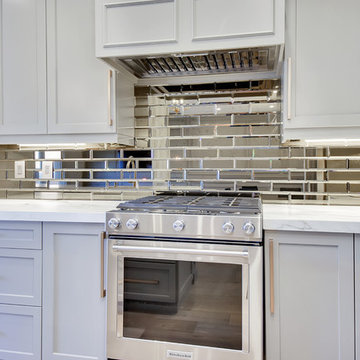
For Resale purposes we left the back windows open to keep the emphasis on the trim work and not hide the beautiful view. I
Kitchen - transitional kitchen idea in Toronto
Kitchen - transitional kitchen idea in Toronto
25