
Search results for "Preventing damage" in Home Design Ideas
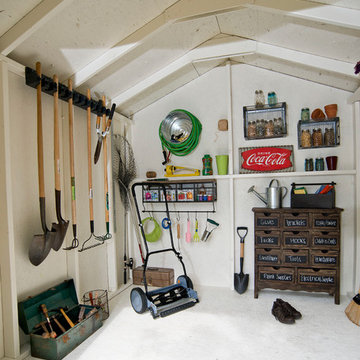



 Innovative Design Build
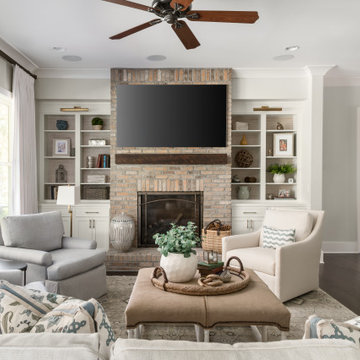
Example of a transitional open concept dark wood floor and brown floor living room design in Atlanta with gray walls, a standard fireplace, a brick fireplace and a wall-mounted tv
Find the right local pro for your project
 Hugh Jefferson Randolph Architects
Casey Dunn
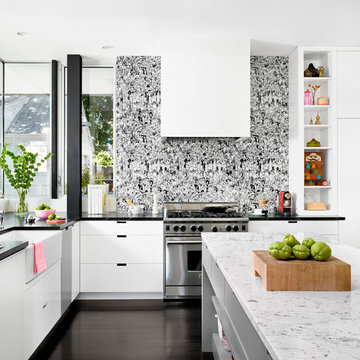
Inspiration for a contemporary kitchen remodel in Austin with a farmhouse sink, flat-panel cabinets and white cabinets
Inspiration for a contemporary kitchen remodel in Austin with a farmhouse sink, flat-panel cabinets and white cabinets
 Deborah Leamann
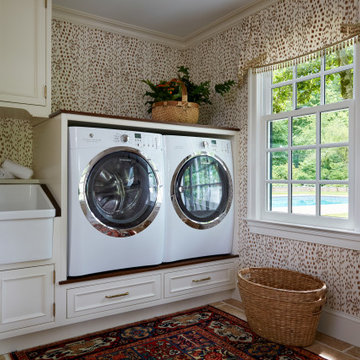
This laundry has the same stone flooring as the mudroom connecting the two spaces visually. While the wallpaper and matching fabric also tie into the mudroom area. Raised washer and dryer make use easy breezy. A Kohler sink with pull down faucet from Newport brass make doing laundry a fun task.

 Industrial Projects
Creating a comfortable outdoor living space is a priority for many homeowners and DIY enthusiasts. With rising summer temperatures, installing a shade tarp in your backyard offers an affordable and effective solution for sun protection. We’ve developed this detailed, step-by-step guide to help you confidently install a shade tarp that not only shields you from the sun but also adds aesthetic appeal to your outdoor area.
Benefits of Installing a Backyard Shade Tarp
Before diving into the installation process, let’s explore the key benefits of having a backyard shade tarp:
Provides UV Protection: Keeps your family and guests safe from harmful sun exposure.
Reduces Outdoor Temperatures: Creates a cooler, more enjoyable outdoor space.
Protects Outdoor Furniture: Extends the life of patio furniture by reducing sun damage.
Enhances Outdoor Aesthetics: Adds a modern, stylish look to your yard.
Budget-Friendly: More affordable compared to permanent structures like pergolas.
Materials and Tools You’ll Need
To begin your DIY backyard shade project, gather the following materials and tools:
Materials:
Shade tarp (UV-resistant and breathable)
Sturdy posts or existing structures (trees, fences, walls)
Mounting hardware (eye bolts, D-rings, turnbuckles, snap hooks)
Nylon or polyester rope, or stainless-steel wire
Concrete (if installing new posts)
Tools:
Power drill
Measuring tape
Level
Ladder
Wrench or adjustable spanner
Post hole digger (if installing new posts)
Step 1: Plan Your Shade Tarp Layout
The first step in installing your backyard shade tarp is careful planning. Take time to assess your outdoor area and answer these key questions:
Where is the sun’s path throughout the day?
What size and shape of tarp best suits your space?
Will you anchor the tarp to existing structures or install new posts?
What height do you want the tarp to sit at for maximum shade and airflow?
Pro Tip: Use string or garden hoses to visualize the tarp layout on the ground before making permanent decisions.
Step 2: Measure and Mark Anchor Points
Once you’ve determined the tarp’s location and orientation:
Measure the tarp dimensions.
Mark the exact points where each corner of the tarp will be anchored.
Ensure that the anchor points are at least 5–10% longer than the tarp size to allow for tensioning and slight adjustments.
Consider slope angles for water runoff. Aim for at least a 20-degree angle to prevent water pooling on the tarp.
Step 3: Install Support Posts (If Necessary)
If your backyard lacks existing anchor points like trees or fences, you’ll need to install sturdy support posts:
Dig post holes at least 24 inches deep and 8-12 inches wide for stability.
Set posts in concrete, making sure they remain plumb and level.
Allow the concrete to cure for at least 24–48 hours before applying tension from the tarp.
We recommend using pressure-treated wood, galvanized steel poles, or aluminum posts for longevity and strength.
Step 4: Install Mounting Hardware
With your anchor points ready, it’s time to install the necessary hardware:
Attach eye bolts or pad eyes securely into walls, posts, or other fixed structures.
For added flexibility and adjustability, install turnbuckles or tensioners to fine-tune the tarp’s tightness.
Connect snap hooks, D-rings, or carabiners to make assembly and disassembly easier.
Make sure all hardware is rated for outdoor use to prevent rust and corrosion.
Step 5: Attach and Tension the Shade Tarp
Now it’s time for the most satisfying part—mounting the shade tarp:
Begin by attaching one corner of the tarp to an anchor point.
Gradually attach the remaining corners, moving diagonally for even tension.
Adjust each connection point using your turnbuckles, ropes, or cables.
Pull the tarp tight enough to avoid sagging, but not so tight that it risks tearing.
Check that the tarp maintains the desired slope for rainwater runoff and adjust tension as needed.
Step 6: Final Adjustments and Safety Check
Before enjoying your new shaded area:
Inspect all anchor points and hardware for stability.
Test the tarp’s tension and make adjustments for even distribution.
Ensure that no sharp edges or loose connections remain that could damage the tarp or pose a safety hazard.
Confirm that the tarp is secure in windy conditions by giving it a gentle tug.
If you live in an area with frequent high winds, consider removing the tarp during storms to prevent damage.
Step 7: Enjoy Your Shaded Backyard Oasis
Once installed, your backyard shade tarp provides a comfortable and protective space for outdoor gatherings, relaxation, or family activities. You can decorate underneath with outdoor furniture, string lights, or potted plants to create a personalized outdoor retreat.
Maintenance Tips for Long-Lasting Shade Tarp Performance
To extend the life of your shade tarp, follow these maintenance guidelines:
Regularly check for wear and tear, especially around anchor points and seams.
Clean the tarp periodically with mild soap and water to prevent mildew buildup.
Store the tarp indoors during harsh weather seasons if it's not designed for year-round use.
Tighten hardware as needed to maintain proper tension and avoid sagging.
By following these simple care steps, your shade tarp will continue to deliver years of sun protection and outdoor comfort.
Conclusion: Upgrade Your Outdoor Space with a DIY Shade Tarp
Installing a shade tarp in your backyard is a cost-effective and rewarding DIY project. With careful planning, quality materials, and proper installation techniques, you’ll enjoy cool, shaded outdoor living all season long. This step-by-step guide ensures your project goes smoothly from start to finish.
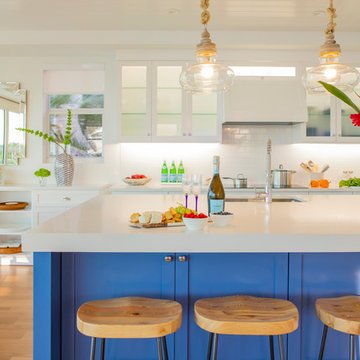
 Interiors by Maite Granda
A "Happy Home" was our goal when designing this vacation home in Key Largo for a Delaware family. Lots of whites and blues accentuated by other primary colors such as orange and yellow.
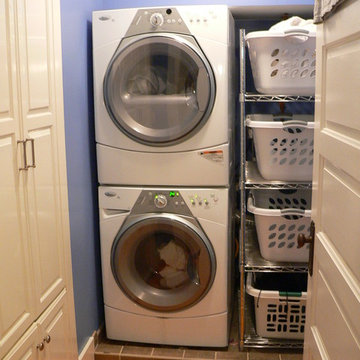
 The Kitchen Place
A small 2nd floor laundry room was added to this 1910 home during a master suite addition. The linen closet (see painted white doors left) was double sided (peninsula tall pantry cabinet) to the master suite bathroom for ease of folding and storing bathroom towels. Stacked metal shelves held a laundry basket for each member of the household. A custom tile shower pan was installed to catch any potential leaks or plumbing issues that may occur down the road....and prevent ceiling damage in rooms beneath. The shelf above holds a steam generator for the walk in shower in the adjacent master bathroom.
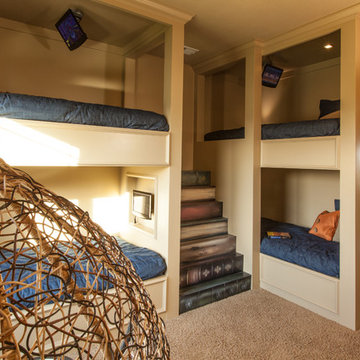

 NEXUS 21
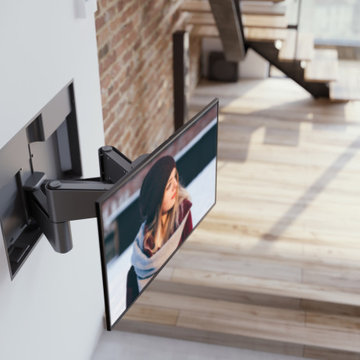
The Apex Motorized TV Wall Mount is just as sleek as it is functional. It's the first motorized mount that fits completely inside the wall, with an ultra-slim installation profile of approximately 1". "Smart Drive" technology prevents damage to the mount when it's moved manually, and dedicated component-mounting locations and the COBRA Concealed Cable-Management System provide a sleek aesthetic and prevent cable wear and tear. It also features 3 positional presets, a simple installation process and smooth, quiet motion.
 Sweet Smiling Landscape Design
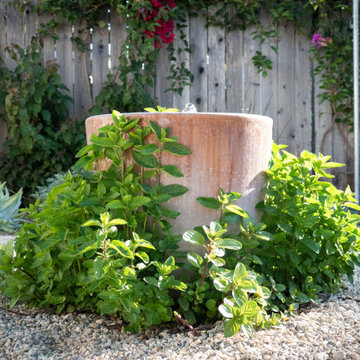
Inspiration for a mid-sized modern full sun backyard gravel and wood fence water fountain landscape in Santa Barbara for spring.

 Buchmann Design
Oscar Zagal
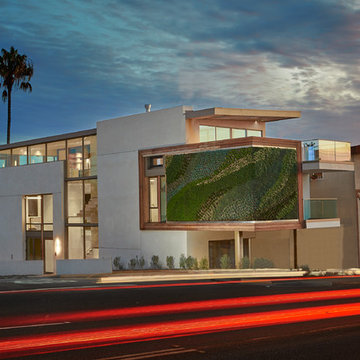
Inspiration for a large contemporary white three-story concrete exterior home remodel in Los Angeles with a shed roof
Inspiration for a large contemporary white three-story concrete exterior home remodel in Los Angeles with a shed roof

 dhd damir hurdich design
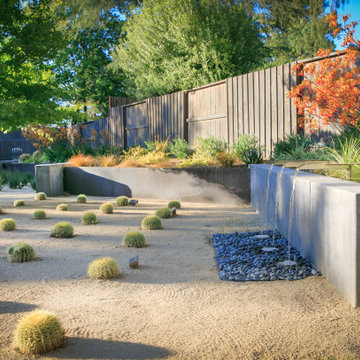
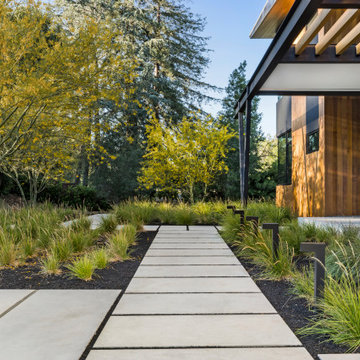
This is an example of a contemporary full sun concrete paver landscaping in San Francisco with a pergola.
 designs by human.
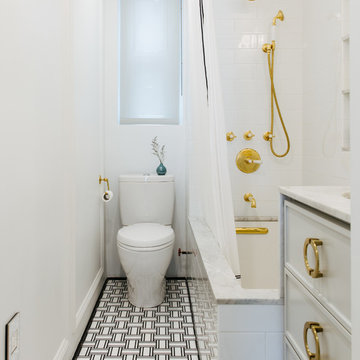
Discover inspiration for small and narrow bathroom designs with this elegant transitional space featuring a striking black and white basketweave mosaic tile floor. This functional yet stylish bathroom boasts a white subway-tiled shower with luxurious gold fixtures, a sleek white vanity with coordinating gold hardware, and a space-saving toilet, creating a bright and sophisticated aesthetic perfect for modern homes.
 TKS Design Group
Download our free ebook, Creating the Ideal Kitchen. DOWNLOAD NOW
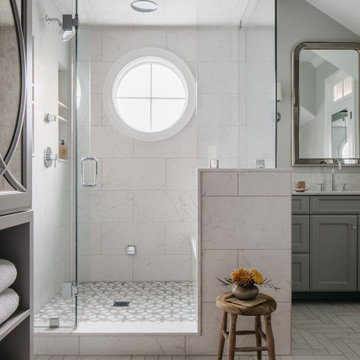
Our clients were in the market for an upgrade from builder grade in their Glen Ellyn bathroom! They came to us requesting a more spa like experience and a designer’s eye to create a more refined space.
A large steam shower, bench and rain head replaced a dated corner bathtub. In addition, we added heated floors for those cool Chicago months and several storage niches and built-in cabinets to keep extra towels and toiletries out of sight. The use of circles in the tile, cabinetry and new window in the shower give this primary bath the character it was lacking, while lowering and modifying the unevenly vaulted ceiling created symmetry in the space. The end result is a large luxurious spa shower, more storage space and improvements to the overall comfort of the room. A nice upgrade from the existing builder grade space!
Photography by @margaretrajic
Photo stylist @brandidevers
Do you have an older home that has great bones but needs an upgrade? Contact us here to see how we can help!
 kelly mcguill home
kyle caldwell
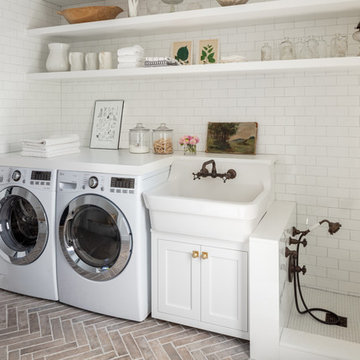
Country single-wall brick floor utility room photo in Boston with a farmhouse sink, open cabinets, white cabinets, white walls, a side-by-side washer/dryer and white countertops
Country single-wall brick floor utility room photo in Boston with a farmhouse sink, open cabinets, white cabinets, white walls, a side-by-side washer/dryer and white countertops
 Kankel Conroy Rose & Hill Landscape Architecture
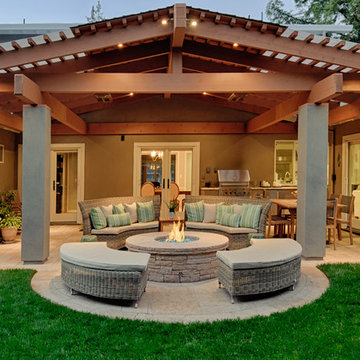
The homeowners desired an outdoor space that felt more rustic than their refined interior spaces, but still related architecturally to their house. Cement plaster support arbor columns provide enough of visual tie to the existing house exterior. Oversized wood beams and rafter members provide a unique outdoor atmosphere. Structural bolts and hardware were minimized for a cleaner appearance. Structural connections and supports were engineered to meet California's stringent earthquake standards.
Ali Atri Photography

1