
Search results for "Refurbished" in Home Design Ideas


 Urban Refurbishment, LLC
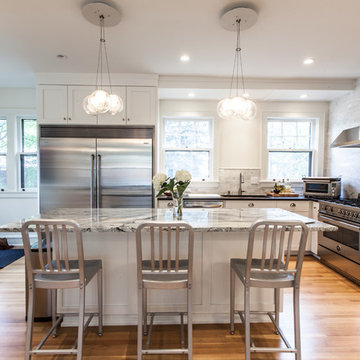
Inspiration for a timeless galley light wood floor eat-in kitchen remodel in Minneapolis with an undermount sink, shaker cabinets, white cabinets, quartz countertops, gray backsplash, stone tile backsplash, stainless steel appliances and an island
Find the right local pro for your project
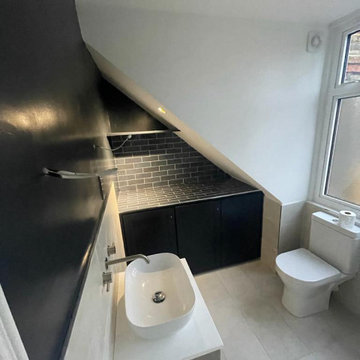
 The Home Refurbishment Company
1. Remove all existing flooring, fixtures and fittings
2. Install new electrical wiring and lighting throughout
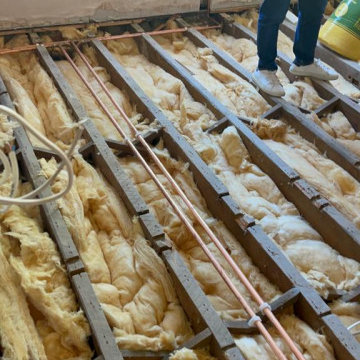
3. Install new plumbing systems
4. Fit new flooring and underlay
5. Install new door frames and doors
6. Fit new windows
7. Replaster walls and ceilings
8. Decorate with new paint
9. Install new fitted wardrobes and storage
10. Fit new radiators
11. Install a new heating system
12. Fit new skirting boards
13. Fit new architraves and cornicing
14. Install new kitchen cabinets, worktops and appliances
15. Fit new besboke marble bathroom, showers and tiling
16. Fit new engineered wood flooring
17. Removing and build new insulated walls
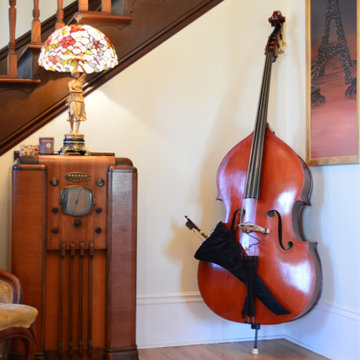
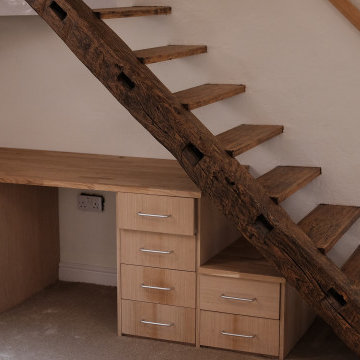
18. Bespoke joinery works and Wardrobe


 Sea Pointe Design & Remodel
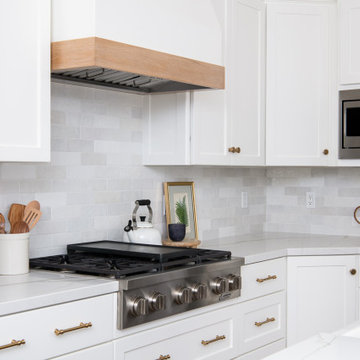
Refurbished cabinets in white
Inspiration for a coastal l-shaped brown floor eat-in kitchen remodel in Orange County with a farmhouse sink, white cabinets, quartzite countertops, white backsplash, porcelain backsplash, stainless steel appliances, an island and white countertops
Inspiration for a coastal l-shaped brown floor eat-in kitchen remodel in Orange County with a farmhouse sink, white cabinets, quartzite countertops, white backsplash, porcelain backsplash, stainless steel appliances, an island and white countertops
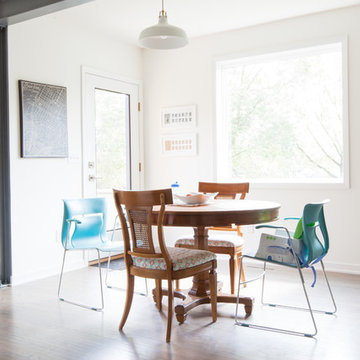 Urban Refurbishment, LLC
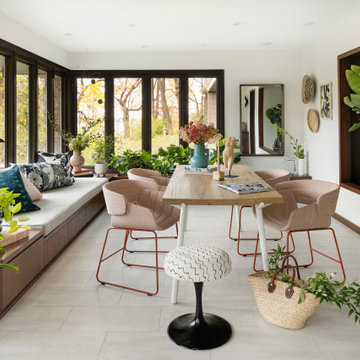
Example of a large trendy dark wood floor great room design in Minneapolis with white walls and a standard fireplace
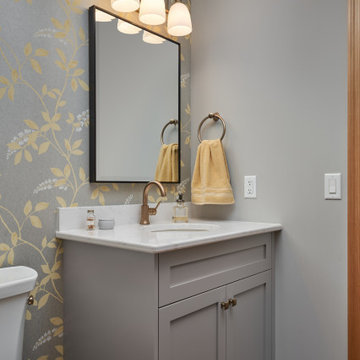
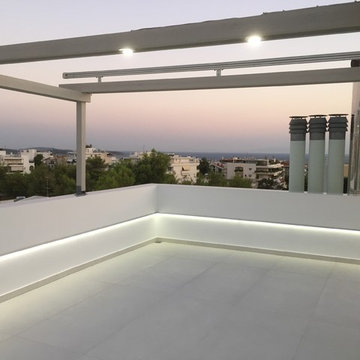

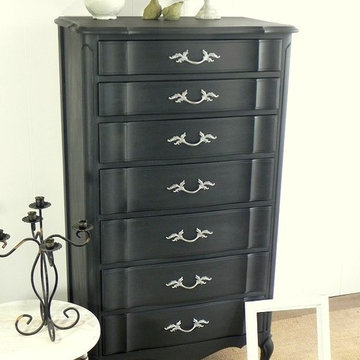


 RadyInterior | Luxury Interior Design UAE
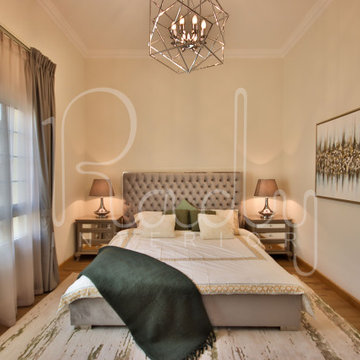
RadyInterior undertook a remarkable renovation and refurbishment of this villa, elevating its quality of living to new heights. With meticulous attention to detail, we transformed the space into a haven of comfort. From exquisite finishes and elegant furnishings to innovative layouts and functional amenities, every aspect was carefully designed to enhance the villa’s functionality and aesthetic appeal. The result is a harmonious blend of style and functionality, providing the residents with an enhanced and elevated living experience in their revitalized villa.
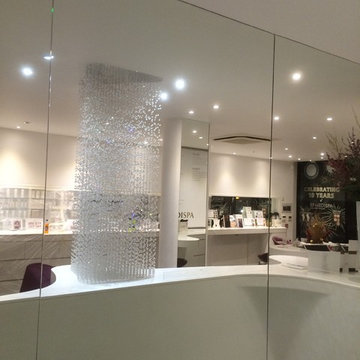

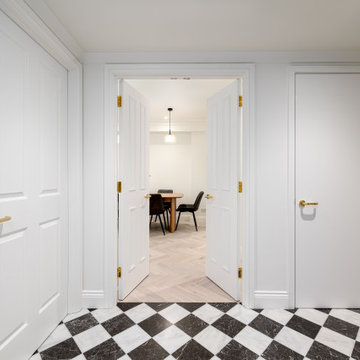
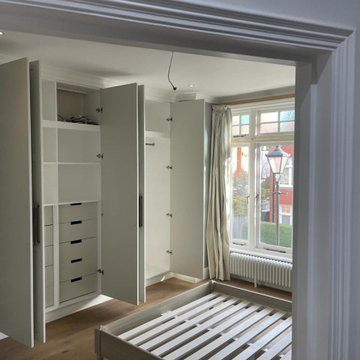 The Home Refurbishment Company
1. Remove all existing flooring, fixtures and fittings
2. Install new electrical wiring and lighting throughout
3. Install new plumbing systems
4. Fit new flooring and underlay
5. Install new door frames and doors
6. Fit new windows
7. Replaster walls and ceilings
8. Decorate with new paint
9. Install new fitted wardrobes and storage
10. Fit new radiators
11. Install a new heating system
12. Fit new skirting boards
13. Fit new architraves and cornicing
14. Install new kitchen cabinets, worktops and appliances
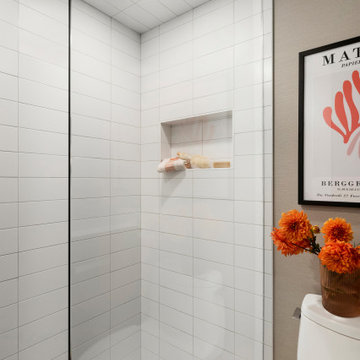
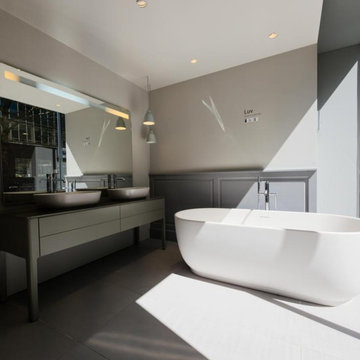
15. Fit new besboke marble bathroom, showers and tiling
16. Fit new engineered wood flooring
17. Removing and build new insulated walls
18. Bespoke joinery works and Wardrobe


40