
Search results for "Strong comments" in Home Design Ideas
 Tile Doctor Ltd
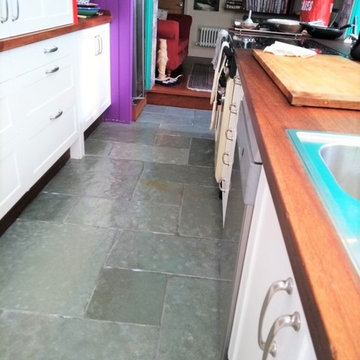
I recently helped a homeowner from my home town of Dursley who got in touch about her kitchen Flagstone floor. The problem revolved around an accident she had with raspberries which had stained the flagstones and the problem became compounded when a house hold clearing product was applied neat to clean up the mess. If you follow any of our Tile Doctor blogs, you will know that using strong household cleaning products can damage the sealer and, in this case, it had left white marks on the floor.
I called round to the property to survey the floor as was surprised to find out that the floor had been cleaned and sealed only four months prior by another company. I don’t like to comment on other people’s work, but I found the grout lines and flagstones were still badly ingrained with dirt, so it wasn’t a through job.
I completed by survey and demonstrated the process I would follow to resolve the issues on one of the flagstone tiles. She could not believe the difference I was able to make and booked me in straight away to restore the entire floor.
My first task was to protect the wooden kitchen units from splashing that can happen when cleaning the floor. Once that was done, I set about stripping the sealer from the floor and deep cleaning the tile and grout with a strong dilution of Tile Doctor Pro-Clean. Pro-Clean is a concentrated, multi-purpose high-alkaline cleaner, stripper and degreaser which is safe to use on all types of tile, stone and grout including natural stone.
Working in sections across the Kitchen and adjacent dining room I diluted one part Pro-Clean to two parts water and mopped it onto the flagstones and grout where I left it to soak in for roughly fifteen minutes. Then using a rotary floor buffer fitted with a black scrubbing pad I scrubbed the solution into the floor into the old sealer and trapped dirt came away turning the cleaning fluid black in the process. The soil was then rinsed off with water and then extracted with a powerful 3,000 watt wet and dry vacuum. This process was repeated until I was satisfied the floor was clean and I ran a stiff grout brush along the grout lines to ensure they also received a good scrub. After I was satisfied the section was clean it was rinsed thoroughly with water to neutralise the floor and remove any trace of product and then dried with the wet and dry vacuum.
The cleaning process took up the whole day, but the flagstones would need to be dry before sealing so after giving the owner an update I left the floor for two days, so it could dry out thoroughly.
On my return I tested the floor was dry in multiple places with a damp meter to ensure it was ready to be sealed. The readings showed that the wet and dry vacuum had done a good job in removing the moisture, so all was well. To seal I applied several coats of Tile Doctor Seal and Go allowing each coat to dry before applying the next however with such a large area to cover I was able to work in sections around the floor.
Seal and Go works really well on Flagstones and leaves a very appealing sheen finish, also being water based it doesn’t leave a smell as it dries.
The results were amazing, and the customer thanked me for making such a massive improvement on her floor. Before leaving I made sure to discuss after-care and to avoid the use of hash cleaning products.
Malcolm Crowther
Gloucester Tile Doctor
 Tile Doctor Ltd
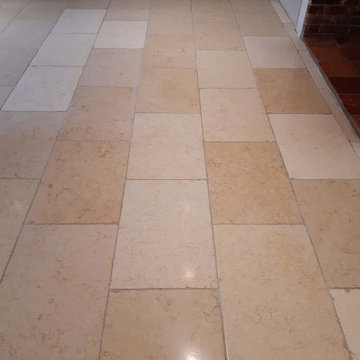
Earlier this year I was invited over to a property in the village of Silfield near Wymondham in Norfolk to inspect a Limestone tiled floor. Now I don’t usually quote my clients, but this is how the owner of the property had described the floor in the enquiry I received from Tile Doctor.
“Grout Black, where tiles have divots, dirt is encased,
plus no shine to floor, sealant non-existent.”
The problems listed were quite comprehensive and having had chance to survey the floor we found them to be quite accurate and really could not disagree with her comments! The Limestone tiles had been laid throughout the Kitchen diner and it was clear the sealer had worn off completely allowing dirt to become ingrained in the Limestone tiles and especially the grout which had turned black.
I understood from the owner that the grout lines should have been a pale cream colour rather than the black it was now, additionally the natural pitting in the Limestone was full of the same black contaminants. I ran a quick water test on the tiles to see if there was a seal present and it confirmed that if there had ever been one it was now completely compromised. The lack of sealer had allowed all liquid spills and dirt to soak straight into the tile making it dirty and exceedingly difficult to clean.
A large birthday celebration party had been planned and our client was desperate for the floor to be brought back to life beforehand. Although I couldn’t start immediately due to other commitments, it was able to return in time to get the floor clean for the party.
Our first job was to tackle the severe soiling trapped in the pits and grout lines. To do this a very strong dilution (2:1 ratio) of Tile Doctor Pro-Clean was applied to the floor and left to soak into the tile and grout for about 10 minutes. Then is was scrubbed into the tiles with help from a rotary buffer fitted with a soft/medium long-bristled nylon brush. The resulting slurry was then power rinsed with 60-degree hot water and extracted with our 400psi machine which jetted out all the black, oily contaminants from the grout and pits.
The floor was speed dried with the assistance of a large air mover. Once dry to the touch our attention was turned to filling the now exposed pitts in the Limestone tiles and two cracks with an appropriately coloured fast cure epoxy compound. Having allowed the filler time to reach full hardness, we ground down the excess material with 100 and 200 grit hand burnishing blocks in preparation for the next stage.
We find the best way to renovate the appearance of stone is to use a process called burnishing which hones the stone and beings up the polish. For this you need a set of 17-inch diamond encrusted burnishing pads. The pads fit the rotary buffer and are applied to the floor in sequence from 400, 800 and then 1500 grit using water to lubricate the process. The waster turns into a slurry as you work, and this is then rinsed off the floor with water after each pad and extracted using a wet vacuum. The floor was then left to dry thoroughly overnight with the assistance of our large capacity dehumidifier.
Returning the following day, we thoroughly vacuumed the floor to remove any remaining powder and grit left from the previous day’s wet work before spray burnishing the surface with a Tile Doctor 3000-grit diamond pad. This last pad really beings up the polished appearance of the Limestone and gave the tiles a deep and rich shine.
This last pad is applied without water and so leaves the floor dry and ready to for a new sealer to be applied. Our sealer of choice was Tile Doctor Ultra Seal, it’s a premium penetrating sealer that soaks into the pores of the stone protecting it from within. Ultra-Seal doesn’t alter the natural appearance of the stone giving it undetectable protection from staining. Having allowed the sealed floor to dry with the assistance of our air mover, the whole area was buffed using a white buffing pad and a small amount of finely sprayed water to remove any light smearing before vacuuming once again to finish.
My client was delighted with the result and left the following feedback for us:
“Totally renewed two flooring areas in our house to what looks like a recently laid floor. I have already had so many compliments without even telling people it had been professionally cleaned! Nick and Sue are always very easy to have about, inconspicuous and hard working. Absolutely delighted with the outcome and would recommend without hesitation. Thank you so much!”
For aftercare cleaning I recommended Tile Doctor Stone Soap, its designed for cleaning polished stone floors and will help build-up the patina. It’s a neutral pH product so won’t prematurely erode the sealer like many tile cleaning products you find in supermarkets which are really sold for cleaning glazed ceramic tiles not sealed natural stone.
Nick White
Norfolk Tile Doctor
 Accoya Wood
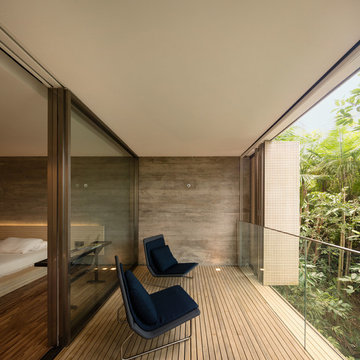
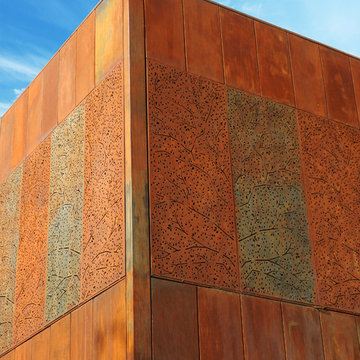
Accoya was used for all the superior decking and facades throughout the ‘Jungle House’ on Guarujá Beach. Accoya wood was also used for some of the interior paneling and room furniture as well as for unique MUXARABI joineries. This is a special type of joinery used by architects to enhance the aestetic design of a project as the joinery acts as a light filter providing varying projections of light throughout the day.
The architect chose not to apply any colour, leaving Accoya in its natural grey state therefore complimenting the beautiful surroundings of the project. Accoya was also chosen due to its incredible durability to withstand Brazil’s intense heat and humidity.
Credits as follows: Architectural Project – Studio mk27 (marcio kogan + samanta cafardo), Interior design – studio mk27 (márcio kogan + diana radomysler), Photos – fernando guerra (Photographer).
Find the right local pro for your project


 Moloney Architects
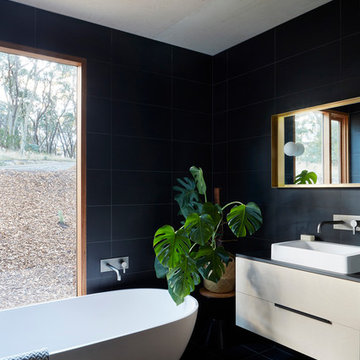
Inspiration for a contemporary master black tile black floor freestanding bathtub remodel in Other with flat-panel cabinets, white cabinets and a vessel sink
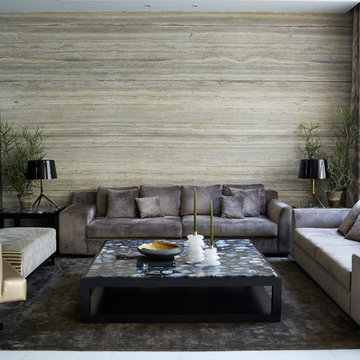



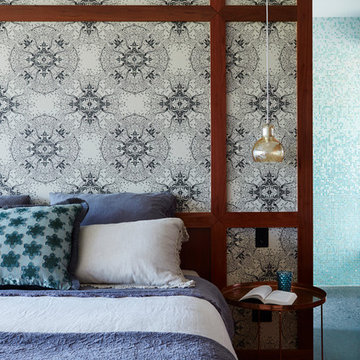
 Twofold Studio
Alicia Taylor Photographer
Eclectic master light wood floor bedroom photo in Brisbane with multicolored walls
Eclectic master light wood floor bedroom photo in Brisbane with multicolored walls
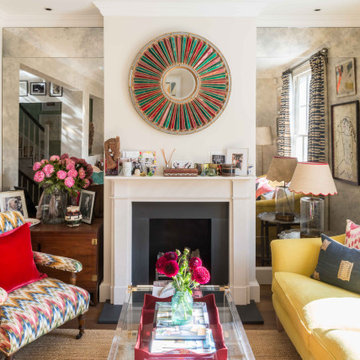







 Narratif
Leslie Goodwin Photography
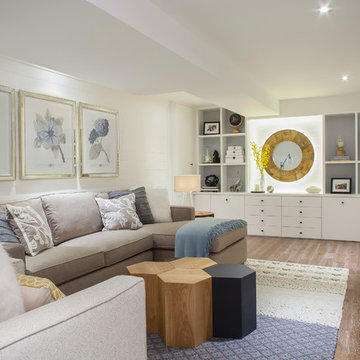
Inspiration for a mid-sized transitional medium tone wood floor family room remodel in Toronto with white walls and no fireplace
Inspiration for a mid-sized transitional medium tone wood floor family room remodel in Toronto with white walls and no fireplace

 SSC Countertops
Caesarstone Stone Grey
Large trendy master gray tile and porcelain tile porcelain tile and beige floor bathroom photo in Vancouver with flat-panel cabinets, medium tone wood cabinets, beige walls, an undermount sink, quartz countertops, a hinged shower door and gray countertops
Large trendy master gray tile and porcelain tile porcelain tile and beige floor bathroom photo in Vancouver with flat-panel cabinets, medium tone wood cabinets, beige walls, an undermount sink, quartz countertops, a hinged shower door and gray countertops
 David Crosson Design Collective
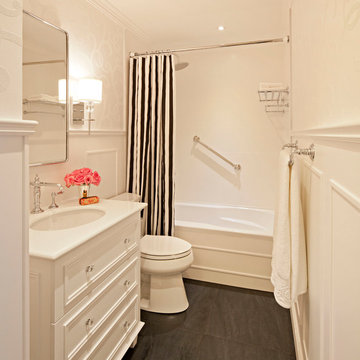
The client decided that she was in her "forever home" and wanted to create a space that felt clean and fresh but referenced elements of a vintage aesthetic. Panel molding, gently swooping paintable wallpaper, a high-contrast palette and gleaming fixtures from Kohler's Artifacts line all contributed to the look. "I'm never leaving this room," she said when we were done--and somehow I believe that might just be true!
Image shot by John Bilodeau
 Fernando Rodriguez Studio
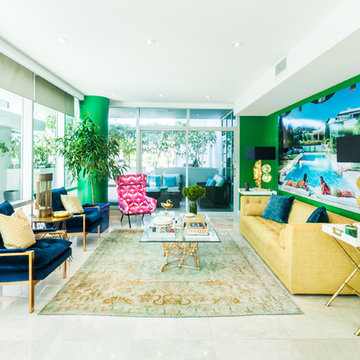
Brass 1950 table lamps from Madrid are the main focus of this beautiful room. For us the room is a celebration of color. Not being afraid of mixing strong colors together. The kelly green wall paint serves at the color that pulls it all together. Slim Aaron vintage image art covers all colors into the space.
 NB Interiors UK
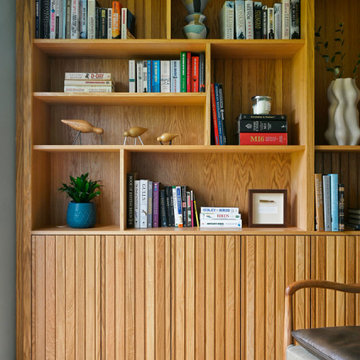
Inspired by fantastic views, there was a strong emphasis on natural materials and lots of textures to create a hygge space.
Bespoke bookcase for a home office.
 LiB contents
Photo by Junichi Harano
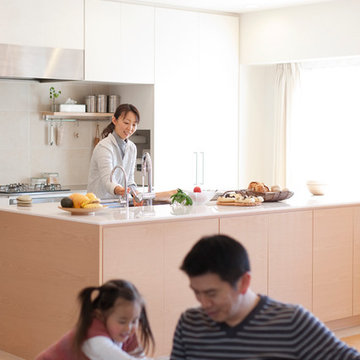
Example of a mid-sized galley medium tone wood floor open concept kitchen design in Tokyo with an undermount sink, flat-panel cabinets, white cabinets, white backsplash, terra-cotta backsplash, stainless steel appliances and an island
Example of a mid-sized galley medium tone wood floor open concept kitchen design in Tokyo with an undermount sink, flat-panel cabinets, white cabinets, white backsplash, terra-cotta backsplash, stainless steel appliances and an island
8