
Search results for "Tooth brush" in Home Design Ideas

 User
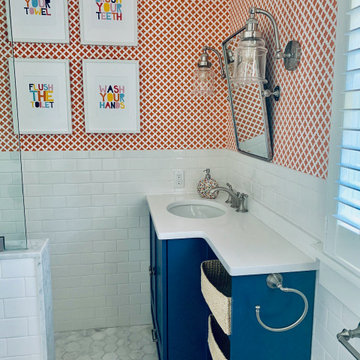
UserA fun bathroom for three siblings to share! Toothbrush charging station built inside of the cabinet.
Inspiration for a mid-sized timeless kids' white tile and ceramic tile marble floor, gray floor, single-sink and wallpaper bathroom remodel in New York with shaker cabinets, blue cabinets, orange walls, an undermount sink, solid surface countertops, white countertops and a built-in vanity
Inspiration for a mid-sized timeless kids' white tile and ceramic tile marble floor, gray floor, single-sink and wallpaper bathroom remodel in New York with shaker cabinets, blue cabinets, orange walls, an undermount sink, solid surface countertops, white countertops and a built-in vanity
 Imagery Custom
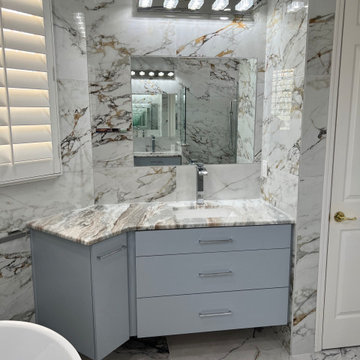
Custom floating drawer only vanity cabinets with "in-Drawer-Power". We have built these cabinets to maximize storage and convenience. No lost items in the car of these! Leave the electric razor charging, electric toothbrush, or keep your hairdryer plugged in for efficient hairstyling. Custom solid maple dovetailed drawers with notched areas to clear the vanity drain line and water supplies.
Find the right local pro for your project

 Drury Design
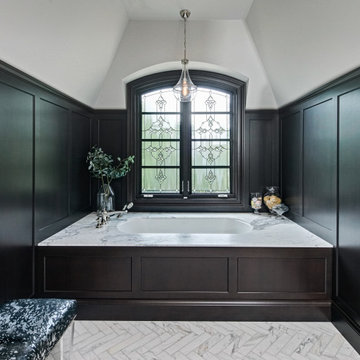
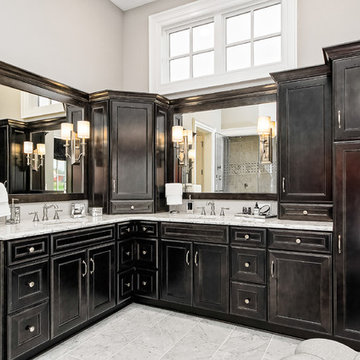
The key was finding the perfect balance with the dark wainscot and light materials for contrast
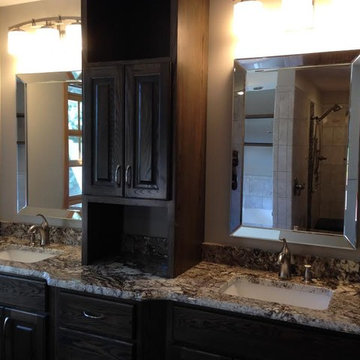
In the tub area, the design included adding an angled ceiling on the left to balance the existing angled ceiling on the right. This created symmetry as well as a lovely nook for the tub. In the shower, a unique niche built out of marble offers a lovely spot for storing products. This niche is paired with a dramatic slab on the wall, creating a stunning focal point. The unique detail of Calacatta Gold marble on the floors mimics the herringbone-patterned wood floor in the master bedroom. Marble panels on the mirror walls offer contrast to the dark wainscot panels and create a lovely backdrop for the polished nickel sconces. Adding the tower in the corner allowed the opportunity to create hidden storage for electric toothbrushes with outlets inside. Touch latches keep these a secret!
 Gather and Spruce Design Remodel
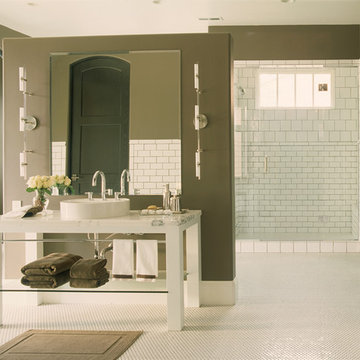
Inspiration for a large modern master white tile and ceramic tile mosaic tile floor doorless shower remodel in Denver with a vessel sink, open cabinets, white cabinets, marble countertops and brown walls
 Bristle Painting Company
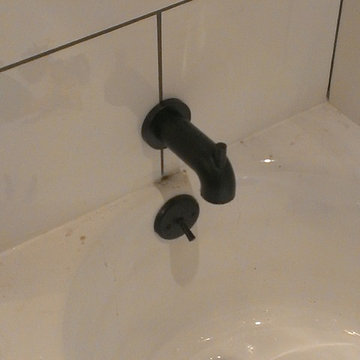
Logan Wallace. This project was a personal one and a long time coming. When we bought our house in 2009, we decided to just "deal with it", that is, the nasty outdated upstairs bathroom. As soon as the St. Dominic project finished though, it was time to demo our bathroom. It was a lot of fun and hard work, but the end result is just amazing. Walls were taken down to the studs (plaster and lath removed), insulation installed, tub and toilet removed, plumbing adjusted, walls and floor leveled, tile installed, new tub and toilet and faucet set installed, light/vent moved and replaced with recessed light/vent, cedar plank ceiling installed, door hardware and trim replaced, paint (eggshell), satin poly on ceiling (2 coats), clean and seal all grout and slate floor tile (heated floor), cleanup and hooks, towel bars, under the counter ledge (for toothbrushes, etc.) installed.
Sponsored
Sunbury, OH

J.Holderby - Renovations
Franklin County's Leading General Contractors - 2X Best of Houzz!

 Brocca Custom Finish Carpentry
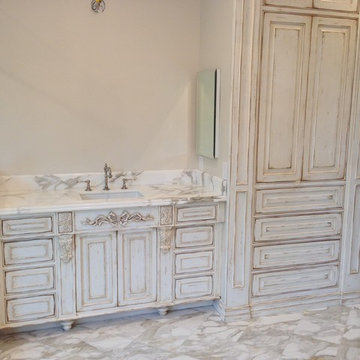
Opposite side of vanity is another vanity with the same amount of detail and care. We also built a large bathroom cabinet for multiple uses.
Bathroom - rustic bathroom idea in Los Angeles with marble countertops
Bathroom - rustic bathroom idea in Los Angeles with marble countertops



 Tile Doctor Ltd
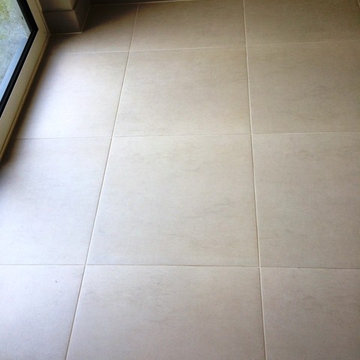
Recently, I was called to a work on a Limestone tiled floor in a house near Hove Park. Hove Park is a popular park in Hove, East Sussex, which was once opposite to the Goldstone Ground, the traditional home of Brighton and Hove Albion football club until the ground was demolished. My client informed me that the house was used a meeting place every Friday, and the high traffic of people was taking its toll on the floor.
The floor was clearly in need of a good clean, especially the grout. You do need to take care when cleaning Limestone as it can be affected by the acidic substances you get in some cleaning products which can break down the surface of the Limestone and cause further damage. The results of my test clean showed the Limestone tiles responded well to the cleaning, but I was concerned about the grout, which was not cleaning very easily. I suspected that the grout had, in fact, been discoloured by a bleach-based cleaner, turning it grey. Bleach contains strong chemicals, so there is a good chance that any bleach-based cleaners used on tiled floors will discolour the grout over time. After discussing this issue with my client, I quoted separately for a possible grout recolour.
On the first day of working on the floor, I started the cleaning process using a black buffing pad attached to a floor buffer machine, in combination with a solution of Tile Doctor Pro-Clean, which I applied to the floor. This combination really helped to remove the heavily built up grime and dirt. Although the tiles looked great after the clean, I still wasn’t convinced by the state of the grout. After drying a test area with a heat gun, I confirmed that the grout was not continuous in colour and would need a recolour to get it back to looking its best again.
I left the rest of the floor to dry for a period of two days, allowing any residual moisture to evaporate, before returning to recolour the grout with a white Grout Colourant which was applied using a good old fashioned toothbrush and baby wipes to remove any excess. I was careful to apply thin, even coats in order to prevent the possibility of the Colourant staining the tile.
After several hours of knee-breaking work, the recolouring was complete, and I was extremely pleased to be able to show my client the finished product. She was very happy to be able to show off the floor to her friends, which was now white all the way through, without the dark lines caused by the discoloured grout.
Another satisfied client.
Sponsored
Sunbury, OH
J.Holderby - Renovations
Franklin County's Leading General Contractors - 2X Best of Houzz!
 Carleton Kitchen & Bath
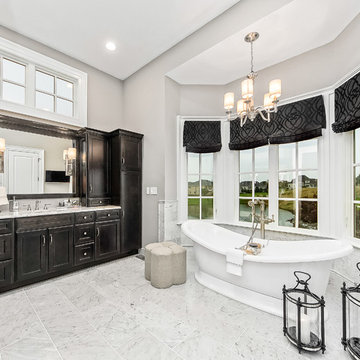
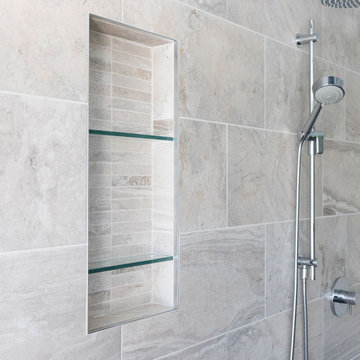
The renovation was designed around the premise of being able to shower
or bathe and enjoy the beautiful country vistas from all angles. A beautiful free-standing
tub was centred among the oversized windows which lightened that end of the bathroom.
A European inspired walk through shower was created with an integrated tiled drain.
The six foot wide floor-to-ceiling glass wall provides drama with its simplicity. A
feature wall was created in the shower to house the plumbing and was kept sleek and
simple with natural looking tiles. The barnboard looking floor was inspired by the
surrounding barns on the property. The graceful lines of the tub are reflected in the
vessel sinks that sit atop the two maple Miralis vanities. A mirrored toe kick was used to
create the illusion of suspension while still providing long term structural stability. The
wooden ledge above the vanity acts as a landing zone for toothbrushes and makeup which
maximizes the space of the shallower vanity. The clean lines of the space draw your eye to
the outside and the air and light flows through the bathroom.

35