

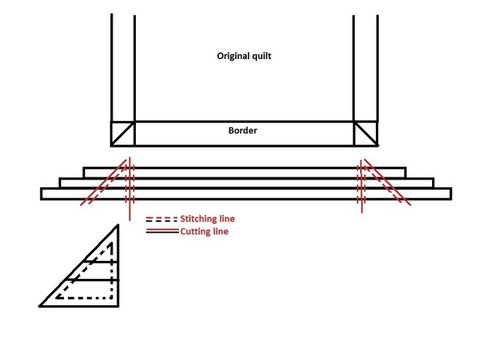
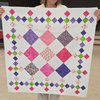
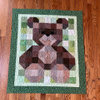
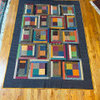
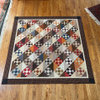
How I added border to GD's quilt
9 years ago
Sort by:Oldest
Comments (3)

Related Stories
TILEPep Up With Patchwork Tiles
Don't call them crazy — quilt-style tile patterns are bringing energy and playfulness to walls, countertops and even floors
Full Story

LIFEHouzz Call: Who'll Post the First Snow Photo of 2013?
If the weather's been flaky in your neck of the woods, please show us — and share how you stay warm at home
Full Story
BUDGET DECORATINGBudget Decorator: A Most Affordable Gallery Wall
Need to fill a wall on the cheap? See how to make use of something pretty cool you may already have
Full Story
KITCHEN DESIGNThe Cure for Houzz Envy: Kitchen Touches Anyone Can Do
Take your kitchen up a notch even if it will never reach top-of-the-line, with these cheap and easy decorating ideas
Full Story
STUDIOS AND WORKSHOPSA Stitch in Time: Creative Sewing Spaces
Sewing rooms have become popular again as people of all ages embrace simple crafts they can do at home
Full Story
BEDROOMSThe Lowdown on Bed Skirts
Sure, they hide the dust bunnies. But when you know all the options, bed skirts can rack up major style points too
Full Story
MY HOUZZMy Houzz: Global Details Add Character to a Connecticut Farmhouse
Lush textiles and gorgeous antiques warm up this classic 1745 East Coast home
Full Story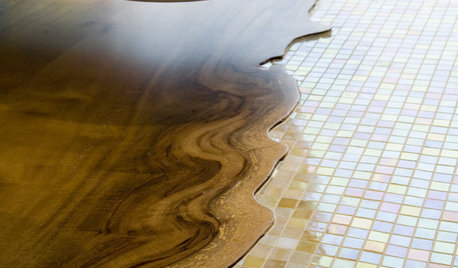
REMODELING GUIDES20 Great Examples of Transitions in Flooring
Wood in One Room, Tile or Stone in Another? Here's How to Make Them Work Together
Full Story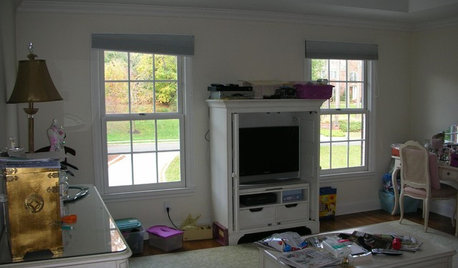
BEDROOMSBefore and After: French Country Master Suite Renovation
Sheila Rich helps couple reconfigure dark, dated rooms to welcome elegance, efficiency and relaxation
Full Story
msmeow
loisflan
Related Professionals
Albany Furniture & Accessories · Belleville Furniture & Accessories · Las Cruces Furniture & Accessories · Athens Interior Designers & Decorators · Boston Interior Designers & Decorators · Flint Interior Designers & Decorators · Buffalo Interior Designers & Decorators · La Crosse Interior Designers & Decorators · San Luis Obispo Interior Designers & Decorators · Mountain Home Flooring Contractors · Fort Myers Flooring Contractors · Somerset Flooring Contractors · Vineland Flooring Contractors · Harrisonburg Flooring Contractors · Eau Claire Flooring ContractorsglassquiltOriginal Author