

Help! Refinishing hardwood floor and need advice!
8 years ago
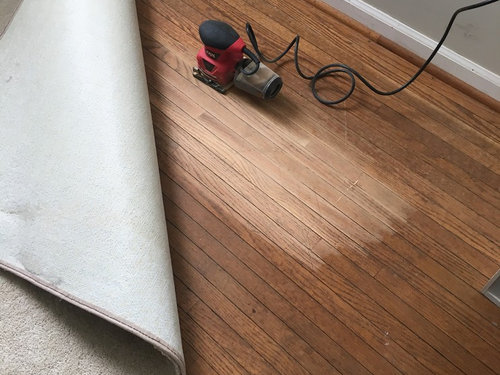
Floor Drum sander
Floor Orbital sander rental
Sort by:Oldest
Comments (2)
Related Stories
MATERIALSWhat to Ask Before Choosing a Hardwood Floor
We give you the details on cost, installation, wood varieties and more to help you pick the right hardwood flooring
Full Story
GREAT HOME PROJECTSWhat to Know Before Refinishing Your Floors
Learn costs and other important details about renewing a hardwood floor — and the one mistake you should avoid
Full Story
REMODELING GUIDESContractor Tips: Smooth Moves for Hardwood Floors
Dreaming of gorgeous, natural wood floors? Consider these professional pointers before you lay the first plank
Full Story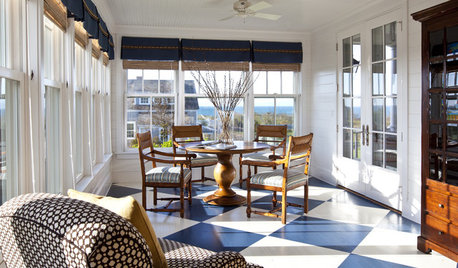
FLOORSHow to Paint Your Hardwood Floors
Know how to apply nail polish? Then you can give your wooden floors a brand-new look
Full Story
HOUSEKEEPINGHow to Clean Hardwood Floors
Gleaming wood floors are a thing of beauty. Find out how to keep them that way
Full Story
REMODELING GUIDESTransition Time: How to Connect Tile and Hardwood Floors
Plan ahead to prevent unsightly or unsafe transitions between floor surfaces. Here's what you need to know
Full Story
REMODELING GUIDESYour Floor: An Introduction to Solid-Plank Wood Floors
Get the Pros and Cons of Oak, Ash, Pine, Maple and Solid Bamboo
Full Story
BATHROOM DESIGNWhich Flooring Should I Choose for My Bathroom?
Read this expert advice on 12 popular options to help you decide which bathroom flooring is right for you
Full Story
REMODELING GUIDESWood Floor Care: Polish Your Skills
Help your wood floors stay gorgeous by learning how to keep stains, dullness and warping at bay
Full Story
REMODELING GUIDESDesigner Confessions: Torn Between Wood Floors
19 Photos to Help You Choose a Wood Floor Finish
Full Story

Manon Floreat
Reuben Avery
Related Professionals
Baton Rouge Flooring Contractors · Yakima Flooring Contractors · Dayton Kitchen Remodelers · Akron Kitchen Remodelers · Manhattan Interior Designers & Decorators · Hackettstown Interior Designers & Decorators · San Bernardino Interior Designers & Decorators · Fredericksburg Architects & Building Designers · Virginia Beach Architects & Building Designers · Enfield Architects & Building Designers · Milwaukee Architects & Building Designers · Spokane Architects & Building Designers · Tallahassee Kitchen & Bathroom Designers · Jackson Flooring Contractors · Las Vegas Flooring Contractors