

Master bath vanity sinks
6 years ago
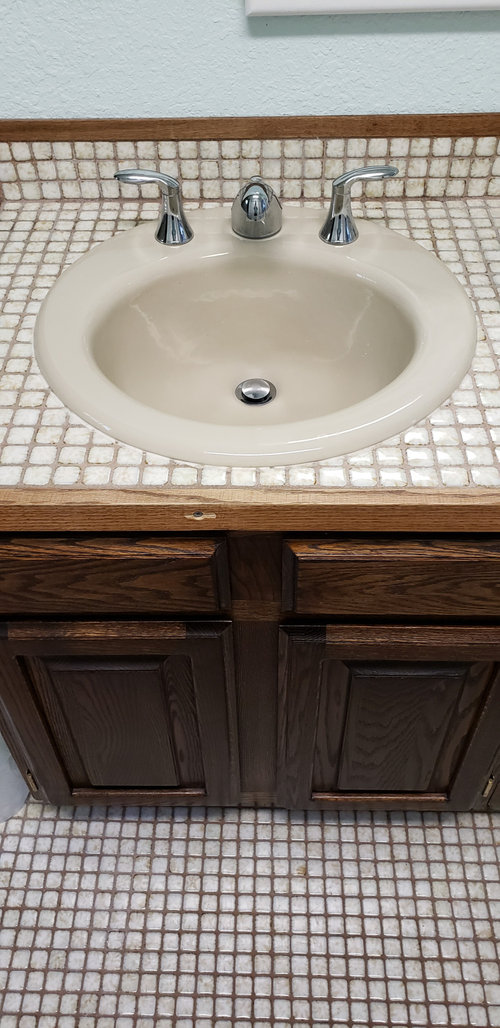
Featured Answer
Sort by:Oldest
Comments (12)
 PRO6 years ago
 6 years ago
Related Professionals
Jackson Kitchen & Bathroom Designers · New Braunfels Kitchen & Bathroom Designers · Oxford Bathroom Remodelers · Danbury Bathroom Remodelers · Middletown Bathroom Remodelers · Yuba City Bathroom Remodelers · Valdosta Tile and Stone Contractors · South Bend Interior Designers & Decorators · Boise Interior Designers & Decorators · Tacoma Interior Designers & Decorators · Leamington Interior Designers & Decorators · Bronx Interior Designers & Decorators · Keene Architects & Building Designers · Waco Kitchen & Bathroom Designers · Canton Kitchen & Bathroom Designers 6 years agolast modified: 6 years ago
 PRO6 years ago
- 6 years ago
- 6 years ago
 PRO6 years ago
- 6 years ago
- 6 years ago
- 4 years ago
- 4 years ago
Related Stories
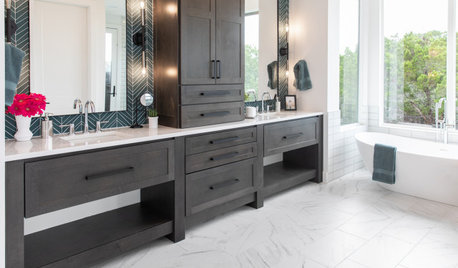
INSIDE HOUZZTop Vanity, Sink and Mirror Style Picks for Master Baths in 2020
Custom vanities, Shaker doors and double sinks are popular features, the 2020 U.S. Houzz Bathroom Trends Study shows
Full Story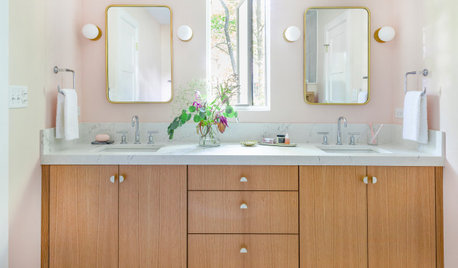
INSIDE HOUZZWhat’s Popular in Sinks, Mirrors and Lighting in Master Baths
Double sinks and mirrors appeal to homeowners remodeling master baths, the 2019 U.S. Houzz Bathroom Trends Study finds
Full Story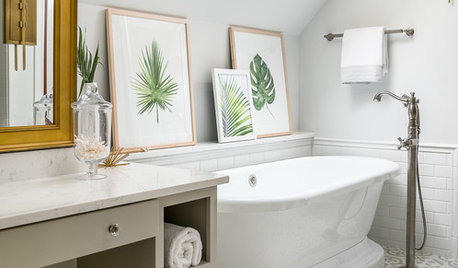
BATHROOM MAKEOVERSA Master Bath With a Checkered Past Is Now Bathed in Elegance
The overhaul of a Chicago-area bathroom ditches the room’s 1980s look to reclaim its Victorian roots
Full Story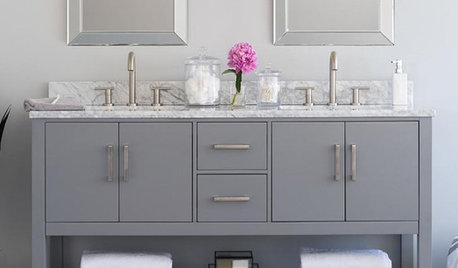
SHOP HOUZZUp to 55% Off Double-Sink Vanities
Save on vanities with two basins for a beautiful master bath
Full Story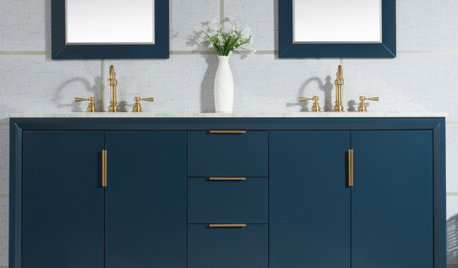
SHOP HOUZZUp to 50% Off Double-Sink Vanities With Free Shipping
Save on vanities with two basins for a beautiful master bath
Full Story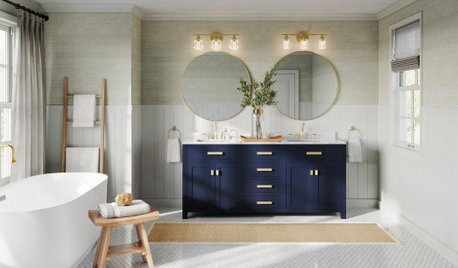
SHOP HOUZZUp to 35% Off Double-Sink Vanities
Save on vanities with two basins for a beautiful primary bathroom
Full Story
SHOP HOUZZDouble-Sink Vanities With Free Shipping
Up to 60% off vanities for your master suite
Full Story0
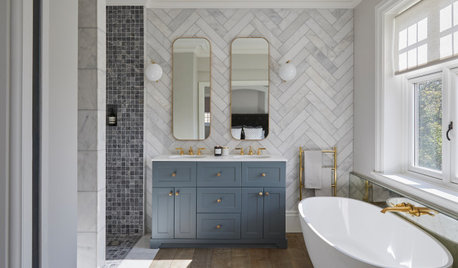
BATHROOM DESIGN3 Ways Homeowners Customize Master Bath Storage and Style
Custom and semicustom vanities are popular, as are accent walls, the 2019 U.S. Houzz Bathroom Trends Study shows
Full Story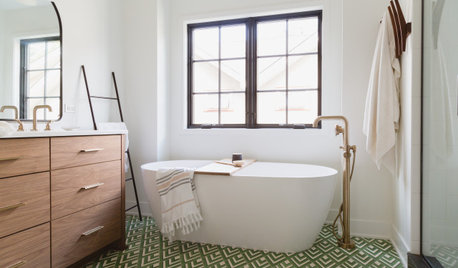
BATHROOM DESIGN6 Beautiful Master Bathrooms With Double-Vanity Setups
Geometric tile, a claw-foot tub and shiplap walls are some of the standout details in these renovated master bathrooms
Full Story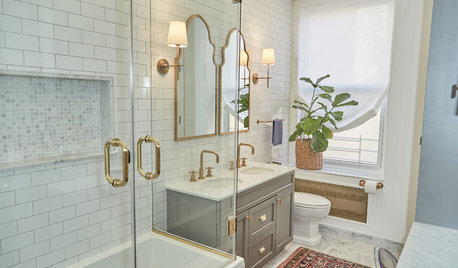
BATHROOM MAKEOVERSA Warm, Elegant and Highly Functional Master Bath
A designer fits dual sinks, a dressing table, a washer-dryer and scads of storage into a couple’s New York bathroom
Full Story
BeverlyFLADeziner