
Search results for "Applying" in Home Design Ideas
 Westlake Interior Painting
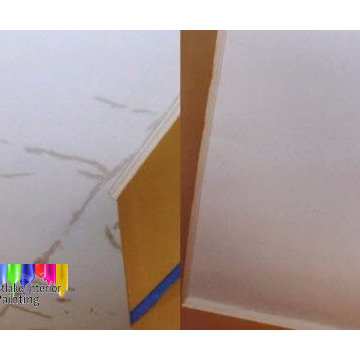
For the upstairs bedroom the the homeowner wanted to get rid of the bland orange walls. After doing some prep work, we added fresh ceiling paint and gave the baseboards and trim around the windows and door a new semi gloss finish. For the walls we covered the bland orange color with a nice neutral paint with a flat finish. After doing some prep work we applied two coats of ceiling paint to make the ceiling look brand new.
After doing some prep work and applying ceiling paint we applied a two tone color scheme onto the walls covering up the bland orange color with a neutral flat finish and a bold color flat finish which really adds a distinguished look to the room. We also carried the same lavender color into the master bathroom allowing the master bath and master bedroom to flow together.
The paint on the ceiling in the hallway was very dirty and faded. After some prep work we spruced it up and added a fresh coat of white ceiling paint which goes well with the neutral color on the walls giving it a fresh clean look. the stairway leading up to the hallway had quite a bit of peeling paint as well as some fading after doing some prep work we added a couple coats of a very clean looking neutral color flat finish.
Kitchen and kitchen hallway – We started out by removing all the wall paper and going through our preparation process. Next we added two coats of ceiling paint and primed the walls. After the walls were primed we added two coats of a neutral colored paint with an eggshell finish.
Westlake bungalow upstairs hallway and stairway. The paint on the ceiling in the hallway was very dirty and faded. After some prep work we spruced it up and added a fresh coat of white ceiling paint which goes well with the neutral color on the walls giving it a fresh clean look. the stairway leading up to the hallway had quite a bit of peeling paint as well as some fading after doing some prep work we added a couple coats of a very clean looking neutral color flat finish.

 Interior Guards Window Tinting & 3M Graphics
Laurence Streidel
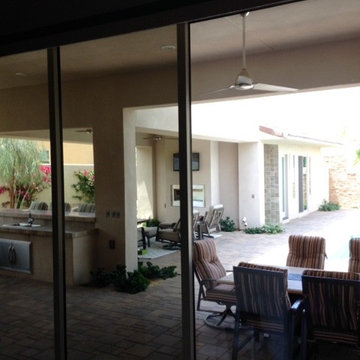
Minimalist home design photo in DC Metro
Minimalist home design photo in DC Metro
Find the right local pro for your project
 TOC design & construction inc.
Designed by : TOC design – Tania Scardellato
Photographer: Guillaume Gorini - Studio Point de Vue
Contractor: TOC design & Construction inc. / Triassi & Ippolito
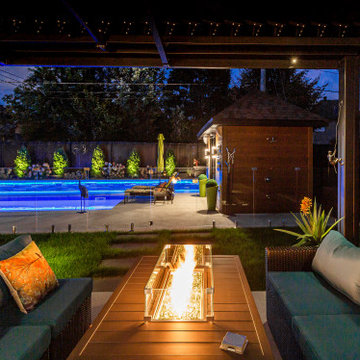
Lighting is as important to a successful landscape design as plants; hardscape, and outdoor structures, like pergolas and arbors. Besides providing safety and security, the right fixtures placed throughout a yard can transform the night into a beautifully illuminated masterpiece.
First impressions are important, and the entryway into your home can say so much about you and your style. Invite people in with a flair.
 Tom Curren Companies
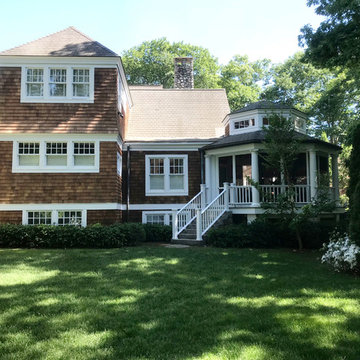
Our repeat client required a restoration of her natural siding home in Weston. Our crew first applied Benjamin Moore Wood Restoration and Brightener to remove any existing staining, reduce future water staining and help bring the shingles back to its original state. The home was then thoroughly washed to help remove any existing product. Two coats of translucent finish were applied, while one coat of Benjamin Moore Regal Select was applied to the trim and window casings to match. The results are stunning!
 Modern Kitchen Design
Mark Karrer
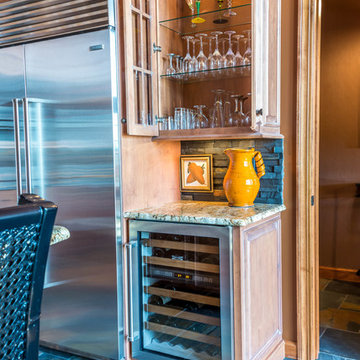
Small eclectic l-shaped slate floor open concept kitchen photo in Other with an undermount sink, glass-front cabinets, light wood cabinets, granite countertops, black backsplash, stone tile backsplash, stainless steel appliances and an island
Small eclectic l-shaped slate floor open concept kitchen photo in Other with an undermount sink, glass-front cabinets, light wood cabinets, granite countertops, black backsplash, stone tile backsplash, stainless steel appliances and an island
 Tile Doctor Ltd
Shower and bathroom mould and soap scum growth are probably the most common, annoying and frustrating tile-related problems. Wet and high humidity areas with poor ventilation provide the perfect breeding ground for mould and stains. Soap residue and body oils also create a food source for soap scum, mould to grow.
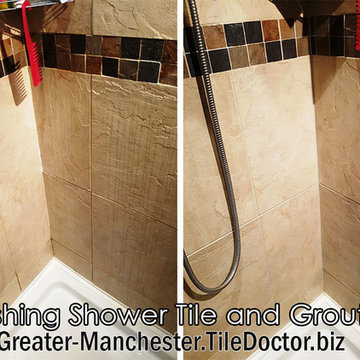
My customer in Dane Bank had the exact problem with dirty and mouldy grout lines in her shower cubicle. She had tried scrubbing the grout lines herself with a toothbrush and standard supermarket cleaners but never got the result she wanted.
Fortunately she was lucky to find Tile Doctor from the internet and I was asked to pop over and take a look to see what could be done. I was confident we could make a big difference so I went through the options with her and give her price for the job. She was happy with the price and we agreed a date for me to return and complete the work.
For grout lines cleaning I used Tile Doctor Grout Colorant Pre-Treat Cleaner, which successfully removes dirt, soil, soap scum and hard water deposits from grout joints. The product was sprayed on to the grout and left to dwell and seep into the pores for approximately five minutes to break down the soap scum and dirt before being scrubbed in using a stiff grout brush. The cleaning was successful but there were still few mouldy spots left. On these spots I used Tile Doctor Mould Away Spray that is meant for quick removal of mould from grout and silicone. One again product got sprayed on grout lines and left to dwell for five minutes and then scrubbed with stiff grout brush and then rinsed with clean water. After I had finished cleaning I express dried the tile and grout using high power heat gun.
With the area nice and dry, I had to choose the matching colour for the existing grout. There are ten colours to choose from the Tile Doctor range of Grout Colourant and on this occasion we chose Limestone as the best colour to match the tile.
The colourant is easily applied directly to the grout and in this case I applied two coats. The product is epoxy based and completely seals and rejuvenates the appearance of the grout, which not only drastically improves appearance it also makes it much easier to clean in the future. After applying the re-colourant I buffed all grout colorant excess off the tiles and the shower cubicle was ready.
My customer was very satisfied with the work and left the following comment on the Tile Doctor Feedback system
“Really, really happy with the service Tony provided and the recommendations he suggested. The work was carried out in a highly professional manner, to a high standard. I have already recommended him to friends. Thank you”
Tony Olmet
Greater Manchester Tile Doctor

 Builder Boy
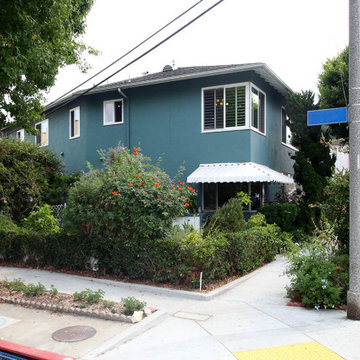
For this Project we were contracted to give this charming apartment building a exterior stucco paint lift. We started this project, as we do many just like this, by water blasting the stucco surface and treating mildew. Any surface not scheduled to receive paint was masked off and covered up. Next, any large holes in the stucco was patched with poly prep and fiberglass mesh. All cracked were filled with elastomeric caulking and applied color coat to all patches and where it was needed. Afterwards, one coat of exterior primer and two coats of premium grade exterior paint was applied to the stucco. Lastly, the wrought iron used on exterior of the building was sanded, prepped ,and primed, as well as applying two coats of metal paint
 Monique Varsames Design, LLC
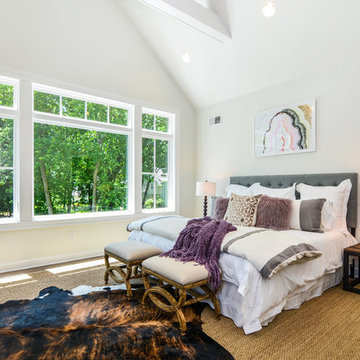
Interior finished and selections by Monique Varsames Photos by Rich Borzak
Staging by Stage to Show (Lisa Hynes)
Transitional bedroom photo in New York
Transitional bedroom photo in New York
 Interior Guards Window Tinting & 3M Graphics
Laurence Streidel
Home design - modern home design idea in DC Metro
Home design - modern home design idea in DC Metro

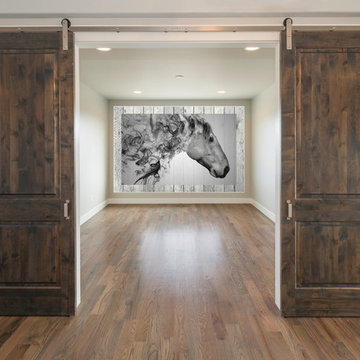
 A Window's View
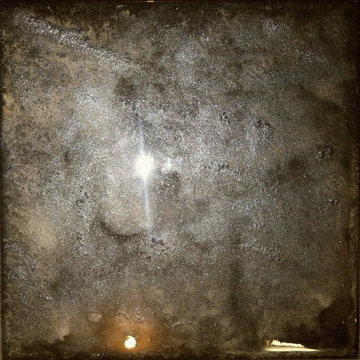
A Window's View Affordable High-End Applied Stained Glass Printed Film, any size, shape, style or design. No boring drapes or blinds here. Window Film has the luxury look of Stained Glass without the high cost. Many options are available, endless colors, textures, photos and with or without raised leading applied. Can use real photo prints right into the design. Get your privacy back! Protect your furnishings, soften the glare of the sun or brighten a room. Rooms with no window, no problem! Backlit Box on the ceiling or wall brings light in with beauty. We specialize in window film, privacy film and frosted film.
Easy to apply in Home, Office, Restaurants or Rv's. Easy shipping. Printed wall murals, canvas, adhesive and non-adhesive also available. If you don't see what you're looking for call for a free custom design consultation!
Services Provided
Stained Glass Repair & Design, Window Film, Printing, Privacy Film, Frosted Film, Room Screens
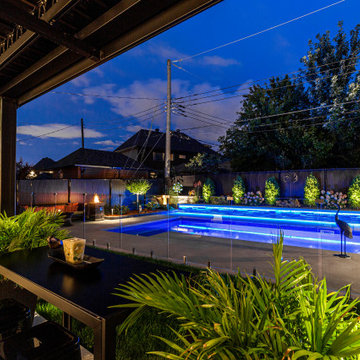 TOC design & construction inc.
Designed by : TOC design – Tania Scardellato
Photographer: Guillaume Gorini - Studio Point de Vue
Contractor: TOC design & Construction inc. / Triassi & Ippolito
Lighting is as important to a successful landscape design as plants; hardscape, and outdoor structures, like pergolas and arbors. Besides providing safety and security, the right fixtures placed throughout a yard can transform the night into a beautifully illuminated masterpiece.
First impressions are important, and the entryway into your home can say so much about you and your style. Invite people in with a flair.

 User
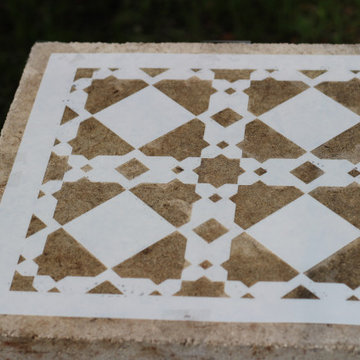
UserUsed a template to accomodate a 16x16" white paver purchased from Home Depot for about $1.50 ea paver. Template purchased online from stencil store. Taped down template; mixed Driftwood Weathering Wood Finish with water and dabbed on paver. Then let the pavers dry and you are good to go.

 Scott's Lumber
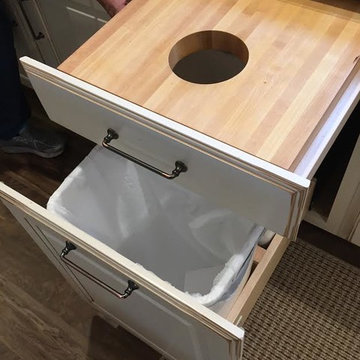
Custom Butcher block cutting Board with hole, above Pull out Waste basket
Inspiration for a mid-sized rustic l-shaped laminate floor and brown floor open concept kitchen remodel in Other with an undermount sink, raised-panel cabinets, white cabinets, laminate countertops, stainless steel appliances and an island
Inspiration for a mid-sized rustic l-shaped laminate floor and brown floor open concept kitchen remodel in Other with an undermount sink, raised-panel cabinets, white cabinets, laminate countertops, stainless steel appliances and an island

 Builder Boy
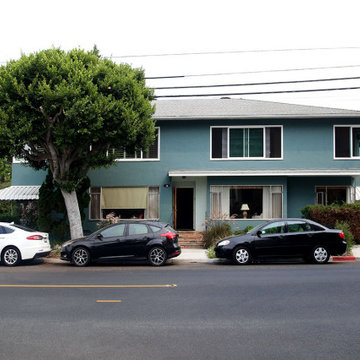
For this Project we were contracted to give this charming apartment building a exterior stucco paint lift. We started this project, as we do many just like this, by water blasting the stucco surface and treating mildew. Any surface not scheduled to receive paint was masked off and covered up. Next, any large holes in the stucco was patched with poly prep and fiberglass mesh. All cracked were filled with elastomeric caulking and applied color coat to all patches and where it was needed. Afterwards, one coat of exterior primer and two coats of premium grade exterior paint was applied to the stucco. Lastly, the wrought iron used on exterior of the building was sanded, prepped ,and primed, as well as applying two coats of metal paint
43