
Search results for "Applying" in Home Design Ideas

 Myk's Woodworking
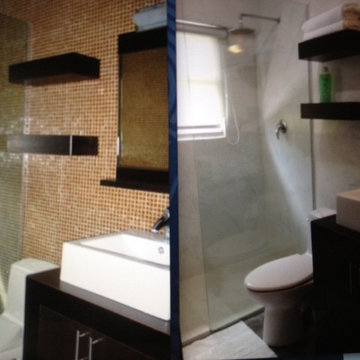
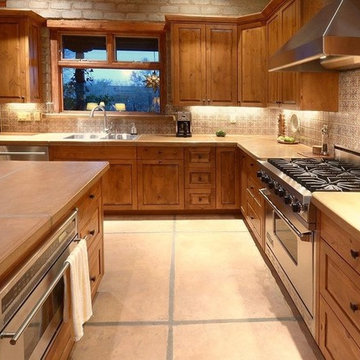
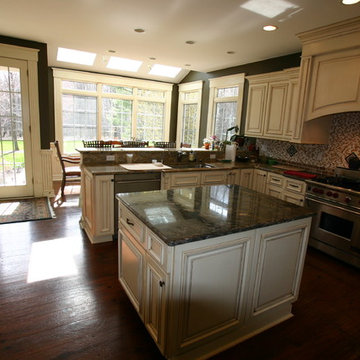
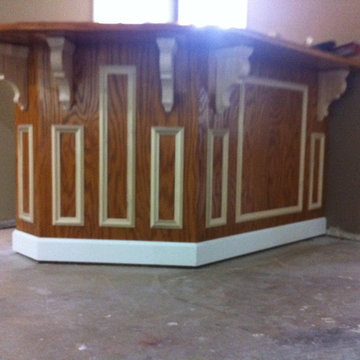
I design and manufacture custom cabinets for kitchens, bathrooms, entertainment centers and offices. The cabinets are built locally using quality materials and the most up-to date manufacturing processes available . I also have the Tucson dealership for The Pullout Shelf Company where we build to order pullout shelves for kitchens and bathrooms.

Find the right local pro for your project
 User
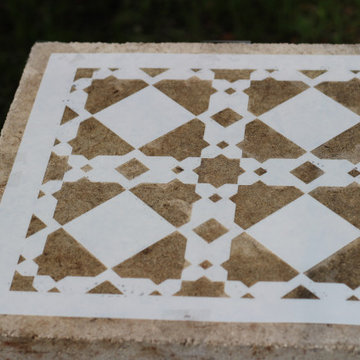
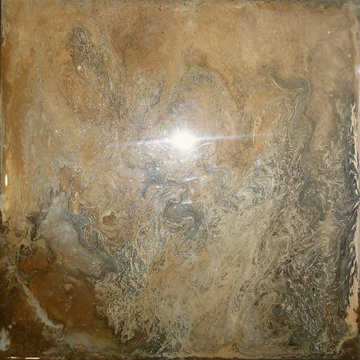
UserUsed a template to accomodate a 16x16" white paver purchased from Home Depot for about $1.50 ea paver. Template purchased online from stencil store. Taped down template; mixed Driftwood Weathering Wood Finish with water and dabbed on paver. Then let the pavers dry and you are good to go.

 Tile Doctor Ltd
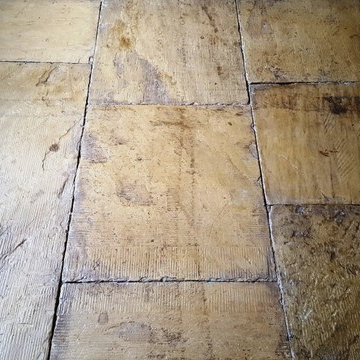
For this job, I had the pleasure of visiting the historic Salts Mill, a former textile mill turned art gallery, shopping centre, and restaurant complex near Bingley, West Yorkshire. It was built in 1853 by the famous manufacturer and philanthropist, Sir Titus Salt, and was at one point the largest industrial building in the world by total floor area.
As you can imagine, a lot of the rooms at Salts Mill are over a century and a half old. Most of them also contained stone flooring made from Yorkstone – a type of Sandstone unique to Yorkshire, and easily distinguishable due to its rich, natural yellow colouring. Unfortunately, one such floor in the Salts Mill was in quite a bad state. It has completely lost its vibrance – appearing more grey than yellow – and was evidentially in need of a very deep clean and fresh seal.
I started the Yorkstone tile restoration by soaking the floor in a strong dilution of our reliable alkaline-based tile cleaner, Tile Doctor Pro Clean, and scrubbing it in using a rotary machine fitted with a scrubbing pad. This quickly removed the initial layers of muck and, in the process, revealed oil-based paint and glue stains all over the floor.
To break down the oil and paint I applied Tile Doctor Remove & Go, which is our heavy duty stripper, remover and degreaser. This quickly ate through the paint and glue, and I followed by giving the floor another thorough clean with Pro Clean. Finally, I rinsed the floor with clean water before leaving it to dry for a full two days due to the amount of chemical cleaning product and water applied.
Upon my return to the Salts Mill two days later, I ran some quick damp tests to check for any excess moisture which could’ve prevented me from sealing the floor. Thankfully, the floor was dry and ready to be sealed, but it is always recommended, especially with older floors, to be aware of damp issues as these can be very troublesome.
My choice of sealer was Tile Doctor Seal and Go, a topical sealer which provides a robust, stain resistant seal and a durable low sheen finish all in one product. Multiple coats of Seal and Go were applied, bringing the life and character back to these classic tiles.
Nigel Stoker
North West Yorkshire Tile Doctor

 Builder Boy
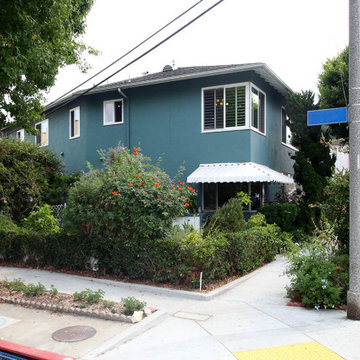
For this Project we were contracted to give this charming apartment building a exterior stucco paint lift. We started this project, as we do many just like this, by water blasting the stucco surface and treating mildew. Any surface not scheduled to receive paint was masked off and covered up. Next, any large holes in the stucco was patched with poly prep and fiberglass mesh. All cracked were filled with elastomeric caulking and applied color coat to all patches and where it was needed. Afterwards, one coat of exterior primer and two coats of premium grade exterior paint was applied to the stucco. Lastly, the wrought iron used on exterior of the building was sanded, prepped ,and primed, as well as applying two coats of metal paint

 Monique Varsames Design, LLC
Interior finished and selections by Monique Varsames Photos by Rich Borzak
Staging by Stage to Show (Lisa Hynes)
Transitional bedroom photo in New York
Transitional bedroom photo in New York


 Builder Boy
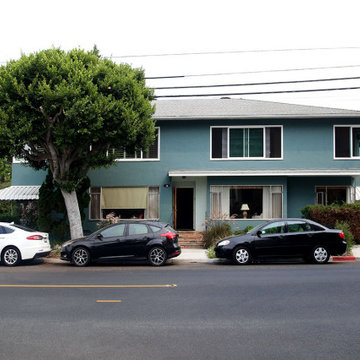
For this Project we were contracted to give this charming apartment building a exterior stucco paint lift. We started this project, as we do many just like this, by water blasting the stucco surface and treating mildew. Any surface not scheduled to receive paint was masked off and covered up. Next, any large holes in the stucco was patched with poly prep and fiberglass mesh. All cracked were filled with elastomeric caulking and applied color coat to all patches and where it was needed. Afterwards, one coat of exterior primer and two coats of premium grade exterior paint was applied to the stucco. Lastly, the wrought iron used on exterior of the building was sanded, prepped ,and primed, as well as applying two coats of metal paint
 Tile Doctor Ltd
A customer from the Tunbridge Wells borough of Southborough got in touch with me regarding the renovation of their Sandstone Paved Drive and Patio. The paving surrounded the property and since all the facias had recently been renewed on the house the stone was letting the overall appearance of the property down.
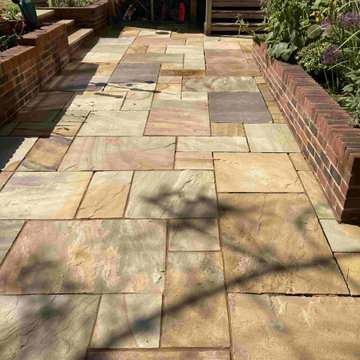
It had been sometime since the Sandstone had been cleaned and as you can see from the photos what was once a beautiful stone had now darkened and lost much of its natural colour. I went to the property to do a quick site visit to check what needed to be done. I worked out a quote for cleaning to the stone which was accepted and a convenient time to carry out the work was agreed.
I have a very powerful high pressure cleaning system installed in my van which makes short work of cleaning stone and brick. Not only is it very effective at cleaning its designed as a closed system, so all the waste is extracted back to a large grey water tank in the van. Now you can use an everyday power washer to clean up external stone however they are not as powerful and so take much longer, also the result does not tend to be as good.
It was a large area, so I approached the job in sections and started by pre-wetting the stone with water. Then I applied Tile Doctor Patio & Brick Driveway Cleaner which is a powerful outdoor cleaning solution formulated to power through patio blackspots, lichen, moss, and stains. This is a commercial product designed for professional use so if you are looking at using it yourself, please take care and use the right protection.
The cleaner was left to soak into the really dirty areas whilst I focused on the cleaning the other parts of the drive and patio with the van mounted pressure washer. I was then able to return to the deeper stains later. Using a combination of the Tile Doctor Brick and Patio Cleaner along with our van mounted pressure cleaning system we were able to completely transform the properties kerb appeal.
Applying a sealer now the Sandstone was clean would have improved the look of the stone further and made the patio easier to keep clean going forward; however, it was a very large area which would require a lot of sealer. Keen to keep the cost down it was agreed not to apply a sealer and instead they intend to do more regular cleaning. The patio did look in great condition following the deep cleaning and so difficult to justify at this stage.
My customer was very happy with the transformed patio and the look of delight was clearly visible. It’s a great feeling when you have a happy customer and this was one of those jobs where their satisfaction was so uplifting, especially during these times.
Michael Conlon
South Kent TIle Doctor
 Peter C. Schiffer Decorative Painting
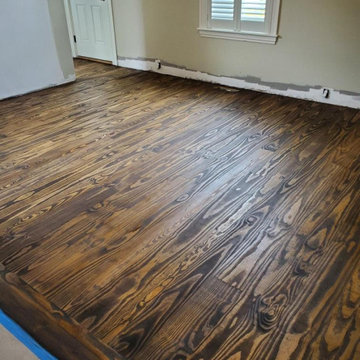
First step : Stain.
Inspiration for a cottage kitchen remodel in Boston
Inspiration for a cottage kitchen remodel in Boston

 Myk's Woodworking
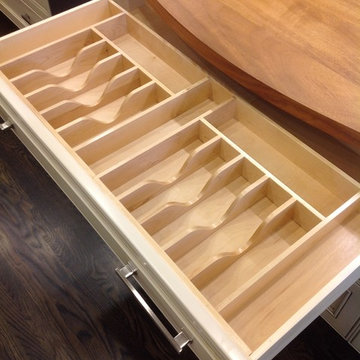
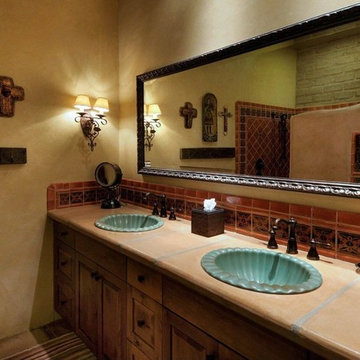
I design and manufacture custom cabinets for kitchens, bathrooms, entertainment centers and offices. The cabinets are built locally using quality materials and the most up-to date manufacturing processes available . I also have the Tucson dealership for The Pullout Shelf Company where we build to order pullout shelves for kitchens and bathrooms.

 Tile Doctor Ltd
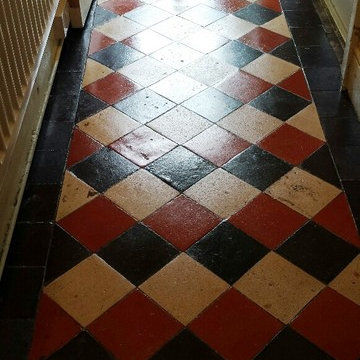
The pictures below were taken at a house in the town of Merthyr Tydfil, which is located not too far north of Cardiff. My client was keen to keep her very old Quarry tiled floor – which dated back to 1905 – intact. The floor had understandably seen a large amount of traffic in its lifetime, and was now in dire need of a professional restoration, including a thorough clean and seal.
First, I completed a survey of the area and provided my client with a quote. After completing many similar jobs in the past, I generally have a good idea of what the final result will look like. I passed on some images of a final result to my client, who was happy for me to begin my work.
On the first day, my first task was to take run some damp tests which were fine; it’s always good to know up front if there are likely to be any damp issues. Next I covered the floor with water to take the surface suction out and waited fifteen minutes before applying a cocktail of Tile Doctor NanoTech Heavy Build-Up cleaner mixed with Pro-Clean and Grout clean-up covering the whole floor. I then immediately starting to work the solution into the floor with a rotary machine fitted with a coarse black pad. The solution was then rinsed off with water which was then extracted with a wet vacuum as I worked. For stubborn areas I applied more of the previously mixed solution scrubbed into the floor with coarse wire wool by hand followed by further rinsing with water.
Each of the products used serves a particular purpose. Pro-Clean is a strong high-alkaline cleaner for natural stone, while NanoTech HBU is a particularly powerful cleaner that uses nano-sized particles to penetrate deep into the stone to get underneath and lift out ingrained dirt and stains. Grout Clean-Up, as the name implies, is a product for resolving grout related problems such as removing grout smears from tile surfaces aka grout haze.
After completing the clean I left the house for 48 hours, to leave enough time for the floor to dry completely in preparation for sealing. Upon my arrival back at the house I conducted some more damp tests to check that the floor was dry enough to seal using the previous readings as a benchmark. The results indicated that I was fine to proceed with the seal, so I applied a total of eight coats of Tile Doctor Seal & Go for durable protection. This was the product I recommended to my client as she wanted a nice, soft shine for her surface seal.
As you can see from the photos, the desired result was achieved to a high standard and needless to say my client was delighted with the transformation.
Julian Iancono
South East Wales

47