
Search results for "Provider range" in Home Design Ideas
 Colordrunk Designs
Iran Watson
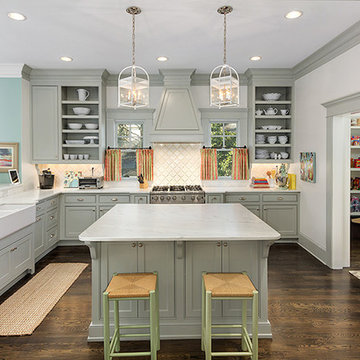
Example of a large transitional u-shaped dark wood floor and brown floor open concept kitchen design in Atlanta with a farmhouse sink, recessed-panel cabinets, gray cabinets, marble countertops, white backsplash, ceramic backsplash, stainless steel appliances and an island
Example of a large transitional u-shaped dark wood floor and brown floor open concept kitchen design in Atlanta with a farmhouse sink, recessed-panel cabinets, gray cabinets, marble countertops, white backsplash, ceramic backsplash, stainless steel appliances and an island
 Beasley & Henley Interior Design
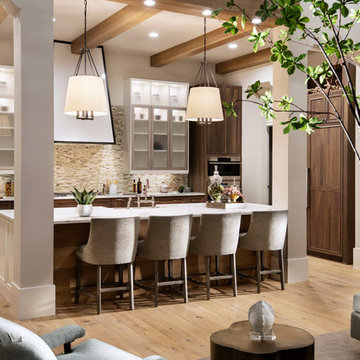
The home includes a great room, island kitchen, dining room, library, four bedrooms, four full baths and two half-baths, and an outdoor living area with an outdoor kitchen with conversation areas.
The earthy coastal design features monochromatic, tonal color elements in the backgrounds, with unique layered colors provided by the artwork and furniture fabrics. Bleached hardwood flooring creates a variety of patterns in the main living areas and cork flooring in the library brings warmth to the home.
Wood beam details in both the master bedroom and great room embellish this home with the perfect amount of architectural detailing. An eclectic mixture of decorative lighting fixtures compliment the rooms in the most attractive way. The overall ambiance is one of light Florida living with an air of casual, barefoot elegance.
 Ivory Homes
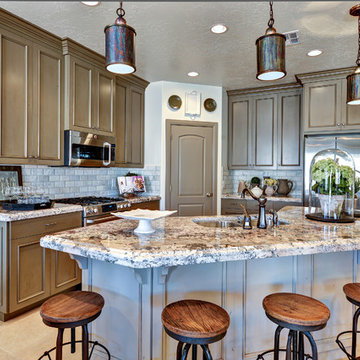
Example of a tuscan kitchen design in Salt Lake City with a double-bowl sink, recessed-panel cabinets, gray cabinets, gray backsplash, subway tile backsplash and stainless steel appliances
Find the right local pro for your project
 Kristin Ferro of HBS Home
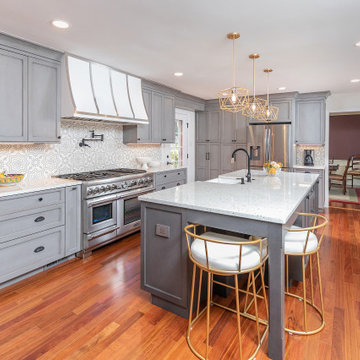
This beautiful kitchen features custom Euro (Frameless) style cabinetry by Mouser Centra. Light grey stained cherry cabinets on Perimeter, dark grey stained cherry cabinets on Island. Cement Tile on Backsplash. Hardware by Emtek. The soffit could not be eliminated, so a hidden pipe chase was created on all of the wall cabinets and hood on the range wall. A pop-out outlet by Legrand in a complimentary color was placed on either side of the island. A pull-out mixer lift was placed on the back of the island, with an electrical outlet inside the cabinet. A plug mold was used under the wall cabinets to give the backsplash a seamless look. A pull-out utensil storage cabinet was placed next to the range. The farm sink is located in the island. The island has seating for two.
 Stonington Cabinetry & Designs
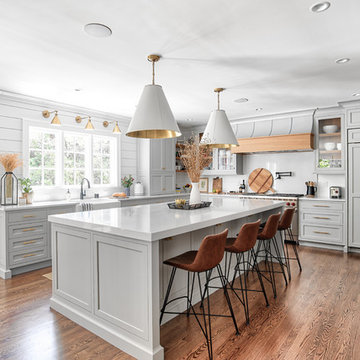
Kitchen - farmhouse l-shaped medium tone wood floor kitchen idea in New York with a farmhouse sink, shaker cabinets, gray cabinets, white backsplash, paneled appliances, an island, white countertops and quartz countertops
 Fox Construction, Inc.
Tim Murphy Photography
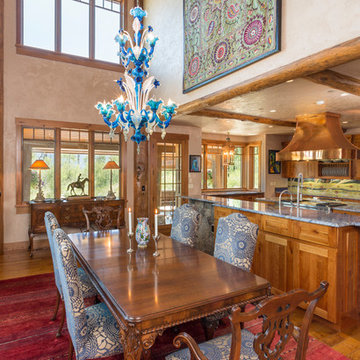
Example of a large tuscan medium tone wood floor and brown floor kitchen/dining room combo design in Denver with beige walls
Example of a large tuscan medium tone wood floor and brown floor kitchen/dining room combo design in Denver with beige walls
 Drury Design
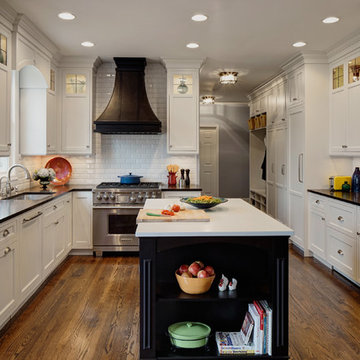
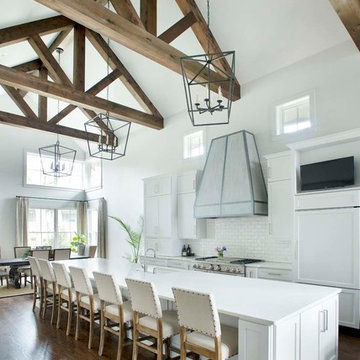
Warm hardwood floors keep the space grounded. The dark cherry island cabinets compliment the oil-rubbed bronze metal hood and the granite perimeter countertops while simple white subway backsplash tile with a pillowed edge creates a calming backdrop to help complete the look of this well-designed transitional kitchen. The homeowners bright glass accessories add a colorful finishing touch.

 Castle Homes
Reed Brown Photography
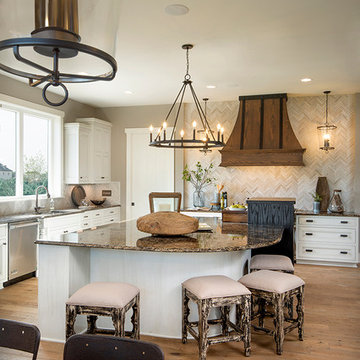
Eat-in kitchen - cottage galley dark wood floor and brown floor eat-in kitchen idea in Nashville with an undermount sink, shaker cabinets, white cabinets, white backsplash, subway tile backsplash, an island and white countertops
Eat-in kitchen - cottage galley dark wood floor and brown floor eat-in kitchen idea in Nashville with an undermount sink, shaker cabinets, white cabinets, white backsplash, subway tile backsplash, an island and white countertops
 Restructure Studio
Michael Hsu
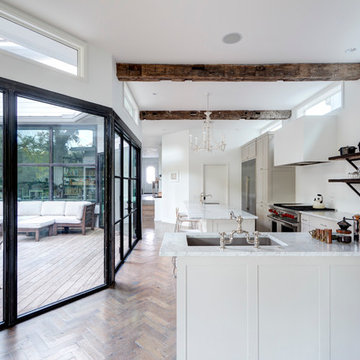
Large trendy l-shaped medium tone wood floor open concept kitchen photo in Austin with an undermount sink, shaker cabinets, gray cabinets, marble countertops, white backsplash, stainless steel appliances and an island
Large trendy l-shaped medium tone wood floor open concept kitchen photo in Austin with an undermount sink, shaker cabinets, gray cabinets, marble countertops, white backsplash, stainless steel appliances and an island
 Zoske Construction
Karl Neumann Photography
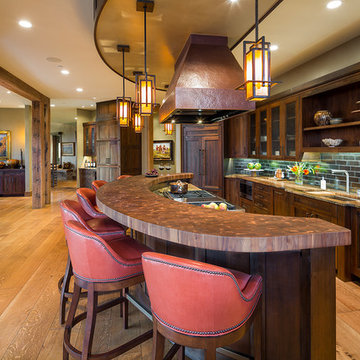
Inspiration for a large rustic galley light wood floor and brown floor eat-in kitchen remodel in Other with an undermount sink, recessed-panel cabinets, dark wood cabinets, brown backsplash, an island, copper countertops, subway tile backsplash and colored appliances
Inspiration for a large rustic galley light wood floor and brown floor eat-in kitchen remodel in Other with an undermount sink, recessed-panel cabinets, dark wood cabinets, brown backsplash, an island, copper countertops, subway tile backsplash and colored appliances
 BA Staging & Interiors
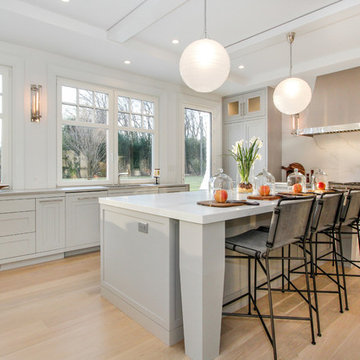
Large trendy l-shaped light wood floor and beige floor open concept kitchen photo in New York with shaker cabinets, gray cabinets, white backsplash, stone slab backsplash, an island, gray countertops, an undermount sink and stainless steel appliances
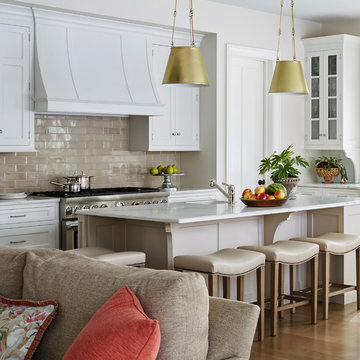
 PB Kitchen Design
An open concept custom kitchen lives large but the strategic placement of appliances creates a convenient and compact work zone. This distinctly divided yet beautifully merged Glen Ellyn, IL kitchen takes the classic white to another level. The clean lines of the flat panel white cabinetry and polished design are easy on the eyes, complemented by the earth tones found in the subway tile, pendant lighting over the island, and soft seating. This large family can enjoy multiple seating areas, around the island, and at a dedicated space showcasing their impressive farm table. More then ample accessible storage provides enough places to hide any pots, pans and small appliances, while not sacrificing the views and natural light. The midpoint integrated built in Thermador Refrigerator serves as the anchor of the kitchen. Prep areas include miles of quartz counters along with a small but practically placed island sink. The warmth and comfort in this dream kitchen highlights design trends while also fulfilling the client’s request for a kitchen with a family focus.

 William Hoffman Architect
4 Steps to Achieving a Rewarding Cost Effective Home Renovation
1 Home Renovation an Introduction
A home renovation due to changes in family needs and space requirements can be a challenging, but also a rewarding experience. As a homeowner, gathering and coordinating resources and possibly help from professional consultants are required. Once the construction phase has started, patience, endurance and commitment to follow through are necessary. Despite the challenges, the rewards of a well-planned and successfully completed project are meaningful, adding aesthetic and economic value, also providing the opportunity to personalize a home, encompassing the function, comfort and aesthetics to accommodate individual taste and lifestyle.
A renovation of an existing home is a viable alternative to moving or building a new home, assuming that a home is structurally sound, the expenditure to enlarge or improve can be a cost effective alternative. A home possessing charm, style, historical significance, established landscaping or an exceptional location could be a significant motivation to consider purchasing another home with the intent to renovate.
The complexity of a project could be relatively simple, changing the use of a room, consolidating two rooms into one, or opening up a room to the outdoors. It could also be a more involved task requiring planning, design and construction documents to build a second floor addition, the addition of a new wing or completely gutting the interior. Some projects could be completed in a weekend’s work or more complex projects, using a “Master Plan”, a plan which provides overall guidance; a renovation can be accomplished all at once or divided into manageable projects over a period of time. With the home evolving gradually allowing the renovation to be planned, timed and tailored to meet individual needs and circumstances.
The due diligence phase should precede the decision to renovate whether it’s an existing home or a home that is purchased with the intent to renovate. The due diligence phase will reveal the factors affecting the nature and scope of the project or if a renovation makes sense.
Every renovation project is unique relative to personal requirements, architectural style & construction type. This guide will be helpful in developing an understanding of the preliminary groundwork required to realize a successful project. If properly planned, a home renovation project can be a positive and rewarding experience resulting in a comfortable, practical and an attractive living environment.
The first step of the planning process is documenting the goals and long-range plans referred to as the “Project Program”. This will dictate the nature, scope and feasibility of the project. Providing a guide to achieving defined goals, the timing or phasing of the project and budget required to achieve the desired end result.
2 Documenting Existing Conditions
Once the “Project Program”, has been established, the next step is to determine what there is to work with. This requires documenting the home’s floor plan and site elements which includes drawing an “as built” floor & site plan consisting of the existing exterior walls, interior rooms, doors, windows, etc. and surrounding site elements, landscape and other significant exterior features. Additionally understanding and noting on the “as built” plan, the structural, mechanical and electrical systems as necessary. Gathering the “existing condition” information defines what there is to work with, creating the framework from which to facilitate and organize the decision making process and develop effective “project program” solutions.
3 Evaluating Existing Conditions
The goals and long-range plans have been established, and the existing floor plan and site elements have been documented. Before developing design solutions, the next step is to evaluate existing conditions. The evaluation includes: a detailed analysis of the structural, mechanical and electrical systems, determining the condition of the house, noting functional and aesthetic deficiencies. At the same time recognizing the home’s strengths, assets and evaluating its relationship to its site. The remaining parameters will be defined by the local jurisdiction’s zoning regulations, these regulations will define the “envelope”, within which the proposed project will be required to fit:
•required front, side & rear yard setbacks
•maximum allowable lot coverage & height
The previous three steps have provided the necessary foundation to start the design phase. The goals and long range plans have been established, existing conditions have been documented and the evaluation of what there is to work with are now in place. This will provide the framework from which to facilitate and organize design solutions. The consolidation of this information is manifested in the development of the “Master Plan” which will become the road map by which sound decision-making can be made as a home renovation evolves. Keeping the project, on a linear path, avoiding redundancies and back tracking, on time, within budget, concluding with a well crafted finished product. After all the “up front” research and documentation has been completed, the design phase of the project can now precede, with the creation of diagrammatic design drawings. Organizing interior spaces, taking into account the external elements, prevailing breezes, solar orientation, view, existing outdoor features, etc. Through the development of schematic sketches themes will emerge followed by design development drawings. Wise planning and renovation decisions can save money and time at the same time provide a well crafted finished project. The “Master Plan” provides a strategic path in the planning and decision making process leading to a successful and rewarding home renovation, which will add value and considerable enjoyment, for many years, living in a newly renovated home.
By virtue of having gone through these steps, frustrations sometimes encountered during a home renovation will be minimized, allowing the renovation to be a gratifying and rewarding experience. Being aware of the process allows one to become an “Educated Client,” which is worth quite a bit more than one might realize. The uneducated client may not realize the benefit of going through the planning, evaluation and documentation groundwork. He will only realize its benefits after having completed a prior renovation project. This rational approach keeps the design process on a direct path to achieving prescribed goals.
4 Exploring Design Solutions & Developing a Master Plan
The previous three steps have provided the necessary foundation to start the design phase. The goals and long range plans have been established, existing conditions have been documented and the evaluation of what there is to work with are now in place. This will provide the framework from which to facilitate and organize design solutions. The consolidation of this information is manifested in the development of the “Master Plan” which will become the road map by which sound decision-making can be made as a home renovation evolves. Keeping the project, on a linear path, avoiding redundancies and back tracking, on time, within budget, concluding with a well crafted finished product.
By virtue of having gone through these steps, frustrations sometimes encountered during a home renovation will be minimized, allowing the renovation to be a gratifying and rewarding experience. Being aware of the process allows one to become an “Educated Client,” which is worth quite a bit more than one might realize. The uneducated client may not realize the benefit of going through the planning, evaluation and documentation groundwork. He will only realize its benefits after having completed a prior renovation project. This rational approach keeps the design process on a direct path to achieving prescribed goals.
After all the “up front” research and documentation has been completed, the design phase of the project can now precede, with the creation of diagrammatic design drawings. Organizing interior spaces, taking into account the external elements, prevailing breezes, solar orientation, view, existing outdoor features, etc. Through the development of schematic sketches themes will emerge followed by design development drawings. Wise planning and renovation decisions can save money and time at the same time provide a well crafted finished project. The “Master Plan” provides a strategic path in the planning and decision making process leading to a successful and rewarding home renovation, which will add value and considerable enjoyment, for many years, living in a newly renovated home.
Sponsored
Fredericksburg, OH

High Point Cabinets
Columbus' Experienced Custom Cabinet Builder | 4x Best of Houzz Winner
 User
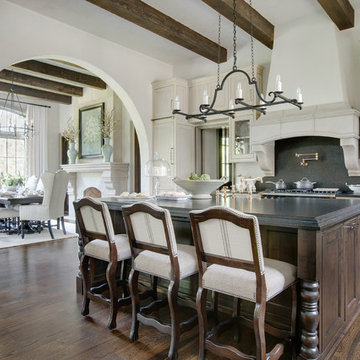
UserThe star of this South Carolina mountain home's traditional kitchen is the cast stone hood hanging above a black Lacanche range. The antique brass faucet and pot-filler add vintage sheen and coordinate with the range’s hardware. Dark walnut-stained beams, island and hardwood floors contrast with the ivory plaster walls and ceiling. Cabinets finished in a light taupe paint with chocolate glaze are accented in restoration glass with lead caming and pewter hardware. Black Pearl granite, which has been brushed and enhanced, tops the counters and climbs the backsplash. The stone's flecks of silver, gold and gray add depth. Counter stools covered in cream and taupe striped burlap are trimmed with bronze nails and pull up to the expansive island. Above the island hovers an iron chandelier, shedding light on the white farm sink. This space was designed to fill with friends – prepping, cooking and delighting in each luxurious detail. Just beyond this drool-worthy room is a peek of the home’s stately dining room.
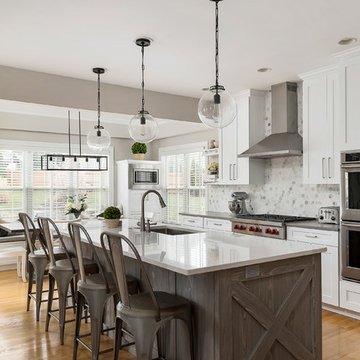
 Esslinger Design Company
Photography: Picture Perfect House
Inspiration for a large transitional light wood floor and beige floor eat-in kitchen remodel in Chicago with an undermount sink, shaker cabinets, white cabinets, quartz countertops, stainless steel appliances, an island, multicolored backsplash and mosaic tile backsplash
Inspiration for a large transitional light wood floor and beige floor eat-in kitchen remodel in Chicago with an undermount sink, shaker cabinets, white cabinets, quartz countertops, stainless steel appliances, an island, multicolored backsplash and mosaic tile backsplash
 Leib Designs
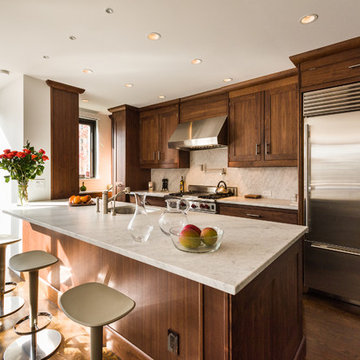
The kitchen was created in collaboration with Smallbone of Devizes. The electronic stove from Wolf has a stainless steel finish and allows residents to choose from ten different cooking modes with even temperatures and airflow throughout. The available dual fuel ranges are natural or LP gas. The refrigerator is a product of Sub-Zero and is built into the surrounding cabinetry. To ensure freshness of food and water, the refrigerator features an air purification system, that reduces stench, odors, bacteria and viruses. The residents will be accustom to cleaning without error, with the help of their fully integrated dishwasher from Miele.
 Plaistow Cabinet
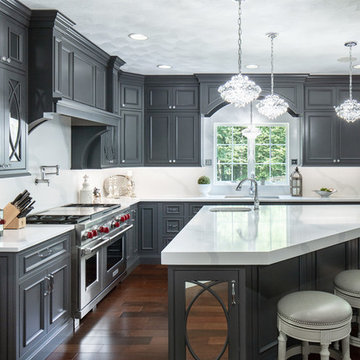
Shiloh Cabinetry, custom paint by Sherwin Williams - Peppercorn. Instead of glass in the double elliptical doors, we used mirror. The elegance of the mirror fits perfectly with the gorgeous crystal pendant lights and hides what's in the cabinet.

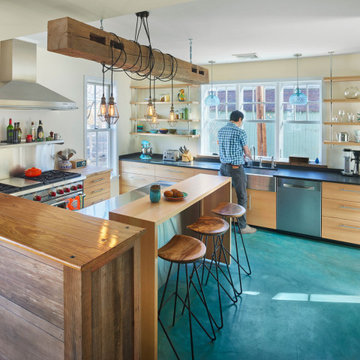
Inspiration for a large eclectic u-shaped concrete floor and blue floor kitchen remodel in New York with a farmhouse sink, flat-panel cabinets, light wood cabinets, gray backsplash, stainless steel appliances, a peninsula and black countertops
 Jenna Sheingold Studio
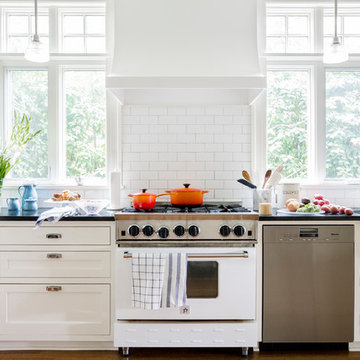
A family home in the West Hills of Portland. Photographed by Chris Dibble
Kitchen - transitional dark wood floor and brown floor kitchen idea in Portland with a farmhouse sink, recessed-panel cabinets, white cabinets, white backsplash, subway tile backsplash, white appliances and black countertops
Kitchen - transitional dark wood floor and brown floor kitchen idea in Portland with a farmhouse sink, recessed-panel cabinets, white cabinets, white backsplash, subway tile backsplash, white appliances and black countertops
 Klopf Architecture
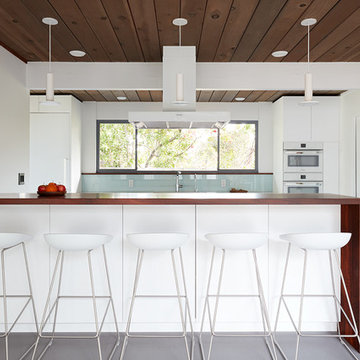
Klopf Architecture and Jesse Ososki Art remodeled an existing Eichler atrium home into a brighter, more open, and more functional version of its original self.
The goals were to preserve the Eichler look and feel without the need to strictly adhere to it. The scope of work included re-configuring the master bedroom/bath, the kitchen, and the hall bath/laundry area, as well as updating interior finishes throughout to be more sophisticated.
The owners are detail-oriented and were very involved in the design process, down to the selection of lighting controls and stainless steel faceplates.Their design aesthetic leans toward the Scandinavian — light and bright, with simple straight lines and pure geometric shapes.
The finish flooring is large porcelain tile (24” x 24”) in a neutral grey tone, providing a uniform backdrop against which other materials can stand out. The same tile continues into the shower floor (with a different finish texture for slip-resistance) and up the shower/tub walls (in a smaller size). Heath Classic Field ceramic tile in Modern Blue was used sparingly, to add color at the hall bath vanity backsplash and at the shampoo niches in both bathrooms. Back-painted soda glass in pale blue to match the Heath tile was used at the kitchen backsplash. This same accent color was also used at the front entry atrium door. Kitchen cabinetry, countertops, appliances, and light fixtures are all white, making the kitchen feel more airy and light. Countertops are Caesarstone Blizzard.
The owners chose to keep some of the original Eichler elements: the concrete masonry fireplace; the stained tongue-and-groove redwood ceiling decking; and the luan wall paneling. The luan paneling was lightly sanded, cleaned, and re-stained. The owners also kept an added element that was installed by a previous owner: sliding shoji panels at all bedroom windows and sliding glass doors, for both privacy and sun control. Grooves were cut into the new tile flooring for the shoji panels to slide in, creating a more integrated look. Walnut was used to add warmth and contrast at the kitchen bar top and niche, the bathroom vanities, and the window sill/ledge under the kitchen window.
This Burlingame Eichler Remodel is a 2,121 sf, 4 bedroom/2 bath home located in the heart of Silicon Valley.
Klopf Architecture Project Team: John Klopf, Klara Kevane and Yegvenia Torres Zavala
Contractor: Jesse Ososki Art
Structural Engineer: Emmanuel Pun
Photography ©2018 Mariko Reed
Location: Burlingame, CA
Year completed: 2017
32