
Search results for "Saving machine" in Home Design Ideas
 JayMarc Homes
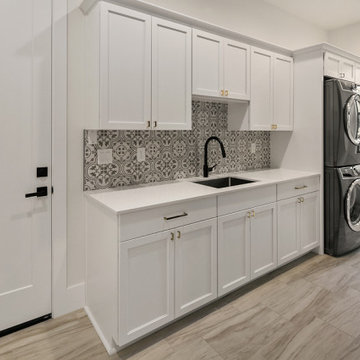
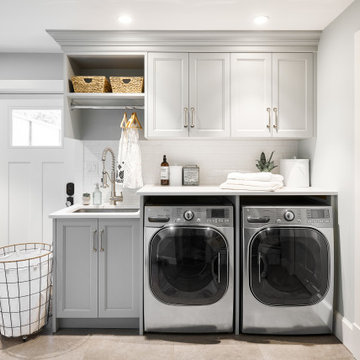
The Birch's downstairs laundry room is a functional and stylish space designed to simplify your laundry routine. The room features titanium stacked laundry machines, offering efficient and space-saving solutions for your washing and drying needs. The white cabinets with gold cabinet hardware add a touch of sophistication and elegance to the room, while providing ample storage for laundry essentials. The white walls, trim, and doors create a clean and crisp backdrop, enhancing the overall brightness of the space. Completing the look is the gray tile floor, which adds a subtle touch of texture and complements the color scheme. With its combination of practicality and aesthetic appeal, The Birch's laundry room ensures a seamless and enjoyable laundry experience.

Find the right local pro for your project

 studiomoffitt.com
Architect: Studio Moffitt
Photography by Gabriel Li
Contemporary exterior home idea in Other
Contemporary exterior home idea in Other
 Vancouver General Contractors
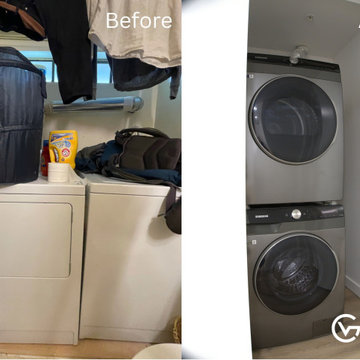
A spectacular laundry closet before-and-after transformation in Kitsilano by Vancouver General Contractors. The original, cramped configuration with outdated side-by-side appliances on the left was fully optimized to maximize functional space. The remodeled area on the right features a space-saving layout with high-efficiency stacked Samsung front-load washer and dryer units in a modern platinum finish, crisp white walls, and clean new flooring.
 UpperKey
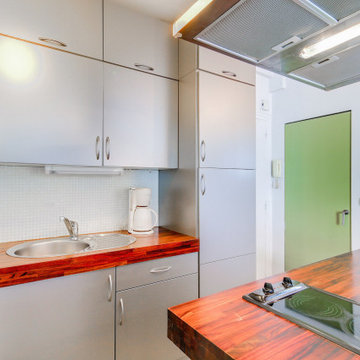
Another interesting fact about Parisian apartment kitchens is that they often have a small washing machine located under the kitchen counter. This is because many Parisian apartments do not have a separate laundry room, so the kitchen is often used as a multi-purpose space. These compact washing machines are a convenient and space-saving solution for apartment dwellers who want to do laundry at home.
 Pioneer Family Pools
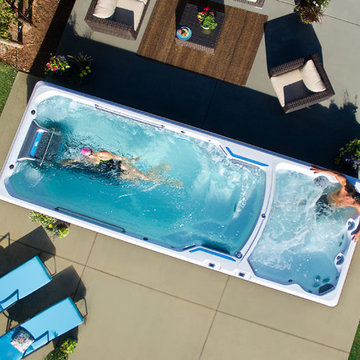
Take a sneak peak at the all new Endless Pool E2000 Dual Temperature Fitness System. This revolutionary swim spa blends the best of both a fitness pool and a rejuvenating hot tub in one elegant design. The most unique feature to the E2000 is the ability to independently set temperatures for both the pool and hot tub sections so you can enjoy your laps in a cooler pool while friends and family enjoy the soothing warmth from the hot tubs hydrotherapy jets.
The 3 Illuminated Waterfalls playfully cascade water into both sections of this swim spa while the Underwater Multi-Colour LED Lighting shimmers as the waves ripple. Kick back and relax with 5 Hydrotherapy Massage Seating Options in the hot tub that each provide different therapeutic relief. When you’re ready for your workout, hop on over to the fitness section to use the Endless Pool Swim Machine Unit that sends a powerful current for you to swim against in stream. If you used to run but felt it in your joints, then the Underwater Treadmill is the perfect option to get back to your favourite pastime while saving your joints. Take a moment to relax on one of the two seats placed next to the Swim Machine Unit that let you rest whenever you like.
The modern design of the E2000 features horizontal slatted panels, Exterior LED Lighting, Stain Stainless Steel Rails and a crisp and polished shell. Make the best use of this revolutionary blend of fitness and function using the dual LCD Topside Control Panels that allow you to manage your temperature, lighting, waterfalls, and more.
Features:
Hydrotherapy Massage Seating For 5
Endless Pool Swim Machine Unit
Underwater Treadmill
3 Illuminated Waterfalls
26 Multi-Colour LED Points Of Light
5″ Main Light & LED Illumination Bar
2 Satin Stainless Steel Rails
2 LCD Control Panels
*Specs Reflect The 58″ Swim Machine & Treadmill Model

 Look Cabinets
5 years old and still looks like new!
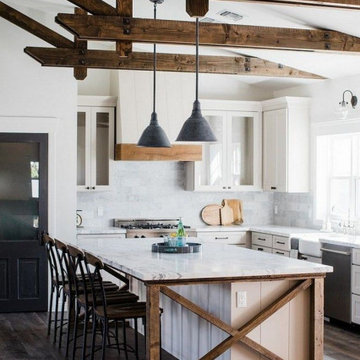
Its a really good feeling being welcomed into a home we completed some 5 years ago and the kitchen still looks brand new. The Australian made acrylic(not 2pak) doors have really stood the test of time. Other advantages of acrylic are not only is there a considerable cost saving compared to paint but they are laid up with the same high gloss finish both sides of the panels and minor scratches can be polished out.
Other features in this cleverly design sunshine coast home include dishwasher, washing machine and dryer raised off the floor to avoid back breaking bending over. Beautiful timeless granite throughout including the alfresco BBQ area. Huge Kitchen appliance cabinet to hide away spices, coffee machine, toaster and kettle in an instance by pulling down a roller door. My favourite feature is the window splashback behind the underslung sink, it brings so much light in with the northern aspect.
 Tile Doctor Ltd
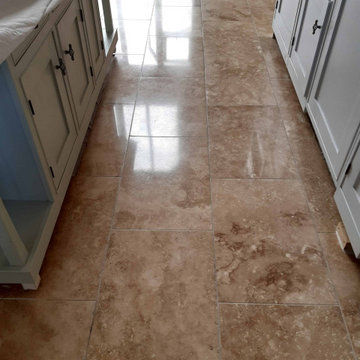
Located in Burgh Castle West of Great Yarmouth, this Travertine stone floor was a classic example of an incomplete installation. By incomplete I mean the tiler had done a fine job of laying and grouting the tiles but had left it at that and not sealed the stone. Natural stone like Travertine is porous and needs a sealer to stop dirt becoming ingrained in its pores, a sealer will also improve its appearance.
Without a sealer this floor now looked very dull, pale, rather damaged with pitting and heavily soiled with ingrained dirt. Pitting in stone like this is a natural feature of Travertine however it can be exacerbated with the use of acid cleaning products. This was a floor in urgent need of a face lift, and I was confident it could be transformed into a very beautiful floor.
I think it is true to say that most tilers will skilfully lay a floor for you but usually don’t have the knowledge, experience or equipment to finish the surface properly and when it comes to sealing many will recommend a product and suggest you take care of it yourself. Naturally if your find yourself in that position don’t insist the tiler does it, better to give us a call and have it done properly.
Our first job was to backfill the larger pits in the stone which as I mentioned are a natural feature of travertine material, but they can trap dirt and so its best if they are plugged with a suitably rigid filler. Also, if left alone the larger holes can quickly become larger as their edges crumble and break up leading to the entire tile becoming unstable. Replacing a tile in a floor like this is possible however its an extremely awkward job to do and it can be difficult to find an exact match for replacement.
Filling was done using a two-part, neutral cream-coloured polyester compound which gels in about fifteen minutes after addition of the catalyst. After this initial period, the excess product is trimmed off level with the surface of the tile before it sets harder than the stone itself in around sixty minutes. The fully cured compound can then be cut and machined as though it were part of the stone structure.
Our second job was to remove deep scratches caused by the unprotected feet of workmen’s ladders. This was done using Tile Doctor 50-grit and 100-grit diamond hand burnishing pads with a little water as a cutting medium. Shallower scratching present across the rest of the floor was removed using a Tile Doctor 200-grit soft milling pad driven by our Klindex 17″ rotary machine.
This abrasive action produces a fine slurry which was then rinsed with water and extracted using our 400psi Ninja machine in preparation for the next stage of the refinishing process. These machines were an expensive investment for our business however they are very robust and effective producing a good result that saves time.
Next task was to restore the polished appearance of the Travertine which was done using the application of a set of Tile Doctor burnishing pads. The process starts by applying a coarse 400-grit diamond pad, again fitted to the Klindex rotary machine. This cleans the tile and improves the matt finish left by the milling pad; again, the slurry was rinse-extracted before moving on to the next pad in the set. Next came the finer diamond polishing stages of 800 grit and 1500 grit, slurry being removed as before between the grades. By this time, all the scratches had been removed and the Travertine floor had visually pleasing even sheen across the whole surface. The last pad in the set is applied dry with a little water sprayed onto the tile so we left the area to dry out thoroughly overnight with the assistance of our large capacity dehumidifier.
Returning the following morning, we found that the floor had dried out perfectly and was ready to be vacuumed and spray burnished with the last pad in the set which is a 3000-grit very fine pad applied using a small amount of water sprayed from a trigger bottle resulting in a deep, rich shine across the floor surface.
Last step in the face lift was to seal the floor with a generous coat of Tile Doctor Ultra-Seal, a premium grade penetrating sealer recommended for use in Kitchens and food preparation areas. Having left the floor to soak up as much of the Tile Doctor Ultra-Seal as it could, the excess product was removed and the whole area allowed to dry completely with the assistance of our industrial air moving fan. Finally, the floor was spray buffed to a deep shine using a white maintenance pad.
The client was extremely pleased with our results and was amazed at the variation of colours within the stone which had never been visible previously.
Nick White
Norfolk Tile Doctor
 Shirley Meisels
Photo ©Kim Jeffery
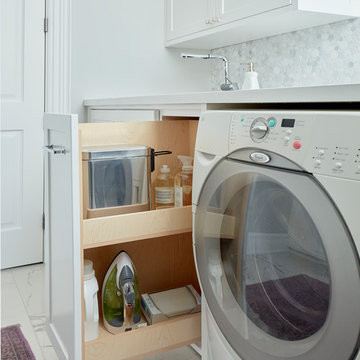
Inspiration for a large transitional u-shaped porcelain tile and multicolored floor dedicated laundry room remodel in Toronto with an undermount sink, recessed-panel cabinets, white cabinets, quartz countertops, gray walls, a side-by-side washer/dryer and white countertops
Inspiration for a large transitional u-shaped porcelain tile and multicolored floor dedicated laundry room remodel in Toronto with an undermount sink, recessed-panel cabinets, white cabinets, quartz countertops, gray walls, a side-by-side washer/dryer and white countertops
 ROOM8
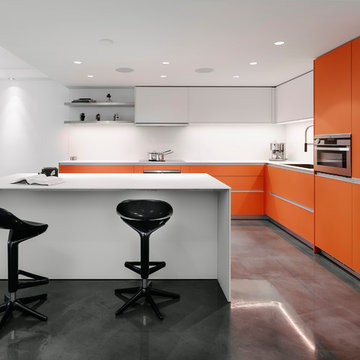
ROOM8Custom Italian Kitchen cabinets in satin finish orange glass with white satin finish glass countertops and uppers. Designed for a Vancouver cinematographer who loves colour. Photography by Chris Rollet

 Go Home Contracting
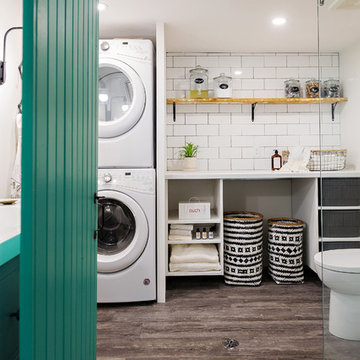
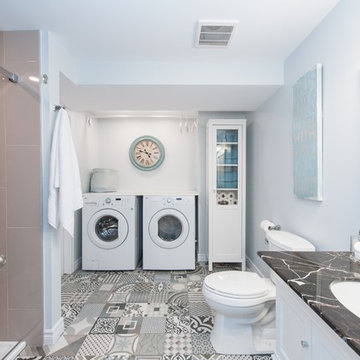
Trendy 3/4 brown tile cement tile floor and multicolored floor bathroom photo in Ottawa with recessed-panel cabinets, white cabinets, a two-piece toilet, white walls and an undermount sink

Sponsored
Columbus, OH

Hope Restoration & General Contracting
Columbus Design-Build, Kitchen & Bath Remodeling, Historic Renovations
 Soda Pop Design Inc.
Stephani Buchman Photography
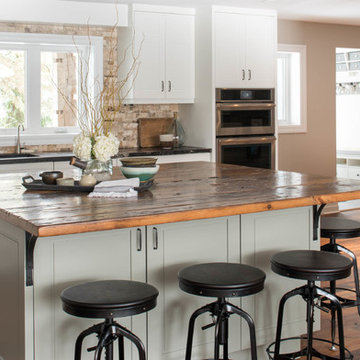
Open concept kitchen - large transitional l-shaped medium tone wood floor open concept kitchen idea in Toronto with recessed-panel cabinets, white cabinets, beige backsplash, stone tile backsplash and an island
Open concept kitchen - large transitional l-shaped medium tone wood floor open concept kitchen idea in Toronto with recessed-panel cabinets, white cabinets, beige backsplash, stone tile backsplash and an island
 Lisa Robazza Design
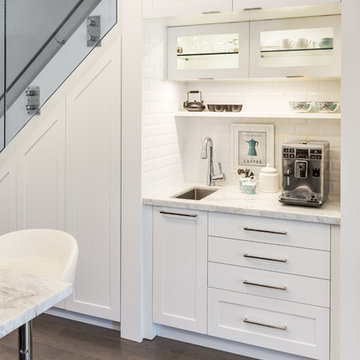
The space under the stairs was made useful as a coffee bar and for overflow storage. Ample lighting and a sink make it useful for entertaining as well.
Photos: Dave Remple
 Schreyer Construction Ltd.
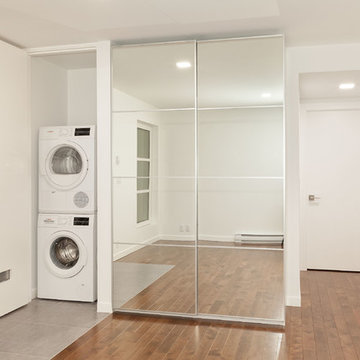
Inspiration for a mid-sized modern single-wall medium tone wood floor and brown floor enclosed kitchen remodel in Vancouver with flat-panel cabinets, white cabinets, quartzite countertops, stainless steel appliances and no island
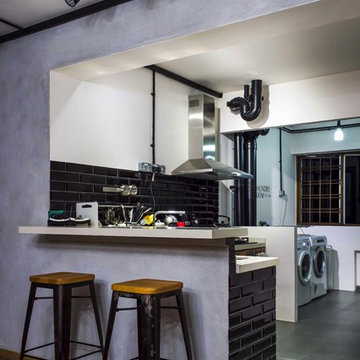
 The Eklektik Atelier Pte. Ltd.
Entrance of the open kitchen concept kitchen with a bar top cum breakfast table.
Danish kitchen photo in Singapore
Danish kitchen photo in Singapore
Sponsored
Columbus, OH
Hope Restoration & General Contracting
Columbus Design-Build, Kitchen & Bath Remodeling, Historic Renovations
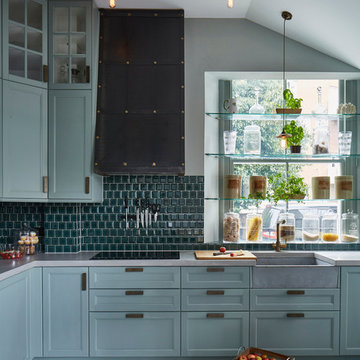
 Sigmar
Customised Ikea kitchen with bespoke handles, concrete worktop, painted in bespoke Damo paint, available from Sigmar. The glass shelves in the window provide a quirky storage solution for decorative objects as well as privacy.
Photography by: Petr Krejci

 mango design co
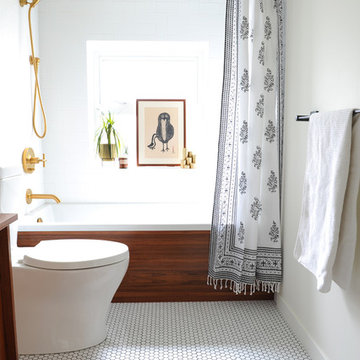
Bathroom - small 1960s master white tile and ceramic tile porcelain tile and white floor bathroom idea in Vancouver with flat-panel cabinets, medium tone wood cabinets, a two-piece toilet, white walls and wood countertops
9