
Search results for "Suspect" in Home Design Ideas

 Seavey Builders, Inc.
Troy Thies Photography
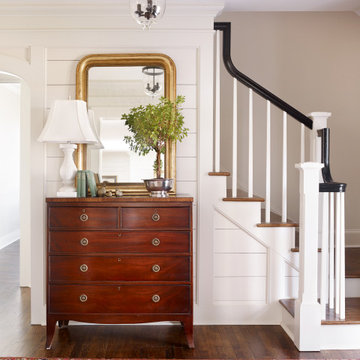
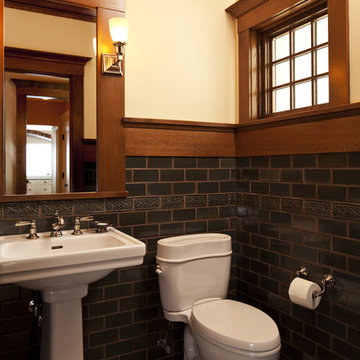
Inspiration for a craftsman subway tile powder room remodel with a pedestal sink
Inspiration for a craftsman subway tile powder room remodel with a pedestal sink
 Gerhard’s Kitchen, Bath & Lighting Store
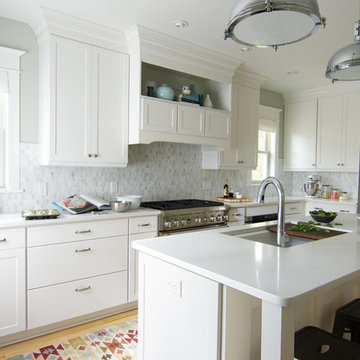
Pendant Lights: Hinge Pendant No 804 by Quorum International. Stools: Charcoal Grey counter-height stools by Tabouret.
Eat-in kitchen - transitional l-shaped eat-in kitchen idea in Minneapolis with an undermount sink, flat-panel cabinets, white cabinets, solid surface countertops, gray backsplash, stone tile backsplash and stainless steel appliances
Eat-in kitchen - transitional l-shaped eat-in kitchen idea in Minneapolis with an undermount sink, flat-panel cabinets, white cabinets, solid surface countertops, gray backsplash, stone tile backsplash and stainless steel appliances
Find the right local pro for your project
 Studio Dearborn
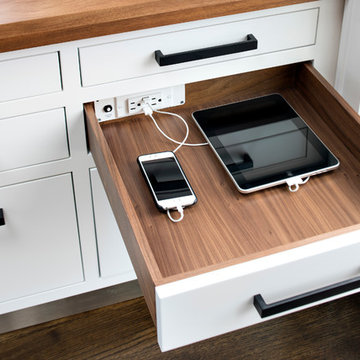
This spacious kitchen in Westchester County is flooded with light from huge windows on 3 sides of the kitchen plus two skylights in the vaulted ceiling. The dated kitchen was gutted and reconfigured to accommodate this large kitchen with crisp white cabinets and walls. Ship lap paneling on both walls and ceiling lends a casual-modern charm while stainless steel toe kicks, walnut accents and Pietra Cardosa limestone bring both cool and warm tones to this clean aesthetic. Kitchen design and custom cabinetry, built ins, walnut countertops and paneling by Studio Dearborn. Architect Frank Marsella. Interior design finishes by Tami Wassong Interior Design. Pietra cardosa limestone countertops and backsplash by Marble America. Appliances by Subzero; range hood insert by Best. Cabinetry color: Benjamin Moore Super White. Hardware by Top Knobs. Photography Adam Macchia.
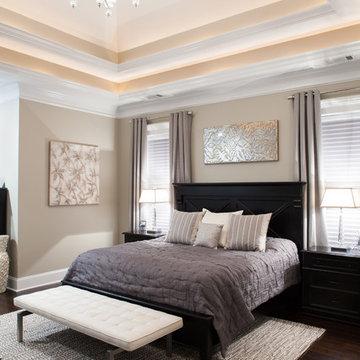
 Andrew Sherman Photography
Andrew Sherman. www.AndrewSherman.co
Limited Edition Photographs
https://www.etsy.com/shop/AndrewShermanFineArt
 Jennifer Gilmer Kitchen & Bath
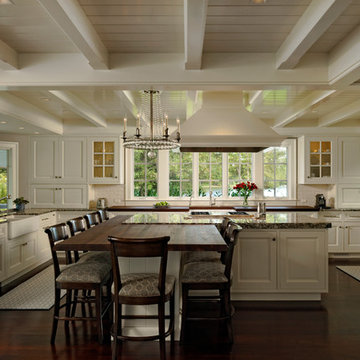
Easton, Maryland Traditional Kitchen Design by #JenniferGilmer with a lake view
http://gilmerkitchens.com/
Photography by Bob Narod


 Swanson Homes
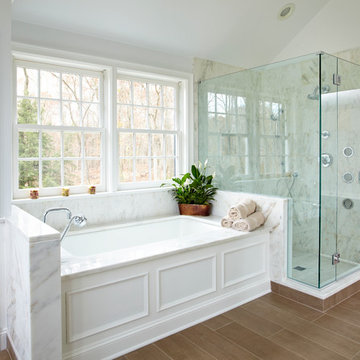
This warm and rustic home, set in the spacious Lakeview neighborhood, features incredible reclaimed wood accents from the vaulted ceiling beams connecting the great room and dining room to the wood mantel and other accents throughout.
 EDGE Cabinet & Space Creators
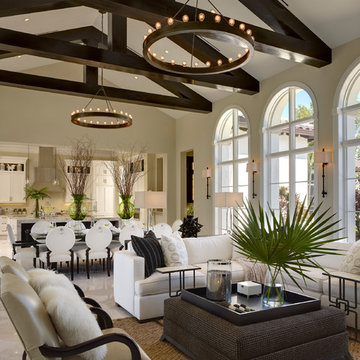
Living room - mediterranean open concept living room idea in Miami with beige walls
 Smith & Vansant Architects PC
Rob Karosis Photography www.robkarosis.com
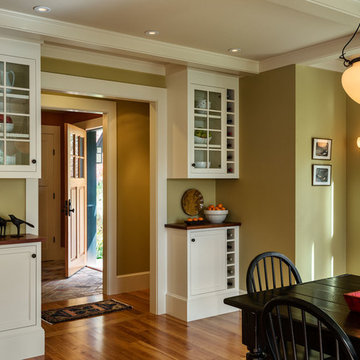
Example of a classic dining room design in Burlington
Example of a classic dining room design in Burlington
 Lands End Development - Designers & Builders
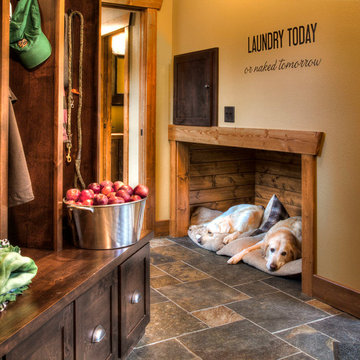
Mountain style mudroom photo in Minneapolis with beige walls
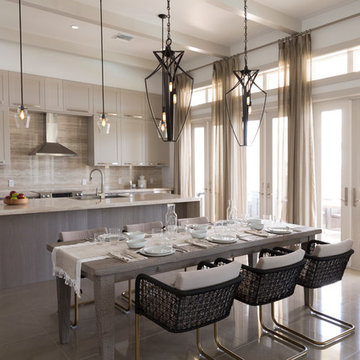
Open concept kitchen - large contemporary l-shaped open concept kitchen idea in Miami with an undermount sink, shaker cabinets, gray cabinets, granite countertops, beige backsplash, stone slab backsplash, stainless steel appliances and an island
 BSA Construction
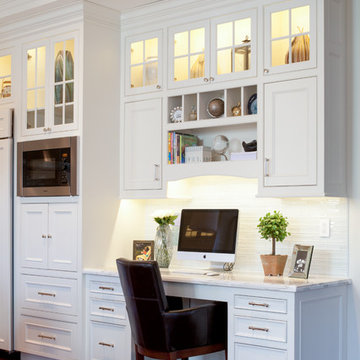
Built-in work station in open concept kitchen and dining room remodel.
Custom white cabinets with glass front doors and built-in lighting. Custom storage nooks and hidden electrical outlets. Hardwood floors, white trim and copper coffered ceiling.


 CCS ARCHITECTURE
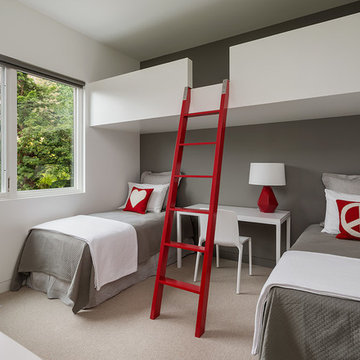
On the first floor, in addition to the guest room, a “kids room” welcomes visiting nieces and nephews with bunk beds and their own bathroom.
Photographer: Aaron Leitz
 Jeff Herr Photography
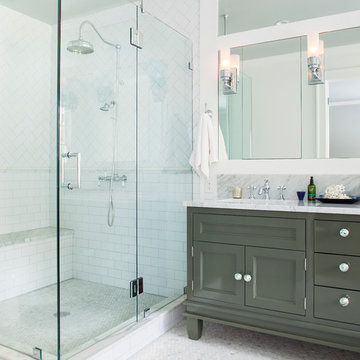
Inspiration for a timeless white tile and subway tile corner shower remodel in Atlanta with gray cabinets and recessed-panel cabinets


 Urrutia Design
Photography by Matt Sartain
Small transitional single-wall dark wood floor and brown floor laundry closet photo in San Francisco with white cabinets, marble countertops, a side-by-side washer/dryer, shaker cabinets, white countertops and white walls
Small transitional single-wall dark wood floor and brown floor laundry closet photo in San Francisco with white cabinets, marble countertops, a side-by-side washer/dryer, shaker cabinets, white countertops and white walls

 Tile Doctor Ltd
During an inspection for alteration work, this customer from Cheshunt discovered what appeared to be an original encaustic tiled floor under the hallway carpet. Keen to work out what it was, and have it restored, I was asked to pop round and look.
I went over as requested to survey the hallway floor and confirm their suspicions. The carpet had been secured with gripper rods glued onto the floor and that came away easily enough. Underneath, the tiles had been covered with self-levelling cement which had to be carefully scraped away to reveal the tiles.
I ran a test to see if the cement leveller could be easily removed and using a combination of a scraper with Tile Doctor Pro-Clean, I was able to confirm the tiled floor was indeed salvageable. The house was Edwardian, and the tiles had been laid in a classic black and white geometric pattern typical of the period so I suspect the floor was indeed original.
I worked out a quote to restore the whole floor including the removal of the cement, deep cleaning and then sealing the tiles. Without removing all the cement, it would be difficult to price for replacing broken tiles, but I suspected there may be a few as its quite usual for a floor of this age. Keen to have the floor restored we were given the go-ahead and a date scheduled for the work to start.
The first step was to remove all the carpet and gripper rod so we could see the full extent of the self-levelling screed. Once done it was a case of carefully chipping and scraping away to break up the cement until the tiled floor had been fully revealed. Its slow and detailed work but quite rewarding when the tiled floor is finally revealed. The tiles had survived well under the carpet and cement but as suspected a few repairs and replacement would be needed.
With all the cement brushed away work moved onto cleaning which started with a strong dilution of Tile Doctor Pro-Clean applied to the floor and left to soak in for fifteen minutes the scrubbed in with a rotary machine fitted with a Black pad. A lot of soiling is generated from this which is rinsed off with water and extracted with a wet vacuum. The floor was then inspected and the process repeated where required.
The next step was to treat the tiles to an acid wash using Tile Doctor Grout Clean-up. This is applied as before and has several benefits including dissolving the remaining cement residue and neutralising the pH of the floor after the use of Tile Doctor Pro-Clean which is a strong alkaline.
The floor was then inspected and the broken tiles carefully removed so they could be replaced. This is delicate work as lifting a tile can sometimes upset its neighbour and before you know it the size of the work has tripled. Replacement tiles were then cut to fit the existing geometric pattern and secured into place with a rapid set adhesive and grouted in.
Once the replacement tile and grout had set, the floor was given a light clean using Tile Doctor Neutral Tile Cleaner and then left to dry out overnight.
The next day the tiles were sealed using a single coat of Tile Doctor Colour Grow and the followed up with give coats of Tile Doctor Seal & Go. Colour Grow is an impregnator that soaks into the pores of the tile protecting it from within and improving colour, where as Seal and Go adds a nice subtle sheen to the tiles. Both products are breathable which is an important feature with old floors that don’t have a damp proof membrane.
For aftercare I recommended Neutral Tile Cleaner which is a gentle but effective tile cleaning product that won’t damage the sealer.
Robert Voyce
Hertfordshire TIle Doctor
1