
Search results for "Unscrew" in Home Design Ideas
 Melissa Miranda Interior Design
Sam Balukonis
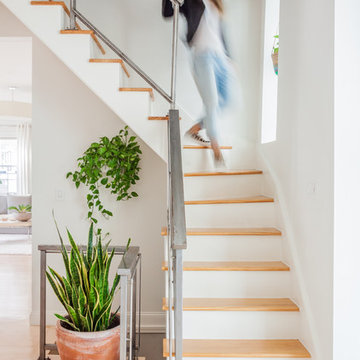
Inspiration for a transitional wooden glass railing staircase remodel in Boston with painted risers
Inspiration for a transitional wooden glass railing staircase remodel in Boston with painted risers
 Hebert Design Build
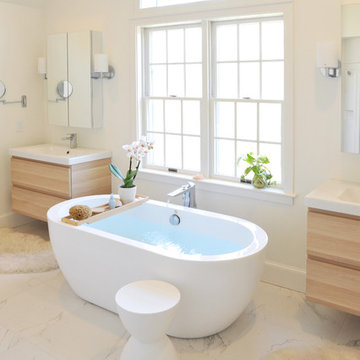
With simple, clean lines and bright, open windows this bathroom invites all the calm simplicity craved at the end of a long work day.
Mid-sized trendy master white tile and ceramic tile marble floor freestanding bathtub photo in Providence with light wood cabinets, white walls, an integrated sink, flat-panel cabinets and a one-piece toilet
Mid-sized trendy master white tile and ceramic tile marble floor freestanding bathtub photo in Providence with light wood cabinets, white walls, an integrated sink, flat-panel cabinets and a one-piece toilet
 Tamara Heather Interior Design, LLC
Photography by Deb Scannell
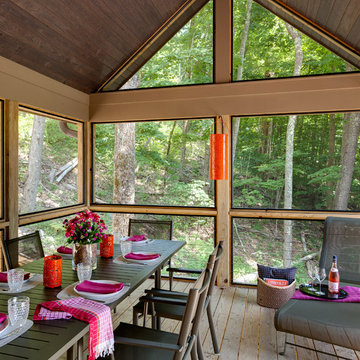
Inspiration for a contemporary back porch remodel in Charlotte with a roof extension
Inspiration for a contemporary back porch remodel in Charlotte with a roof extension
Find the right local pro for your project
 Michelle Gage | Interior Designer
photos: Kyle Born
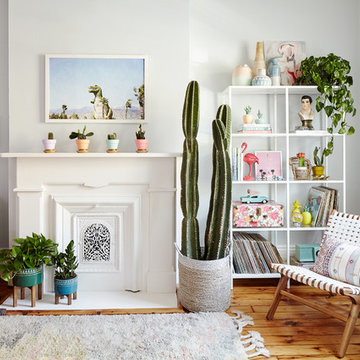
Example of a large eclectic enclosed light wood floor and brown floor living room design in New York with a bar, blue walls, a standard fireplace and no tv
Example of a large eclectic enclosed light wood floor and brown floor living room design in New York with a bar, blue walls, a standard fireplace and no tv
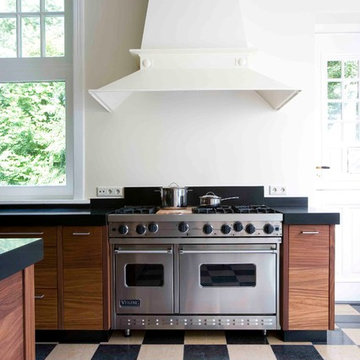

 Marcus Gleysteen Architects
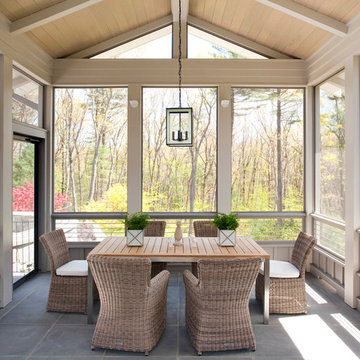
Eric Roth Photography, Liz Caan Interiors
Farmhouse screened-in porch idea in Boston
Farmhouse screened-in porch idea in Boston
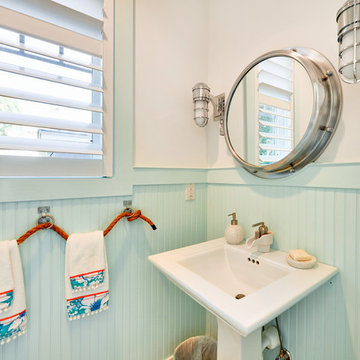
 Echelon Custom Homes
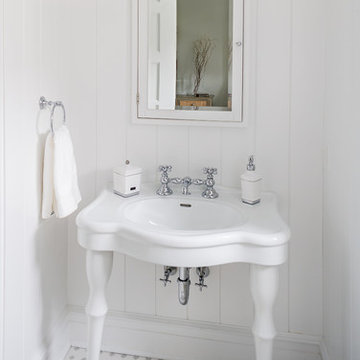
Inspiration for a coastal powder room remodel in Philadelphia with a pedestal sink
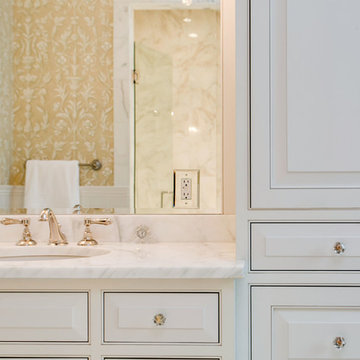
 Palley & Southard Designs
ADA Bathroom
Large master white tile and subway tile marble floor bathroom photo in Raleigh with raised-panel cabinets, white cabinets, a one-piece toilet and multicolored walls
Large master white tile and subway tile marble floor bathroom photo in Raleigh with raised-panel cabinets, white cabinets, a one-piece toilet and multicolored walls

 chadbourne + doss architects
A new Seattle modern house designed by chadbourne + doss architects houses a couple and their 18 bicycles. 3 floors connect indoors and out and provide panoramic views of Lake Washington. The stair uses reclaimed wood and steel. The stair winds around an interior wall of backlit translucent fiberglass.
photo by Benjamin Benschneider
 Sea Green Designs
Michelle Scotto Trani
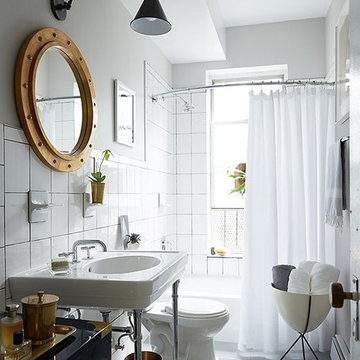
Mid-sized beach style 3/4 porcelain tile bathroom photo in New York with green walls and a console sink
Mid-sized beach style 3/4 porcelain tile bathroom photo in New York with green walls and a console sink
 One Kings Lane
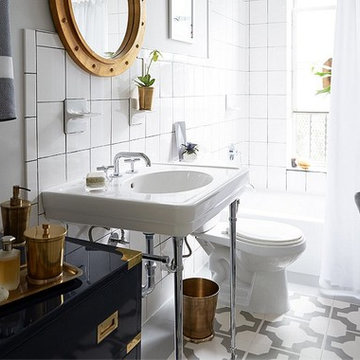
The Finished Bathroom AFTER: A new large round mirror above the sink gave the room some much-needed personality and creates the illusion of more space. To install the new mirror I unscrewed the door of the old medicine cabinet from the wall. With the door gone I hung the mirror right over the recessed part of the cabinet, rendering it inaccessible for daily use, but luckily we’d added storage elsewhere.
Next, I switched out the old light for this cool long-arm sconce. I feel pretty comfortable changing out light fixtures, but if you’re not, definitely hire a pro to help. Both of these simple changes are great solutions for renters! Just rehang the original light and the mirrored door when you leave.
To finish things off, a couple of sleek new hooks were added to the wall for hanging towels or robes. By far the best part of the entire process was welcoming my friends to their new and improved bathroom!
Photo by Manuel Rodriguez

 One Kings Lane
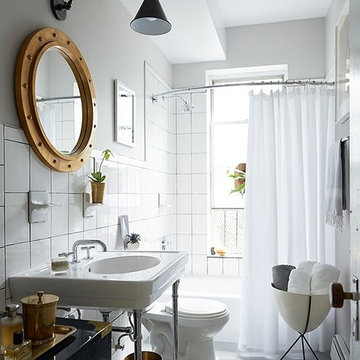
Step 8: Infusing Personality and Style AFTER: A new large round mirror above the sink gave the room some much-needed personality and creates the illusion of more space. To install the new mirror I unscrewed the door of the old medicine cabinet from the wall. With the door gone I hung the mirror right over the recessed part of the cabinet, rendering it inaccessible for daily use, but luckily we’d added storage elsewhere.
Next, I switched out the old light for this cool long-arm sconce. I feel pretty comfortable changing out light fixtures, but if you’re not, definitely hire a pro to help. Both of these simple changes are great solutions for renters! Just rehang the original light and the mirrored door when you leave.
Photo by Manuel Rodriguez

 One Kings Lane
Step 8: Infusing Personality and Style: A new large round mirror above the sink gave the room some much-needed personality and creates the illusion of more space. To install the new mirror I unscrewed the door of the old medicine cabinet from the wall. With the door gone I hung the mirror right over the recessed part of the cabinet, rendering it inaccessible for daily use, but luckily we’d added storage elsewhere.
Next, I switched out the old light for this cool long-arm sconce. I feel pretty comfortable changing out light fixtures, but if you’re not, definitely hire a pro to help. Both of these simple changes are great solutions for renters! Just rehang the original light and the mirrored door when you leave.
Photo by Manuel Rodriguez
 http://www.etsy.com/shop/RhymeswithDaughter
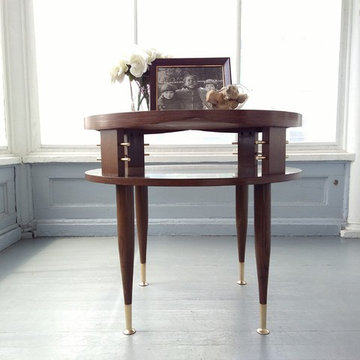
Vintage Atomic Era Wood Two Tier Table Laminate Tops Pencil Legs Brass Color Accents End Table Side Table Photo Prop RhymeswithDaughter
Design savvy vintage Atomic Era piece. Gorgeous long pencil legs come out straight up and down. Second tier equal to the size of the top leaving lots of room for storage and hidden treasures. The finishes are in good vintage used condition. The metal accents have some wear. It is a heavy solid piece. Structurally sound. Overall a beautiful piece to add to your Mid Century decor. The top measures 29 3/4" in diameter. It is 27" T. The lower shelf is " in diameter and there is 5 1/2" from the bottom of the table's top to the top of the 2nd shelf.
The legs will be unscrewed for safe and economical shipping.
This item will be shipped via USPS. Combined shipping available. Please convo us with the items that you would like to combine and we can assist you. Thank you for shopping at our store!
Viewing a listing?
Come visit our shop for more Vintage, Antique and Handmade Treasures!
RhymeswithDaughter.Etsy.Com
or Follow us on Instagram to see new items as we add them to our store!

 Gappsi
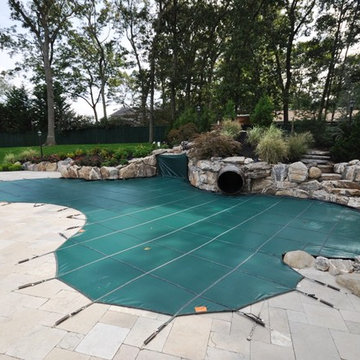
Mesh covers are the most common way to safeguard your pool during the winter. A winter cover has to be strong and made of good quality material. There are many manufactures of pool liners and mesh safety covers, and mesh covers can be ordered according to the initial pool liner measurements.
Gappsi can supply and install a mesh pool cover, we are authorized dealers and installers for every brand, from Loop-Loc, Merlin, Lathem, Vynall and many other others.
Manufactures make many grades of covers, the better the grade the more expensive to cover is. Tight thin mesh and strong fibers used to manufacture the covers will give your pool cover the quality to last for many years.
Swimming pool winter covers installed by Gappsi will give you all the protection, security, and safety you need for your family, pets, and neighbors. Winter pool covers are manufactured to let the water from the rain drain through. Also, it allows you to put your pump in the middle of the cover and allow the extra water in the pool to come through and get pumped out. Winter covers are manufactured in all mesh or solid rubber with a 24x24 mesh hole in the center to let water drain into the pool. Anchors are installed in the patio about 36 inches away from the swimming pool. The way they are installed is by drilling a hole in the patio, brass anchors are slid through, and the cover is then attached to the anchors. If the patio is not installed correctly, the cover may become loose and it will not be as safe as it should be.
The Gappsi way of installation starts with the proper installation of the patio. Four foot wide slabs with reinforced rebar are always installed around the swimming pool to prevent settling of the patio, then the finished paving material is installed over the concrete base. The Gappsi installation of the safety pool cover is then installed over the patio by drilling holes straight through the finished paving material all the way down into the concrete base. A sleeve is installed into the hole about 6 inches into the patio going through the 4 inches of concrete base and further in the ground, and a brass screw pin is then installed into the pipe. By unscrewing the brass screw pin; it comes up above the patio and allows for the cover ring hooks to attach to the brass screw. After this is all done for every strap of the cover, your Gappsi installed pool cover is safe to walk on with no chance of breaking.
 Gappsi
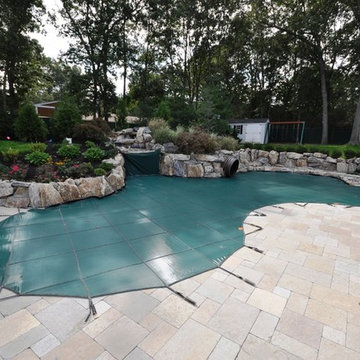
Mesh covers are the most common way to safeguard your pool during the winter. A winter cover has to be strong and made of good quality material. There are many manufactures of pool liners and mesh safety covers, and mesh covers can be ordered according to the initial pool liner measurements.
Gappsi can supply and install a mesh pool cover, we are authorized dealers and installers for every brand, from Loop-Loc, Merlin, Lathem, Vynall and many other others.
Manufactures make many grades of covers, the better the grade the more expensive to cover is. Tight thin mesh and strong fibers used to manufacture the covers will give your pool cover the quality to last for many years.
Swimming pool winter covers installed by Gappsi will give you all the protection, security, and safety you need for your family, pets, and neighbors. Winter pool covers are manufactured to let the water from the rain drain through. Also, it allows you to put your pump in the middle of the cover and allow the extra water in the pool to come through and get pumped out. Winter covers are manufactured in all mesh or solid rubber with a 24x24 mesh hole in the center to let water drain into the pool. Anchors are installed in the patio about 36 inches away from the swimming pool. The way they are installed is by drilling a hole in the patio, brass anchors are slid through, and the cover is then attached to the anchors. If the patio is not installed correctly, the cover may become loose and it will not be as safe as it should be.
The Gappsi way of installation starts with the proper installation of the patio. Four foot wide slabs with reinforced rebar are always installed around the swimming pool to prevent settling of the patio, then the finished paving material is installed over the concrete base. The Gappsi installation of the safety pool cover is then installed over the patio by drilling holes straight through the finished paving material all the way down into the concrete base. A sleeve is installed into the hole about 6 inches into the patio going through the 4 inches of concrete base and further in the ground, and a brass screw pin is then installed into the pipe. By unscrewing the brass screw pin; it comes up above the patio and allows for the cover ring hooks to attach to the brass screw. After this is all done for every strap of the cover, your Gappsi installed pool cover is safe to walk on with no chance of breaking.

1