
Search results for "Use step" in Home Design Ideas
 Jute Interior Design
Lisa Romerein
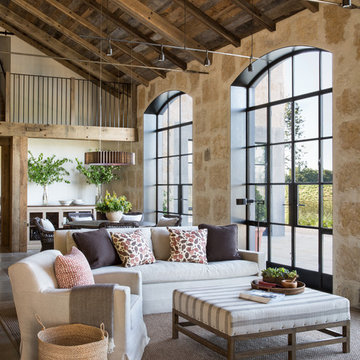
Living room - cottage open concept living room idea in San Francisco with beige walls
Living room - cottage open concept living room idea in San Francisco with beige walls
 CONTENT Architecture
Peter Molick
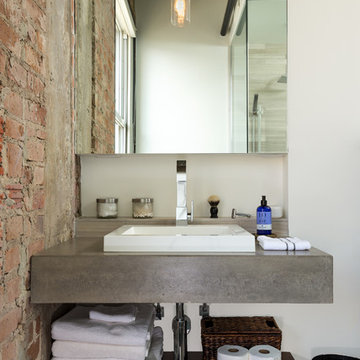
Urban bathroom photo in Houston with concrete countertops and white walls
Urban bathroom photo in Houston with concrete countertops and white walls
Find the right local pro for your project
 Assemblage Studio
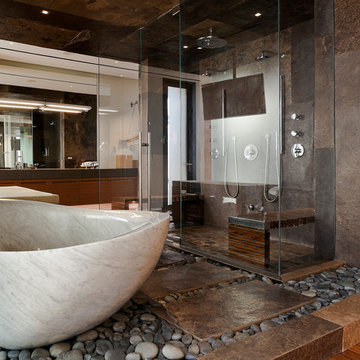
Inspiration for a contemporary brown tile bathroom remodel in Las Vegas with flat-panel cabinets, dark wood cabinets and beige walls
 JMJ Studios
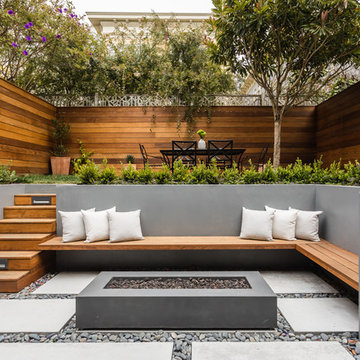
View of rear yard included custom-colored concrete walls, pavers, riverstone and a built-in bench around a firepit. Sliding Glass wall system by Nanawall. All exterior lighting by Bega.
Catherine Nguyen Photography

 Industrial Projects
Creating a comfortable outdoor living space is a priority for many homeowners and DIY enthusiasts. With rising summer temperatures, installing a shade tarp in your backyard offers an affordable and effective solution for sun protection. We’ve developed this detailed, step-by-step guide to help you confidently install a shade tarp that not only shields you from the sun but also adds aesthetic appeal to your outdoor area.
Benefits of Installing a Backyard Shade Tarp
Before diving into the installation process, let’s explore the key benefits of having a backyard shade tarp:
Provides UV Protection: Keeps your family and guests safe from harmful sun exposure.
Reduces Outdoor Temperatures: Creates a cooler, more enjoyable outdoor space.
Protects Outdoor Furniture: Extends the life of patio furniture by reducing sun damage.
Enhances Outdoor Aesthetics: Adds a modern, stylish look to your yard.
Budget-Friendly: More affordable compared to permanent structures like pergolas.
Materials and Tools You’ll Need
To begin your DIY backyard shade project, gather the following materials and tools:
Materials:
Shade tarp (UV-resistant and breathable)
Sturdy posts or existing structures (trees, fences, walls)
Mounting hardware (eye bolts, D-rings, turnbuckles, snap hooks)
Nylon or polyester rope, or stainless-steel wire
Concrete (if installing new posts)
Tools:
Power drill
Measuring tape
Level
Ladder
Wrench or adjustable spanner
Post hole digger (if installing new posts)
Step 1: Plan Your Shade Tarp Layout
The first step in installing your backyard shade tarp is careful planning. Take time to assess your outdoor area and answer these key questions:
Where is the sun’s path throughout the day?
What size and shape of tarp best suits your space?
Will you anchor the tarp to existing structures or install new posts?
What height do you want the tarp to sit at for maximum shade and airflow?
Pro Tip: Use string or garden hoses to visualize the tarp layout on the ground before making permanent decisions.
Step 2: Measure and Mark Anchor Points
Once you’ve determined the tarp’s location and orientation:
Measure the tarp dimensions.
Mark the exact points where each corner of the tarp will be anchored.
Ensure that the anchor points are at least 5–10% longer than the tarp size to allow for tensioning and slight adjustments.
Consider slope angles for water runoff. Aim for at least a 20-degree angle to prevent water pooling on the tarp.
Step 3: Install Support Posts (If Necessary)
If your backyard lacks existing anchor points like trees or fences, you’ll need to install sturdy support posts:
Dig post holes at least 24 inches deep and 8-12 inches wide for stability.
Set posts in concrete, making sure they remain plumb and level.
Allow the concrete to cure for at least 24–48 hours before applying tension from the tarp.
We recommend using pressure-treated wood, galvanized steel poles, or aluminum posts for longevity and strength.
Step 4: Install Mounting Hardware
With your anchor points ready, it’s time to install the necessary hardware:
Attach eye bolts or pad eyes securely into walls, posts, or other fixed structures.
For added flexibility and adjustability, install turnbuckles or tensioners to fine-tune the tarp’s tightness.
Connect snap hooks, D-rings, or carabiners to make assembly and disassembly easier.
Make sure all hardware is rated for outdoor use to prevent rust and corrosion.
Step 5: Attach and Tension the Shade Tarp
Now it’s time for the most satisfying part—mounting the shade tarp:
Begin by attaching one corner of the tarp to an anchor point.
Gradually attach the remaining corners, moving diagonally for even tension.
Adjust each connection point using your turnbuckles, ropes, or cables.
Pull the tarp tight enough to avoid sagging, but not so tight that it risks tearing.
Check that the tarp maintains the desired slope for rainwater runoff and adjust tension as needed.
Step 6: Final Adjustments and Safety Check
Before enjoying your new shaded area:
Inspect all anchor points and hardware for stability.
Test the tarp’s tension and make adjustments for even distribution.
Ensure that no sharp edges or loose connections remain that could damage the tarp or pose a safety hazard.
Confirm that the tarp is secure in windy conditions by giving it a gentle tug.
If you live in an area with frequent high winds, consider removing the tarp during storms to prevent damage.
Step 7: Enjoy Your Shaded Backyard Oasis
Once installed, your backyard shade tarp provides a comfortable and protective space for outdoor gatherings, relaxation, or family activities. You can decorate underneath with outdoor furniture, string lights, or potted plants to create a personalized outdoor retreat.
Maintenance Tips for Long-Lasting Shade Tarp Performance
To extend the life of your shade tarp, follow these maintenance guidelines:
Regularly check for wear and tear, especially around anchor points and seams.
Clean the tarp periodically with mild soap and water to prevent mildew buildup.
Store the tarp indoors during harsh weather seasons if it's not designed for year-round use.
Tighten hardware as needed to maintain proper tension and avoid sagging.
By following these simple care steps, your shade tarp will continue to deliver years of sun protection and outdoor comfort.
Conclusion: Upgrade Your Outdoor Space with a DIY Shade Tarp
Installing a shade tarp in your backyard is a cost-effective and rewarding DIY project. With careful planning, quality materials, and proper installation techniques, you’ll enjoy cool, shaded outdoor living all season long. This step-by-step guide ensures your project goes smoothly from start to finish.
 Pearson Landscape Services
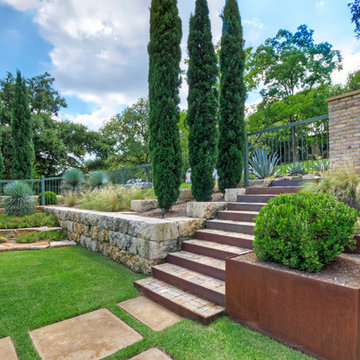
Inspiration for a contemporary full sun concrete paver landscaping in Austin.

 Shoreline Construction and Development
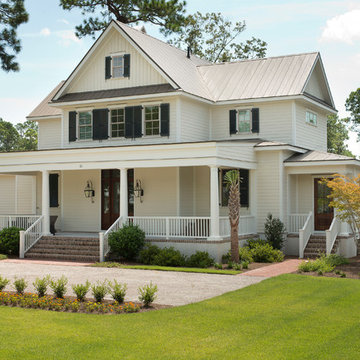
Inspiration for a mid-sized timeless beige two-story wood house exterior remodel in Charleston with a metal roof
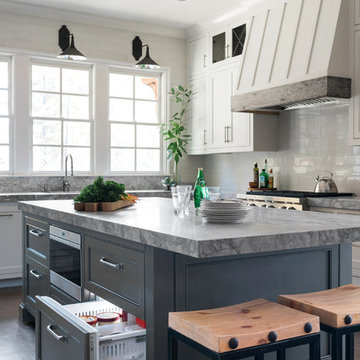
 EK Interiors
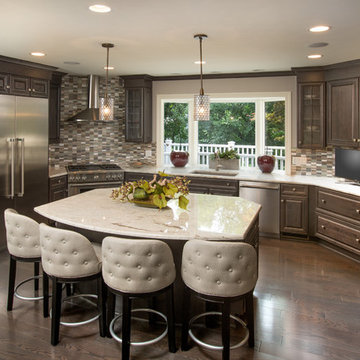
Example of a classic dark wood floor kitchen design in Atlanta with shaker cabinets, white cabinets, white backsplash, stainless steel appliances and an island
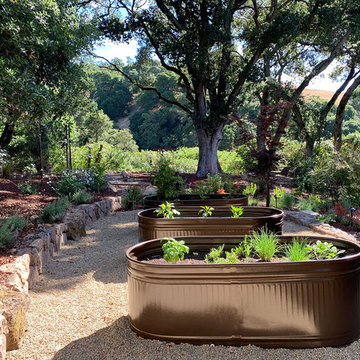
 Dig Your Garden Landscape Design
APLD 2021 Silver Award Winning Landscape Design. Galvanized troughs used for vegetables in the side yard. An expansive back yard landscape with several mature oak trees and a stunning Golden Locust tree has been transformed into a welcoming outdoor retreat. The renovations include a wraparound deck, an expansive travertine natural stone patio, stairways and pathways along with concrete retaining walls and column accents with dramatic planters. The pathways meander throughout the landscape... some with travertine stepping stones and gravel and those below the majestic oaks left natural with fallen leaves. Raised vegetable beds and fruit trees occupy some of the sunniest areas of the landscape. A variety of low-water and low-maintenance plants for both sunny and shady areas include several succulents, grasses, CA natives and other site-appropriate Mediterranean plants complimented by a variety of boulders. Dramatic white pots provide architectural accents, filled with succulents and citrus trees. Design, Photos, Drawings © Eileen Kelly, Dig Your Garden Landscape Design
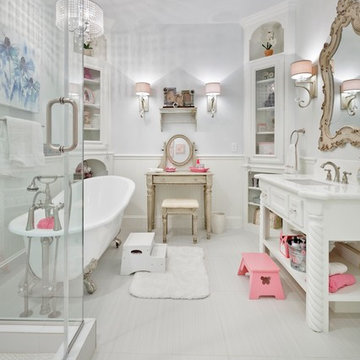
 Morning Star Builders LTD
Kolanowski Studio
Inspiration for a mid-sized victorian kids' white tile and porcelain tile porcelain tile claw-foot bathtub remodel in Houston with an undermount sink, white cabinets, granite countertops, white walls and recessed-panel cabinets
Inspiration for a mid-sized victorian kids' white tile and porcelain tile porcelain tile claw-foot bathtub remodel in Houston with an undermount sink, white cabinets, granite countertops, white walls and recessed-panel cabinets
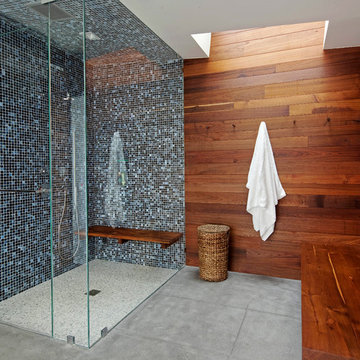
 Katie Leede & Company Studio
Bathroom - large modern master blue tile and mosaic tile concrete floor and gray floor bathroom idea in New York with brown walls and a hinged shower door

 The New Design Project
 http://alangastelum.com
Small eclectic enclosed medium tone wood floor living room photo in New York with gray walls, a standard fireplace and no tv
Small eclectic enclosed medium tone wood floor living room photo in New York with gray walls, a standard fireplace and no tv
Sponsored
Columbus, OH
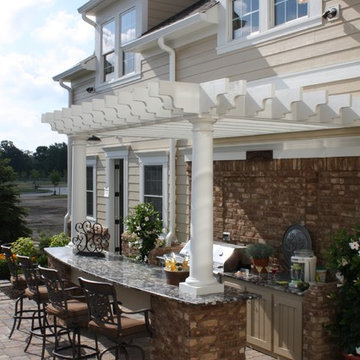
Free consultation for landscape design!

Peabody Landscape Group
Franklin County's Reliable Landscape Design & Contracting
 StudioLAB
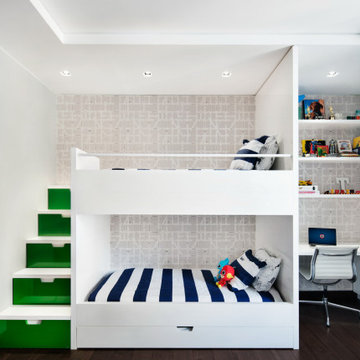
Boasting views of the Museum of Natural History and Central Park, the Beaux Arts and French Renaissance style building built in 1900 was once home to a luxury hotel. Over the years multiple hotel rooms were combined into the larger apartment residences that exist today. The resulting units, while large in size, lacked the continuity of a single formed space. StudioLAB was presented with the challenge of re-designing the space to fit a modern family’s lifestyle today with the flexibility to adjust as they evolve into their tomorrow. Thus, the existing configuration was completely abandoned with new programmatic elements being relocated in each and every corner of the space. For clients that are big wine connoisseurs, the focal point of entry and circulation lies in a 400 bottle, custom built, blackened steel and glass, temperature controlled wine cabinet. The once enclosed living room was demolished to create one main entertaining space that includes a new dining area and open kitchen. Hafele bi-folding pocket door slides were used in the Living room wall unit to conceal the television, bar and display shelves when not in use. Posing as kitchen cabinetry, a hidden integrated door opens to reveal a guest bedroom with an en suite bathroom. Down the hallway of wide plank ebony stained walnut flooring, a compact powder room was built to house an original Paul Villinski installation of small butterflies cut from recycled aluminum cans, entitled Mistral. Continuing down the hall, and through one of the walnut veneered doors, is the shared kids bedroom where a custom-built bunk bed with integrated storage steps and desk was designed to allow for play space and a reading corner. The kids bathroom across the hall is decorated with custom Lego inspired hand cast concrete tiles and integrated pull-out footstools residing underneath the floating vanity. The master suite features a bio-ethanol fireplace wrapped in blackened steel and integrated into the Tabu veneered built-in. The spacious walk-in closet serves several purposes, which include housing the apartment’s new central HVAC system as well as a sleeping spot for the family’s dog. An integrated URC control system paired with Lutron Radio RA lighting keypads were installed to control the AV, HVAC, lighting and solar shades all by the use of smartphones.
 Flegel's Construction Co., Inc.
Dean J. Birinyi
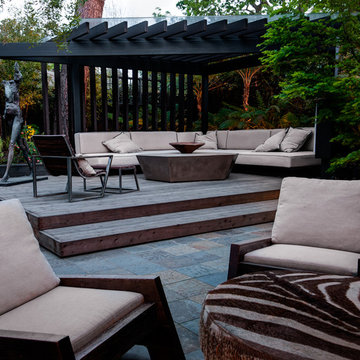
Inspiration for a contemporary deck remodel in San Francisco with a pergola
Inspiration for a contemporary deck remodel in San Francisco with a pergola
 Growsgreen Landscape Design
Photo by Caitlin Atkinson
This is an example of a modern landscaping in San Francisco.
This is an example of a modern landscaping in San Francisco.
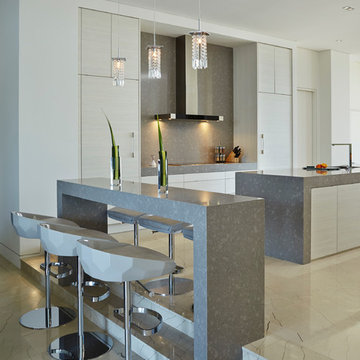
 Alonso & Associates, Inc.
Brantley Photography
Kitchen - contemporary kitchen idea in Miami with flat-panel cabinets and an island
Kitchen - contemporary kitchen idea in Miami with flat-panel cabinets and an island
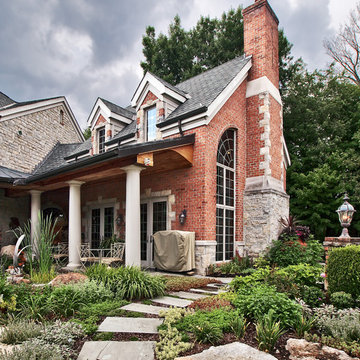
Sponsored
Columbus, OH

Structural Remodeling
Franklin County's Heavy Timber Specialists | Best of Houzz 2020!
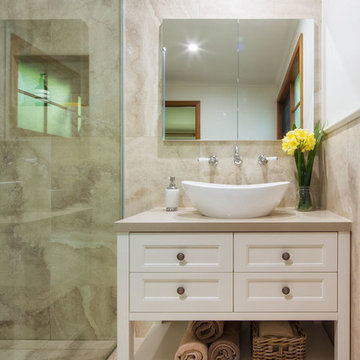
 Simply Bathroom Solutions
Chris Kappa
Walk-in shower - small traditional beige tile porcelain tile walk-in shower idea in Melbourne with a vessel sink, white cabinets and white walls
Walk-in shower - small traditional beige tile porcelain tile walk-in shower idea in Melbourne with a vessel sink, white cabinets and white walls
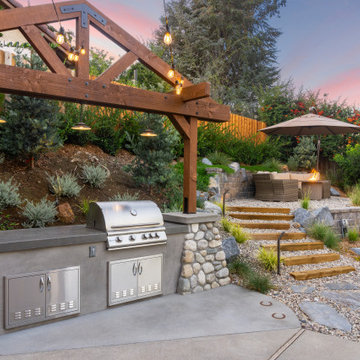
 Pacific Outdoor Living
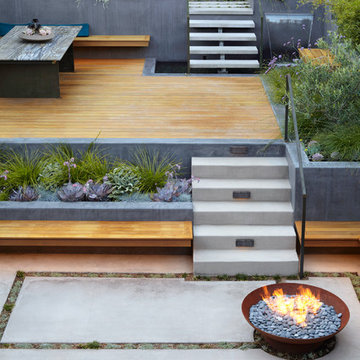
Outdoor seating area and retaining wall with prefabricated fire feature and native California plants. This design also includes a custom outdoor kitchen with a freestanding pergola.
 Hiren Patel Architects
 http://www.phxindia.in/
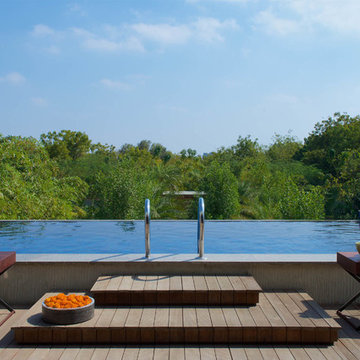
Example of a mid-sized trendy rooftop rectangular infinity pool fountain design in Ahmedabad with decking
Example of a mid-sized trendy rooftop rectangular infinity pool fountain design in Ahmedabad with decking
36