

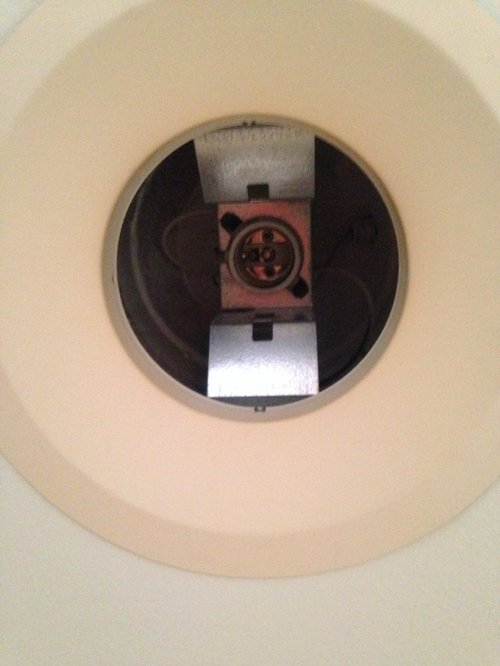
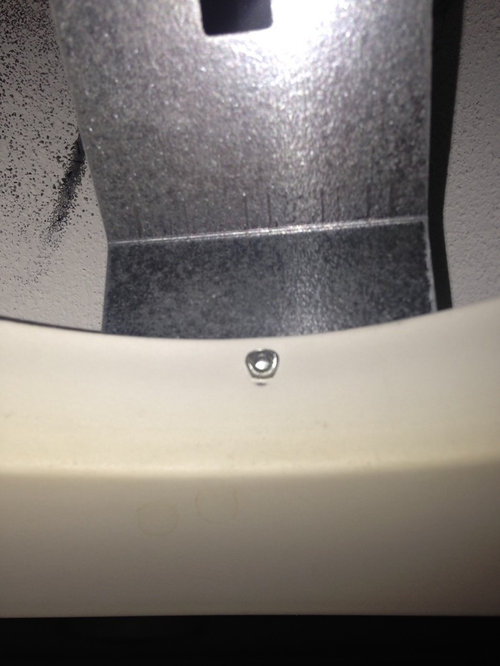
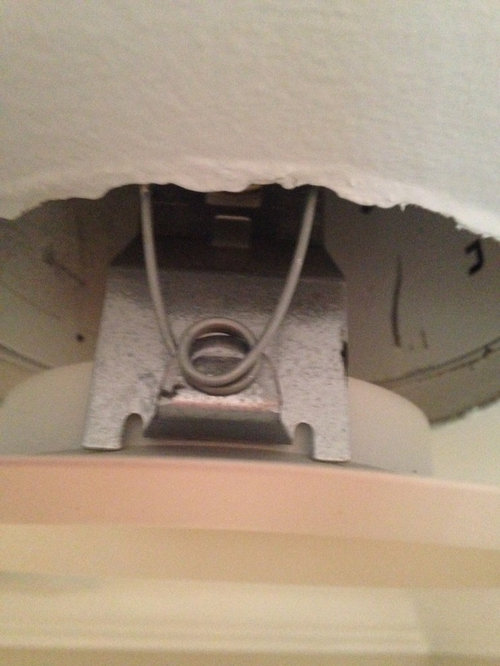
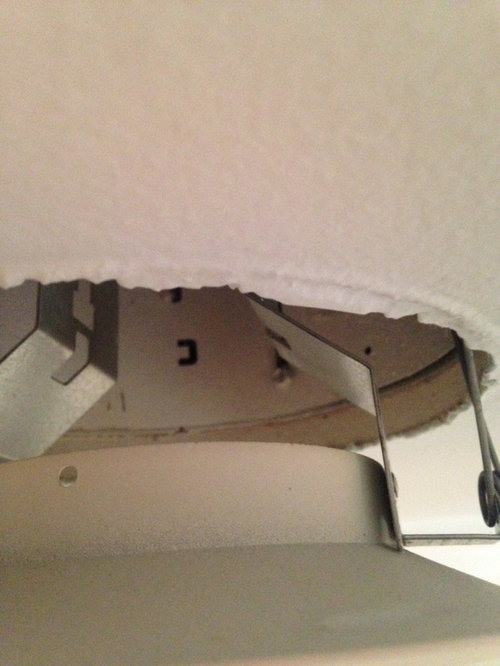
Changing out trim on can light
11 years ago
Featured Answer
Sort by:Oldest
Comments (8)
Related Professionals
Springfield General Contractors · Charlottesville General Contractors · Beckley General Contractors · Lewiston General Contractors · Jamestown General Contractors · Santa Maria General Contractors · Salem General Contractors · Athens Home Remodeling · Cleveland Home Remodeling · Brattleboro Home Remodeling · Leamington Home Remodeling · Lake City Bathroom Remodelers · Cedar Rapids Bathroom Remodelers · La Crosse Bathroom Remodelers · Palm Desert Bathroom Remodelers- 11 years ago
 11 years ago
- 11 years ago
- 11 years ago

Related Stories
DIY PROJECTSMake an Upholstered Headboard You Can Change on a Whim
Classic stripes today, hot pink tomorrow. You can swap the fabric on this DIY headboard to match your room or your mood
Full Story
TRANSITIONAL HOMESHouzz Tour: Change of Heart Prompts Change of House
They were set for a New England look, but a weekend in the California wine country changed everything
Full Story
GREAT HOME PROJECTSHow to Bring Out Your Home’s Character With Trim
New project for a new year: Add moldings and baseboards to enhance architectural style and create visual interest
Full Story
FEEL-GOOD HOMEThe Question That Can Make You Love Your Home More
Change your relationship with your house for the better by focusing on the answer to something designers often ask
Full Story
DECORATING GUIDESWeekend Project: 9 Ways to Branch Out Around the House
Natural pieces can change the feeling of a room, whether you use them to hang pots or to serve as chandeliers
Full Story
LANDSCAPE DESIGNHow Low Can Hedges Go? Discover Unusual Garden Borders
Short enough to step over, high enough to be a stretch ... check out these radically different hedge styles and tell us your opinion
Full Story
DECORATING GUIDESLampshades Shine for Quick Decor Change
Give in to the swap-out urge with an accessory that doesn't cost a fortune and has a high design impact
Full Story
LIGHTINGChange Up Your Bedroom’s Look With Pendant Lamps
When table lamps seem snoozy or you want to save space, bedside pendant lights are a bright idea
Full Story
DECORATING GUIDESSmall Changes to Simplify Your Long-Term Storage
Conquer your attic and basement storage in more than a day, with these easy, bite-size steps for sorting, storing and protecting your stuff
Full Story

User