
Search results for "Apply recommendations" in Home Design Ideas
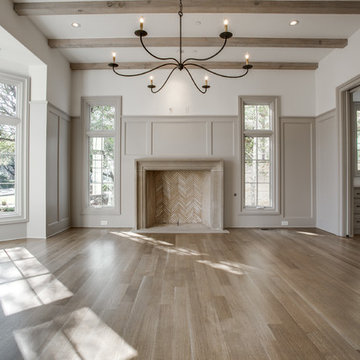

 Advance Design Studio, Ltd.
Curtis and Peggy had been thinking of a kitchen remodel for quite some time, but they knew their house would have a unique set of challenges. Their older Victorian house was built in 1891. The kitchen cabinetry was original, and they wanted to keep the authenticity of their period home while adding modern comforts that would improve their quality of life.
A friend recommended Advance Design Studio for their exceptional experience and quality of work. After meeting with designer Michelle Lecinski at Advance Design, they were confident they could partner with Advance to accomplish the unique kitchen renovation they’d been talking about for years. “We wanted to do the kitchen for a long, long time,” Curtis said. “(We asked ourselves) what are we actually going to do? How are we going to do this? And who are we going to find to do exactly what we want?”
The goal for the project was to keep the home renovation and new kitchen feeling authentic to the time in which it was built. They desperately wanted the modern comforts that come with a larger refrigerator and the dishwasher that they never had! The old home was also a bit drafty so adding a fireplace, wall insulation and new windows became a priority. They very much wanted to create a comfortable hearth room adjacent to the kitchen, complete with old world brick.
The original cabinetry had to go to make way for beautiful new kitchen cabinetry that appears as if it was a hundred years old, but with all the benefits of cutting-edge storage, self-closing drawers, and a brand-new look. “We just wanted to keep it old looking, but with some modern updates,” Peggy said.
Dura Supreme Highland Cabinets with a Heritage Old World Painted Finish replaced the original 1891 cabinets. The hand-applied careful rubbed-off detailing makes these exquisite cabinets look as if they came from a far-gone era. Despite the small size of the kitchen, Peggy, Curtis and Michelle utilized every inch with custom cabinet sizes to increase storage capacity. The custom cabinets allowed for the addition of a 24” Fisher Paykel dishwasher with a concealing Dura Supreme door panel. Michelle was also able to work into the new design a larger 30” Fisher Paykel French refrigerator. “We made every ¼ inch count in this small space,” designer Michelle said. “Having the ability to custom size the cabinetry was the only way to achieve this.”
“The kitchen essentially was designed around the Heartland Vintage range and oven,” says Michelle. A classic appliance that combines nostalgic beauty and craftsmanship for modern cooking, with nickel plated trim and elegantly shaped handles and legs; the not to miss range is a striking focal point of the entire room and an engaging conversation piece.
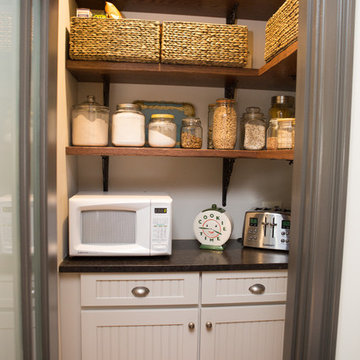
Granite countertops in Kodiak Satin with subtle veining kept with the old-world style. The delicate porcelain La Vie Crackle Sonoma tile kitchen backsplash compliments the home’s style perfectly. A handcrafted passthrough designed to show off Peggy’s fine china was custom built by project carpenters Justin Davis and Jeff Dallain to physically and visually open the space. Additional storage was created in the custom panty room with Latte Edinburg cabinets, hand-made weathered wood shelving with authentic black iron brackets, and an intricate tin copper ceiling.
Peggy and Curtis loved the idea of adding a Vermont stove to make the hearth-room not only functional, but a truly beckoning place to be. A stunning Bordeaux red Vermont Castings Stove with crisp black ventilation was chosen and combined with the authentic reclaimed Chicago brick wall. Advance’s talented carpenters custom-built elegant weathered shelves to house family memorabilia, installed carefully chosen barn sconces, and made the hearth room an inviting place to relax with a cup of coffee and a good book.
“Peggy and Curtis’ project was so much fun to work on. Creating a space that looks and feels like it always belonged in this beautiful old Victorian home is a designer’s dream. To see the delight in their faces when they saw the design details coming together truly made it worth the time and effort that went into making the very compact kitchen space work”, said Michelle. “The result is an amazing custom kitchen, packed with functionality in every inch, nook and cranny!” exclaims Michelle.
The renovation didn’t end with the kitchen. New Pella windows were added to help lessen the drafts. The removal of the original windows and trim necessitated the re-creation of hand-made corbels and trim details no longer available today. The talented carpenter team came to the rescue, crafting new pieces and masterfully finishing them as if they were always there. New custom gutters were formed and installed with a front entry rework necessary to accommodate the changes.
The whole house functions better, but it still feels like the original 1891 home. “From start to finish it’s just a much better space than we used to have,” Peggy said. “Jeff and Justin were amazing.” Curtis added; “We were lucky to find Advance Design, because they really came through for us. I loved that they had everything in house, anything you needed to have done, they could do it”.
 Gregg Hodson Interior Design
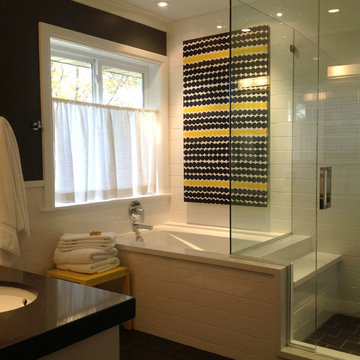
Example of a transitional white tile and ceramic tile tub/shower combo design in Salt Lake City with an undermount sink, white cabinets, quartz countertops and an undermount tub
Find the right local pro for your project
 Jones & Boer Architects, Inc.
Bob Narod photographer
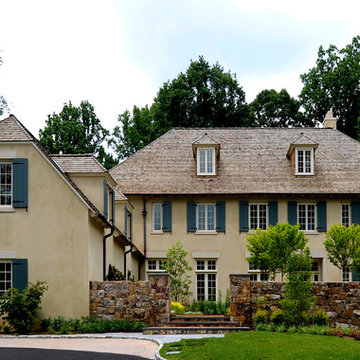
Inspiration for a french country three-story stucco exterior home remodel in DC Metro
Inspiration for a french country three-story stucco exterior home remodel in DC Metro
 dSPACE Studio Architecture
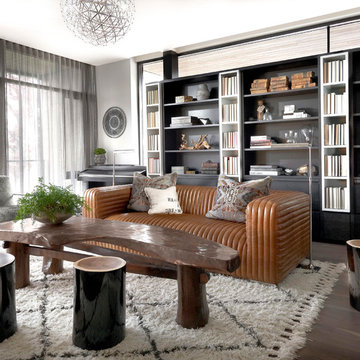
Mid-sized trendy open concept medium tone wood floor living room library photo in Chicago with a two-sided fireplace, a stone fireplace, no tv and gray walls
 KraftMaid
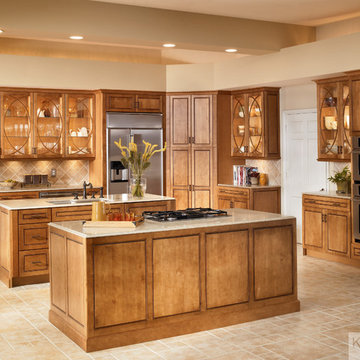
Lighted cabinets with Bistro Glass open up this luxurious kitchen while dual islands in Praline with Mocha highlights give it substance.
Example of a large transitional l-shaped eat-in kitchen design in Detroit with raised-panel cabinets, white cabinets, stainless steel appliances and two islands
Example of a large transitional l-shaped eat-in kitchen design in Detroit with raised-panel cabinets, white cabinets, stainless steel appliances and two islands
 Oggetti Designs
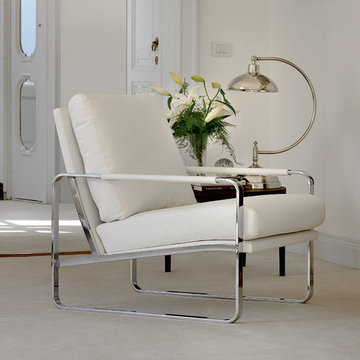
Living room - mid-sized contemporary formal and open concept carpeted and white floor living room idea in Miami with white walls, no fireplace and no tv
 Oak & Broad
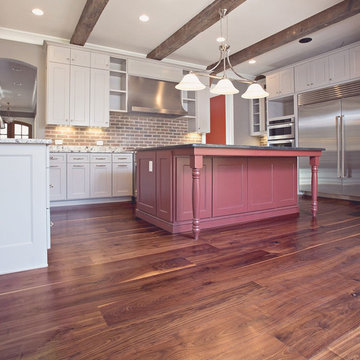
8" wide Black Walnut Plank Wood Flooring. Solid 3/4" thick with lengths from 6-10'. Photo by Tracy Cox Photography
Inspiration for a craftsman kitchen remodel in Atlanta
Inspiration for a craftsman kitchen remodel in Atlanta

 Cedar Country Lumber
Western Red Cedar Split Rail Fencing
Home design - craftsman home design idea in Seattle
Home design - craftsman home design idea in Seattle

 Designer's Edge Kitchen & Bath
This West Linn 1970's split level home received a complete exterior and interior remodel. The design included removing the existing roof to vault the interior ceilings and increase the pitch of the roof. Custom quarried stone was used on the base of the home and new siding applied above a belly band for a touch of charm and elegance. The new barrel vaulted porch and the landscape design with it's curving walkway now invite you in. Photographer: Benson Images and Designer's Edge Kitchen and Bath
 Kitchen to Bath Concepts
Oivanki Photography
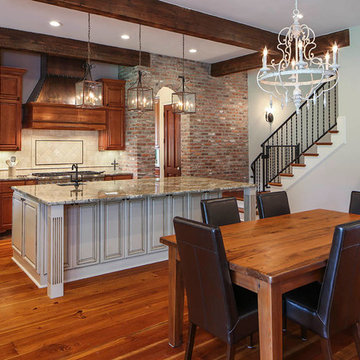
Example of a large classic eat-in kitchen design in New Orleans with raised-panel cabinets and an island
Example of a large classic eat-in kitchen design in New Orleans with raised-panel cabinets and an island
 The Mosaic Factory
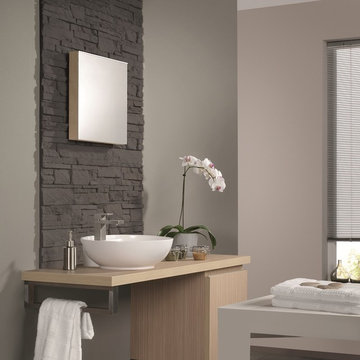
The composition of layers, the palette of shades, and the use of natural materials (concrete and granulate) give this stone his warm feel and romantic look. The Odyssee stone is 100 percent frost-resistant and can therefore be used indoors and outdoors. With a variety of sizes it's easy to make that realistic random looking wall. Stone Design is durable, easy to clean, does not discolor and is moist, frost, and heat resistant. The light weight panels are easy to install with a regular thin set mortar (tile adhesive) based on the subsurface conditions. The subtle variatons in color and shape make it look and feel like real stone. After treatment with a conrete sealer this stone is even more easy to keep clean.
 Room Resolutions
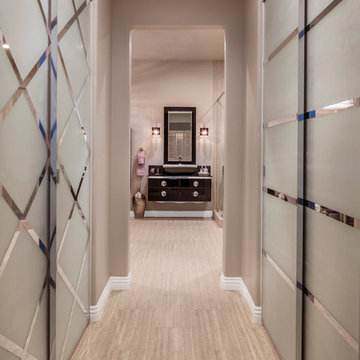
To keep within budget and still deliver all that was requested, I kept the old, sliding glass doors on the front of the walk-in closets, but adorned them with a frosted paint in complimentary “male and female” patterns to give them an upscale look and feel.
Photography by Grey Crawford

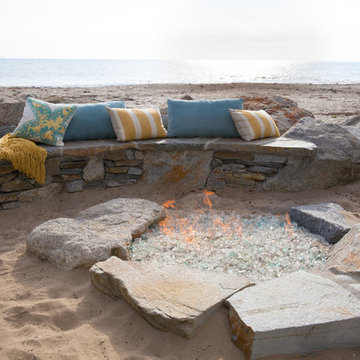
 Margie Grace - Grace Design Associates
We used Sydney Peak stone slabs to build this firepit. The bench was made with Sydney Peak flagstone and boulders for the bench.
Design ideas for a small contemporary landscaping in Santa Barbara.
Design ideas for a small contemporary landscaping in Santa Barbara.
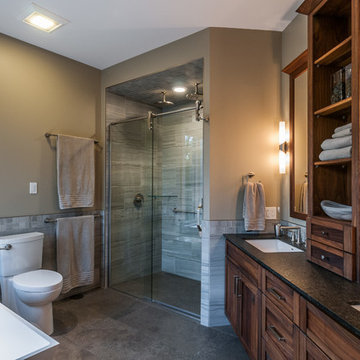
 Gordon Tobey Developments
Ensuite Bath
Large arts and crafts master gray tile and ceramic tile ceramic tile bathroom photo in Toronto with shaker cabinets, dark wood cabinets, a two-piece toilet and gray walls
Large arts and crafts master gray tile and ceramic tile ceramic tile bathroom photo in Toronto with shaker cabinets, dark wood cabinets, a two-piece toilet and gray walls
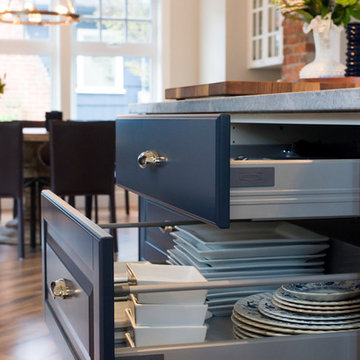
 IKAN Installations Inc.
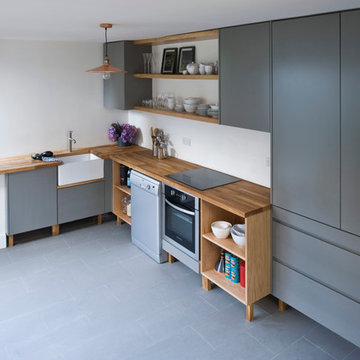
Mid-sized transitional l-shaped open concept kitchen photo in Vancouver with blue cabinets, granite countertops and an island
 Tile Doctor Ltd
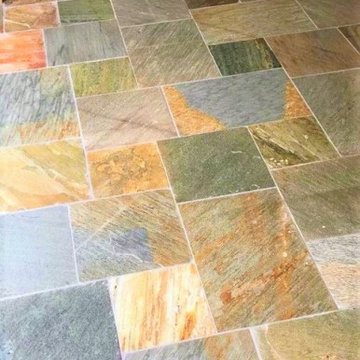
The tiles pictured are Chinese Slate which were laid in the Kitchen of a house in Chepstow around nine years ago. The town of Chepstow is located on the Welsh side of the River Seven and has the River Wye running through it.
The floor had not been professionally cleaned and sealed since installation. During this time the old sealer had mostly worn off allowing dirt to get into the pores of the stone leaving it looking dull, uninviting and dirty. The grout lines had also collected dirt and many of the lines had darkened.
I discussed with the client the process to get the floor cleaned and restored and demonstrated the effectiveness of the process on a small test area. They were impressed and were happy to go ahead with my quote, so we scheduled in the work which would take two days.
To get the floor clean and remove what was left of the old sealer I first made the floor wet and then added a strong dilution of Tile Doctor Pro-Clean mixed with Tile Doctor Remove and Go to give it extra power. This cleaning cocktail was left to soak into the tiles for ten minutes before being scrubbed in with a black scrubbing pad fitted to a rotary machine and by hand where necessary. This combination works well on really dirty floors such as this.
The scrubbing action released the years of dirt from the pores of the Slate and it wasn’t long before the cleaning solution turned black. This was then extracted off the floor using a wet vacuum. We then gave the floor a thorough inspection. There were one or two areas that were particularly stubborn, so these areas were retreated using the same process and the grout scrubbed by hand using more Tile Doctor Pro Clean.
The floor was then given another rinse with water and then dried as much as possible with the wet vacuum. This got the floor dry, but it would need to be completely dry before sealing so it was then left to dry off fully overnight.
I came back the next day to seal the floor first checking the moisture level of the stone by taking readings with a damp meter to ensure it was dry. I chose to use Tile Doctor Colour Grow for the sealer as the colour enhancing formula would be the best product to bring out the natural colours in the Chinese slate. Colour Grow is an impregnating sealer which will provides durable protection as well as allowing the surface to breath. Three coats were applied, allowing each to dry before applying the next one.
The client was so happy, so much that she said it looked better than when first laid!
I discussed aftercare with her and recommended the use of Tile Doctor Neutral Tile Cleaner, it’s pH balanced so it won’t prematurely erode the sealer which can be the problem with stronger products you find in supermarkets. It comes in concentrated form so one bottle lasts a long time.
Paul Wales
Monmouthshire Tile Doctor
 Tile Doctor Ltd
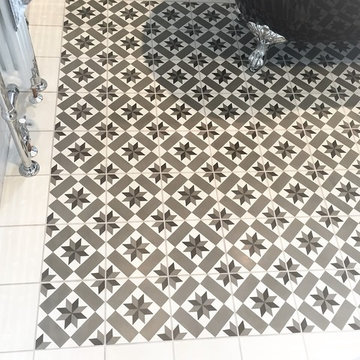
I’m often asked if you should seal a tile before grouting and the answer is a definite yes, and this Encaustic Cement tiled bathroom floor installation in Stockport is a great example as to why. The tiles had not been sealed before grouting and then, once the tiler went to grout the newly installed tiles with a grey grout, the colour ran into the tiles, staining them and leaving them looking grubby and dirty. Had the tiles been sealed it would of made the process of removing the grout from the surface of the tile much easier.
If you haven’t come across them before Encaustic cement tiles are often hand painted and are available in a range of beautifully artistic patterns, so it was a real shame that these tiles were allowed to be spoilt by an avoidable mistake. As you can imagine, the property owner was keen to have the tiles professionally restored, and she contacted me to get the job done. I took some photographs but I’m not sure that they do justice to the problem.
Rather than use a liquid cleaning product, I opted to use diamond encrusted handheld burnishing pads to remove the grout stains. Our burnishing system comprises four pads of varying grits. I started with the Coarse grit burnishing pads applying to the tiles it with a small amount of water as lubricant to grind down the grubby marks. Following this I worked my way through the system, applying Medium, Fine and Very Fine pads to gradually restore the appearance of the floor. Once the burnishing process has been completed I rinsed the tiles and then accelerated the drying process using a heat gun to prepare them to be sealed.
Removing any excess moisture before sealing is essential as even a small amount can cloud the sealer and prevent it from properly protecting the tiles from dirt and stains. Once satisfied that the floor was dry, I proceeded to seal it using Tile Doctor Colour Grow. As an impregnating sealer Colour Grow penetrates deep into the pores of the stone to fill them and thus prevent dirt from becoming ingrained. Colour Grow’s colour intensifying properties also really accentuated the patterns of the Encaustic Cement tiles.
Now that these fantastic tiles have been properly sealed it will be far easier for the customer to keep them clean in future. Needless to say, she was very happy with the result. We recommend topping up your sealer on a regular basis to ensure problems like those which occurred here do not damage the appearance of your tiles.
Steve Keary
Greater Manchester Tile Doctor
15