
Search results for "Applying" in Home Design Ideas



Find the right local pro for your project
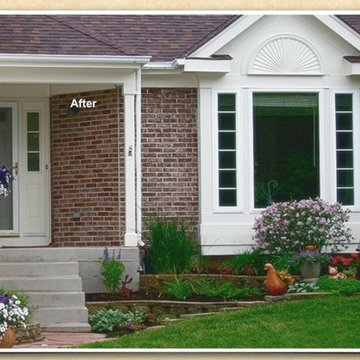
 Brick Transformers
Before (right) and after (left) picture of Brick staining project in Crystal Lake, IL.
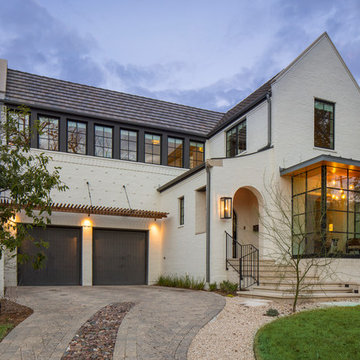
Inspiration for a timeless exterior home remodel in Chicago
Inspiration for a timeless exterior home remodel in Chicago
 Heather Garrett Design
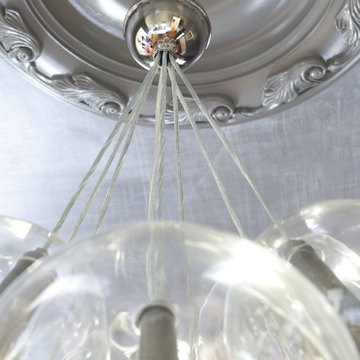
Custom locally built dining table designed by For a family wanting a dramatic entry and dining room, but with requirements that it be an indestructible venue for weekly brunches with guest lists including small children! Our first solution was to create a contrasting border integral to the hardwood floor, in lieu of an area rug. From there, we introduced furniture in resilient materials such as fiberglass chairs and a locally made custom table of Heather's design in reclaimed hardwood, steel and acrylic. Luxurious drapes, dramatic accessories and a chandelier with glimmer added the required panache.
Interior design by Heather Garrett Interior Design. Custom original dining table designed by Heather Garrett available through Heather Garrett Interior Design. Contact us for more information.
Photography by John Bessler

 User
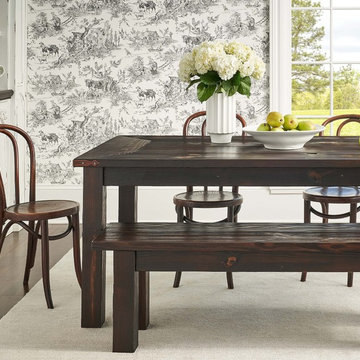
UserOur Longbourn Table evokes the charm of a 19th-century English farmhouse kitchen. It features a planked top and optional hammered steel corner brackets, and is designed for comfort and service for up to six. The coordinating Longbourn Bench (sold separately) can seat three and tucks neatly under the table.
Customize your tabletop or legs, available in our classic Espresso or Distressed White finish. Optional hammered steel corner brackets in Black or Copper can be added. Light assembly required (comes assembled for local pickup).
All of our tables are handcrafted from solid wood in our woodworking shop in Fort Mill, South Carolina. Our furniture is finished with a multi-step process of distressing and hand-applying varnish to give each piece the look of a cherished antique. Each of our works showcase the natural characteristics of wood, including variations in color, mineral streaks, knots and burls. In addition, our finishing process highlights the organic texture of wood with its pores, ridges, slits and grooves; each piece is a tactile work of art that is truly meant to be appreciated by touch. Every decorative bracket is made from steel, hand-cut and meticulously hammered to create a one-of-a-kind rustic accent for our wood furniture.
Available for local pickup or shipment within 5-7 business days.
DIMENSIONS:
Overall: 72" long x 36" wide x 30" high
Tabletop: 1.5" thick
Apron: 3.5" high
Legs: 3.5" square
Weight: 127.6 pounds
CARE AND MAINTENANCE:
Dust with a soft, dry lint-free cloth.
Soak up any water immediately with a soft, dry cloth.
Avoid the use of harsh chemicals or abrasive cleaners.
Photo Credit: Michael Blevins
 Durham Designs & Consulting, LLC
Designed by Melodie Durham of Durham Designs & Consulting, LLC.
Photo by Livengood Photographs [www.livengoodphotographs.com/design].
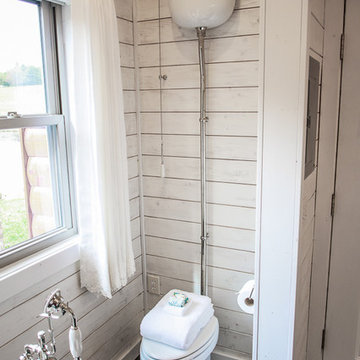
Example of a small cottage chic master black tile and porcelain tile porcelain tile freestanding bathtub design in Charlotte with recessed-panel cabinets, white cabinets, a wall-mount toilet, white walls, a vessel sink and marble countertops
Example of a small cottage chic master black tile and porcelain tile porcelain tile freestanding bathtub design in Charlotte with recessed-panel cabinets, white cabinets, a wall-mount toilet, white walls, a vessel sink and marble countertops
 faizafatima
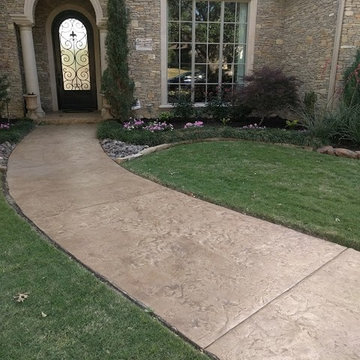
1. Removed Existing Overlay from Lead Walk (Approx 309sqft)
2. Removed Sealer and Color from Driveway. Expand Existing Driveway by 5 feet Remove section of driveway approach Expanded Approach by 5 feet (Approx 1,044 sqft)
3. Apply Stamped Concrete Overlay on Lead walkway, New and Existing Concrete Driveway (Approx 1,269 sqft)
4. Removed Sealer and Color from Pool Deck (Approx 2,878 sqft)
5. Applied Stamped Concrete Overlay on Pool Deck (Approx 2,878 sqft)
6. Removed and Replaced Deck-o-Seal around Pool Deck (Approx 208 sqft)......Salvatici's
 User
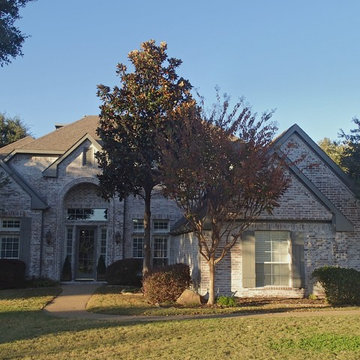
UserThis is an organic Lime Wash done with a true lime wash product as opposed to a brick mortar or concrete that is often seen on new houses. This product can be applied as a solid coating making the surface completely white, or can be applied and "washed off" in many artistic ways, as seen here. If you hate your brick or just want something unique this is a great option!
Photo credit: Jeff Murrey
 Ranch Road 12 Contractors LLC
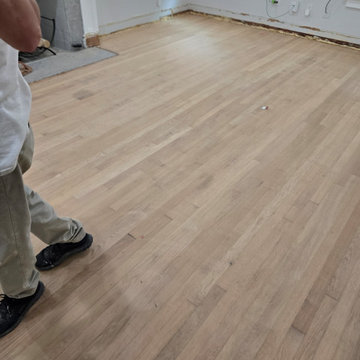
Hardwood floors freshly sanded and prepped for stain application in open-concept living area. Before photo of professional flooring restoration in Austin, TX

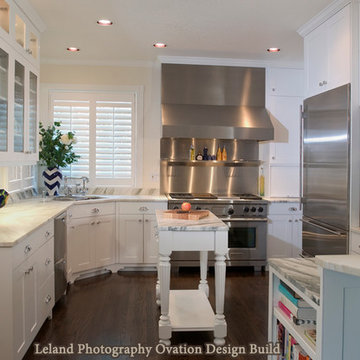
 Ovation Design Build
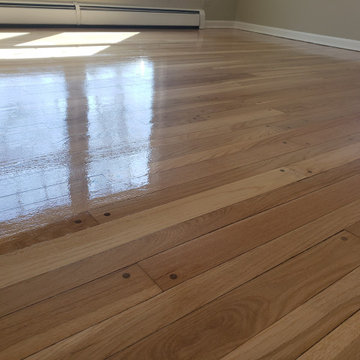
Jeff Leland photographer. Applied door end panels , stacked cabinets with antiqued glass doors with LED lighting, ebony stained hardwood floors give dazzling contrast, wedge-shaped peninsula with raised bar, bar was raised to give additional privacy of the kitchen from the hallway, appliance garage to the right of range gives hidden home for mixer and toaster.
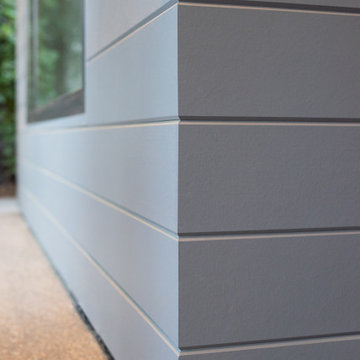
 MAK Design + Build Inc.
Example of a large trendy blue two-story wood exterior home design in Sacramento with a metal roof and a gray roof
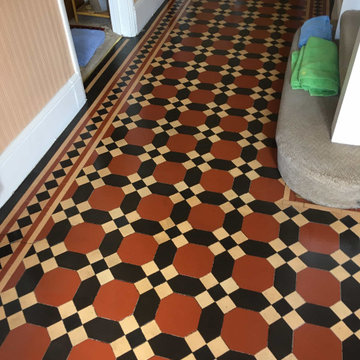
 Tile Doctor Ltd
This Victorian floor in Twickenham, Middlesex was in good physical condition for its age but needed a good deep clean. Our customer had informed us that they had never cleaned or sealed the floor in the sixteen years that they had lived there so it was well overdue.
I went over to survey the floor and completed a test clean on a small section of tiling to see which products/techniques would work best. I like to do this as it demonstrates to the client what can be done, and it allows me to come up with an accurate price for doing the work.
As you can see from the pictures, there was quite a difference in the test patch compared to the rest of the floor. Years of foot traffic from the street had taken its’ toll and the floor was very dirty. Luckily, the floor was in very good condition and had not worn too badly.
Once they had seen the test patch, they were confident that it would be worth go ahead with my quote. It would ensure that the period feature was retained for many years to come. The colours on the floor were quite faded so it would be nice to get it restored.
I started the cleaning process by first taping up the surrounding skirting boards and doors to ensure they were protected from potential splashing. Cleaning involved spraying the Victorian tiles with a strong dilution of Tile Doctor Pro-Clean which is a dedicated Tile and Grout cleaning product. This was left to soak in for about ten minutes and then scrubbed in using a black pad fitted to a heavy-duty rotary scrubber.
This gives the floor a good mechanical scrub and works wonders releasing the ground-in dirt and soil from the tiles. The strong dilution of Pro-Clean will also remove any remaining sealers from the tile, however after sixteen years I doubted there would much trace of sealer left. Once done the floor was rinsed with water and all the soils removed with a wet vacuum.
Following the initial clean the colours were already much stronger. Next step however was to improve on that by giving the floor an acid rinse using Tile Doctor Grout Clean-Up. This removes mineral deposits and generally brightens up the appearance of the tile. After another round of scrubbing the floor was rinsed with our high-pressure washer and then vacuumed, extracting all of the dirty water and dirt away in one go. The floor was looking a lot better and was left to dry overnight.
After allowing the floor to dry overnight, we returned the next day to seal the floor. First, checking the floor was dry using the damp meter. Floors of this age can take a little longer to dry as there is no damp-proof membrane so it’s always worth checking as applying a sealer to damp tiles is not a good idea.
Once I was satisfied it was dry eight coats of Tile Doctor Seal and Go sheen finish sealer were applied. This takes a while to do as each coat needs to dry before applying the next. The sealer will protect the Victorian tiles for dirt and stains, it also enhanced the colours in the tile and will make it easier to keep the floor clean going forward.
My client was very pleased with the floor and mentioned that they should have called me in sooner! For aftercare cleaning I recommended Tile Doctor Neutral Clean which is an effective cleaner with a neutral pH, its designed for cleaning tiles without degrading the sealer.
Jonathan Oldham
South Middlesex Tile Doctor

 Luxe Architectural
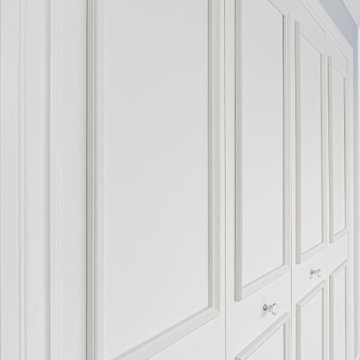
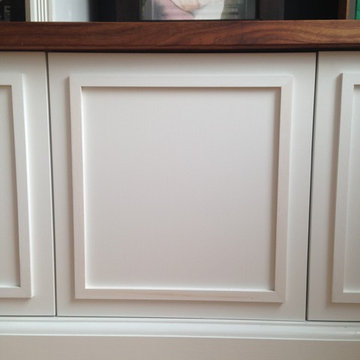
~ Get the custom, high-end, raised panel look quickly and easily with our Patent Pending door moulding kits for flat panel doors! ~
To install your door moulding kit, all you have to do is:
- measure/mark (instructions and worksheet included)
- remove the protective backing from the adhesive
- attach to your door (for permanent application caulk around the edges)
Voilà! An instant transformation! There’s no noise, power tools, gluing or nails required- Just caulk around the edges. “It’s easy to add a little luxe in your home!"

 Tile Doctor Ltd
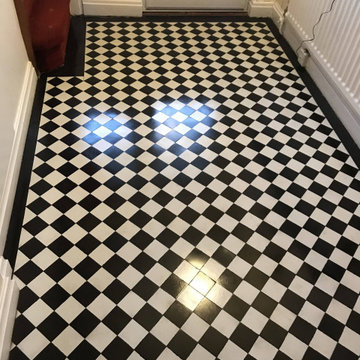
This is a great example of a Victorian Tiled floor refurbishment which I recently completed at a property in Stoke-on-Trent. If you look closely at the photographs below you will see the white tiles are looking grubby and paint splash staining from decorating. The owner was unhappy with how the floor now looked and wanted it refurbished.
Black and White Victorian tiles laid in a chequered diamond pattern is a classic style and a very popular choice for hallways at the turn of the 20th century. Over the years many have been replaced or covered up with carpet and those that survived are now a sought-after period feature that adds value to your property.
I initially cleaned the floor by applying a strong dilution of Tile Doctor Pro-Clean which was sprayed onto the floor and then left to soak in for ten minutes. Pro-Clean is our goto tile and grout cleaning product that is designed to break down dirt and remove old sealers. After ten minutes the solution was scrubbed in with a rotary machine fitted with a coarse 200-grit pad. The soil generated was rinsed off the tiles and extracted with a wet vacuum and the floor inspected.
I would see more work was needed to get the floor clean and free of staining, so I spot treated the problem areas with Tile Doctor Remove and Go which is a coatings remover. I worked in small sections leaving the product to dwell as before for 10 minutes, I then used a wallpaper steamer with handheld diamond blocks to get the ingrained dirt out of the floor. After a final rinse and extraction, the floor looked clean so, so much better than when I started.
I then left the floor to dry off overnight and came back the second day to seal the tiles first checking the moisture levels with a damp meter. Applying sealer to a damp floor will result in the floor looking patchy when it dries so I always check first. The readings were good, so I started to apply the first of five coats of sealer which for this floor I chose Tile Doctor Seal and Go Extra.
Old Victorian floors do not have a damp-proof membrane installed under the floor so its important to select a sealer that will allow moisture to rise through the tiles and evaporate on the surface, Seal and Go Extra allows for this. Choosing a non-breathable sealer can result in moisture being trapped under the floor where it can reach out to the walls leading to rising damp.
Once the floor dried it looked fantastic. In fact, my customer was so happy with the transformation she was taking pictures and sending them to her daughters as I worked; she couldn’t believe how well it was turning out.
Trevor Preece
Staffordshire Tile Doctor
 Myk's Woodworking
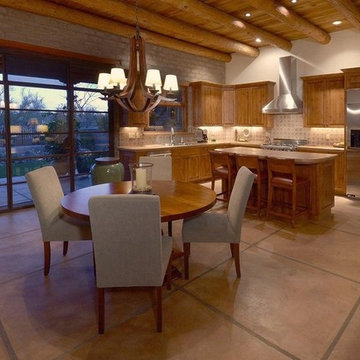
I design and manufacture custom cabinets for kitchens, bathrooms, entertainment centers and offices. The cabinets are built locally using quality materials and the most up-to date manufacturing processes available . I also have the Tucson dealership for The Pullout Shelf Company where we build to order pullout shelves for kitchens and bathrooms.
35