
Search results for "Brighter" in Home Design Ideas
 Erica Olson Designs, LLC
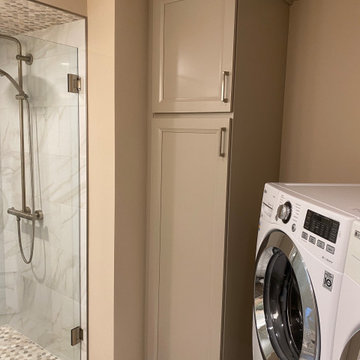
Bathroom/laundry room - small 3/4 porcelain tile, white floor and single-sink bathroom/laundry room idea in Minneapolis with recessed-panel cabinets, beige cabinets, beige walls, granite countertops, a hinged shower door and a built-in vanity

 Mottram Architecture
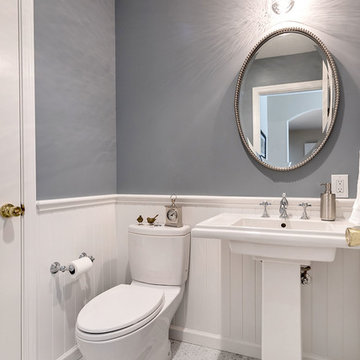
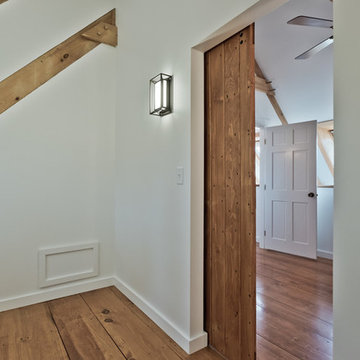
Timber frame homes offer unique challenges during a remodel. What often makes them beautiful and attractive to most homeowners, also makes them challenging for space requirements.
Context: The lovely couple that owned this home were struggling with some interesting floor plan challenges that just didn't work for their family. The loved the beautiful timbers and woodwork of their home, but the dramatically sloping ceilings on the second floor, particularly in the bathroom, just didn't work for this 1 1/2 bath home. Needing to use the skylight to approach the toilet was a less then ideal scenario. Although the bathroom footprint was more then adequate, the sloped ceiling only made half of the space useable. Check out the Before/After post on our blog to see the photos of the house pre-renovation. As much as they loved all the wood features in their home, another challenge they had was light. The wood ceiling made everything inside the house darker, even with a fantastic array of south facing windows, there were spaces in the home that felt dark and small. When they contacted us they wanted to know how could they make their brighter and more inviting, were there solutions to the 2nd floor sloped ceiling issues, and if they were going to do all of this work, how could they make their home more comfortable and efficient. A nagging water leak in the upstairs bathroom spurred them into action and here is how we solved their dilemma.
Conclusion: First, we added a little dormer to the rear of the house so we could get full headroom in nearly all of the upstairs bathroom! Then we decided to extend that dormer one more timber bay over to create a walk in closet with natural light and plenty of space. Since we were contemplating energy efficiency, we resolved a nagging issue that is present in a lot of timber frame construction, air tightness. Commonly found in timber frame construction, fiberglass insulation is installed in the rafter bays and board ceilings are installed over top. Unfortunately, board ceilings are anything but air tight, and fiberglass insulation needs to be in an airtight cavity for maximum effectiveness. So we were able to solve two issues at the same time for this homeowner. We removed the board ceiling and fiberglass insulation, we dense packed the rafter bays with cellulose insulation, and installed sheetrock in place of the boards. The boards were salvaged for re-use by the homeowner, and the space and light quality was dramatically improved. Some may think that losing the board ceiling took something away from the space, but what you'll see in the pictures is that it highly accentuates the heavy timbers and really makes them stand out in a beautiful way. Now with this added airtightness, better insulation, and brighter space, the homeowner hardly runs their wood stove, and it's so quiet in the space, an added bonus from changing the insulation. It became necessary to also add a sheetrock ceiling to the living room to hide the plumbing from the new bathroom layout above. Changing this ceiling gave the homeowner some real quality lighting that was lacking in the living room before. The brighter ceiling and new lighting layout completely transforms the living room into a space you want to hang out, even though the layout didn't change at all. When the homeowner saw the finished spaces she said "I can't believe this is my house, I want to live in this house"
Energy Efficiency: I touched a little on the efficiency above, but like all projects done with Mottram Architecture, we always want to leave you with a little extra. Timber frame construction with board ceilings and fiberglass insulation are notoriously leaky! If you want to know what we think about fiberglass insulation, check our our blog post on Why Fiberglass Insulation Sucks. By installing cellulose insulation and covering it with sheetrock we were able to greatly reduce the heat flowing out of this home. It not only improves cashflow it improves the comfort level in the space. Who wants to sit in their living room and feel a draft? Let us remind you, we are not saying cellulose insulation is an air barrier, we use the sheetrock to help with that, but it does significantly reduce the air flow over fiberglass insulation. And when we reduce the airflow, we reduce the heat flow. And when we reduce the heat flow, we reduce the need to re-heat that drafty air from outside. When it comes to energy efficiency the first and best place to start is air infiltration. We greatly reduced the air infiltration with the new insulation, but we also added a hat and warm boots. What I mean by that is, we improved the insulation in the roof, and we installed insulation in the basement. Maybe it's a silly analogy, but when you think about keeping warm, we always start with the hat and boots! With sustainability in mind, the next project will be to add a deck to the front of this house with rain catchment barrels from the metal roof. They are planning to plant a garden in the spring and the rain catchment system will help to irrigate the new garden.
Builder: East Shore Builders
Photographer: Michael Eric Berube
Find the right local pro for your project


 Aleto Construction Group
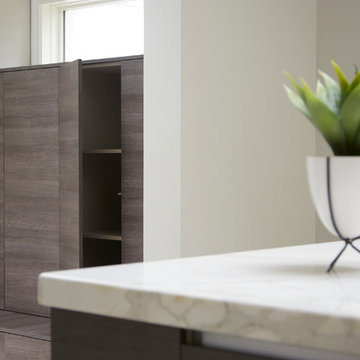
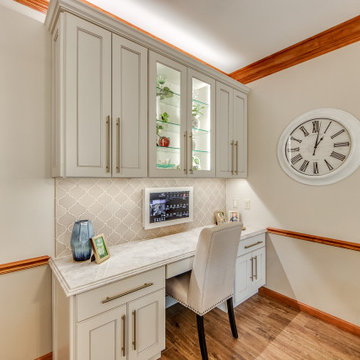
Our clients wanted to bring their dated 1980s kitchen cabinets into the 21st century. One of the two homeowners loved the wood crown molding and wood accents, but the other one dreamed of more cabinet space and an open, airy feel. Aleto’s designers were able to bring both visions together. We increased the wall cabinetry from 30” to 42” by removing the soffit. The crown molding was carefully removed, preserved and rehung in its new space. The cabinets showcase a beautiful crown, following the home’s overall theme, while atop the cabinets, the original crown molding is illuminated to create an even more dramatic effect.
The new perimeter cabinetry lightened up the space while a darker glaze on the cabinets tied into the existing island colors. To dress up the cabinetry, each exposed end received decorative end panels to elevate the design. The quartzite countertops gave light and a depth to the kitchen that the space had previously lacked. A modern, arabesque tile replaced old, tired travertine. The desk area received the same beautiful cabinets and countertop as the rest of the kitchen, but with the addition of beautiful glass cabinet doors. Aleto added lighting to the interior of the cabinet to showcase the homeowners décor.
 TLN INTERIORS
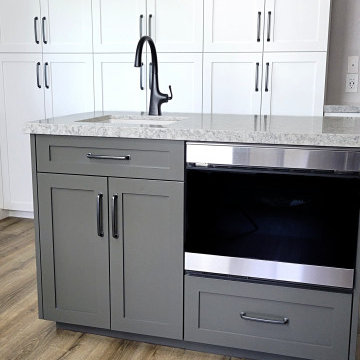
While we got rid of the peninsula, we replaced it with an island and added a full wall of pantry cabinets. By adding a prep sink and shifting the microwave to the island, it keeps people from underfoot when big meals are being prepared.
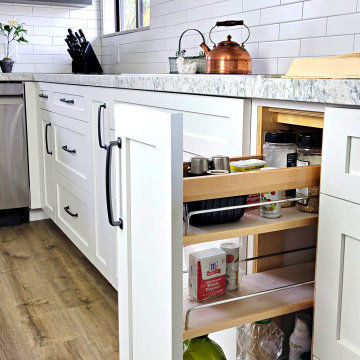 TLN INTERIORS
Organization is important! You could be the best cook in the world, but without knowing where your spices are, how are you supposed to do much of anything? If you are remodeling your kitchen, why not optimize it for your uses?
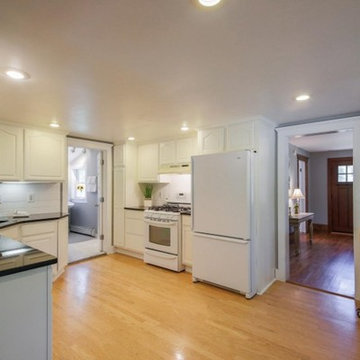
 WhyteHouse Staging & Re-Design LLC
The kitchen sits in the middle of the home. The appliances were in good working order and they were all white. Plenty of lighting here as well. But the kitchen cabinets, back splash, counter tops and sink were is disrepair. The solution was to update the sink, counter top and back splash and paint the cabinets white. Now it looks like a farmhouse kitchen.
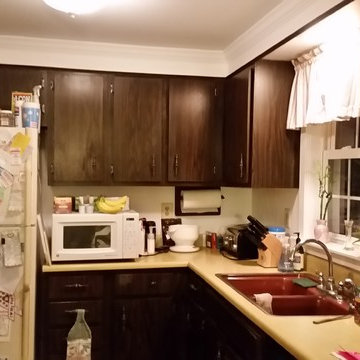
 Hinman Construction
Before very dated and dark
Example of a mid-sized country l-shaped eat-in kitchen design in Boston with shaker cabinets, white cabinets, granite countertops, white backsplash, ceramic backsplash, stainless steel appliances and a peninsula
Example of a mid-sized country l-shaped eat-in kitchen design in Boston with shaker cabinets, white cabinets, granite countertops, white backsplash, ceramic backsplash, stainless steel appliances and a peninsula
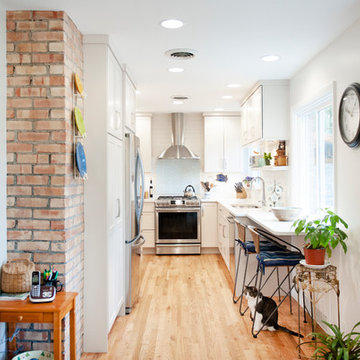
 Strite Design + Remodel
This is the after picture of the newly remodeled kitchen.
Small trendy galley eat-in kitchen photo in Boise with no island
Small trendy galley eat-in kitchen photo in Boise with no island
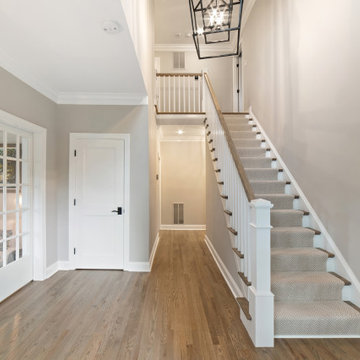
 Bowers Design Build
New foyer has been completely renovated, new flooring, new paint, new neutral carpet, larger opening to the living room, new pendant light fixture.
Transitional staircase photo in DC Metro
Transitional staircase photo in DC Metro
 Mottram Architecture
Timber frame homes offer unique challenges during a remodel. What often makes them beautiful and attractive to most homeowners, also makes them challenging for space requirements.
Context: The lovely couple that owned this home were struggling with some interesting floor plan challenges that just didn't work for their family. The loved the beautiful timbers and woodwork of their home, but the dramatically sloping ceilings on the second floor, particularly in the bathroom, just didn't work for this 1 1/2 bath home. Needing to use the skylight to approach the toilet was a less then ideal scenario. Although the bathroom footprint was more then adequate, the sloped ceiling only made half of the space useable. Check out the Before/After post on our blog to see the photos of the house pre-renovation. As much as they loved all the wood features in their home, another challenge they had was light. The wood ceiling made everything inside the house darker, even with a fantastic array of south facing windows, there were spaces in the home that felt dark and small. When they contacted us they wanted to know how could they make their brighter and more inviting, were there solutions to the 2nd floor sloped ceiling issues, and if they were going to do all of this work, how could they make their home more comfortable and efficient. A nagging water leak in the upstairs bathroom spurred them into action and here is how we solved their dilemma.
Conclusion: First, we added a little dormer to the rear of the house so we could get full headroom in nearly all of the upstairs bathroom! Then we decided to extend that dormer one more timber bay over to create a walk in closet with natural light and plenty of space. Since we were contemplating energy efficiency, we resolved a nagging issue that is present in a lot of timber frame construction, air tightness. Commonly found in timber frame construction, fiberglass insulation is installed in the rafter bays and board ceilings are installed over top. Unfortunately, board ceilings are anything but air tight, and fiberglass insulation needs to be in an airtight cavity for maximum effectiveness. So we were able to solve two issues at the same time for this homeowner. We removed the board ceiling and fiberglass insulation, we dense packed the rafter bays with cellulose insulation, and installed sheetrock in place of the boards. The boards were salvaged for re-use by the homeowner, and the space and light quality was dramatically improved. Some may think that losing the board ceiling took something away from the space, but what you'll see in the pictures is that it highly accentuates the heavy timbers and really makes them stand out in a beautiful way. Now with this added airtightness, better insulation, and brighter space, the homeowner hardly runs their wood stove, and it's so quiet in the space, an added bonus from changing the insulation. It became necessary to also add a sheetrock ceiling to the living room to hide the plumbing from the new bathroom layout above. Changing this ceiling gave the homeowner some real quality lighting that was lacking in the living room before. The brighter ceiling and new lighting layout completely transforms the living room into a space you want to hang out, even though the layout didn't change at all. When the homeowner saw the finished spaces she said "I can't believe this is my house, I want to live in this house"
Energy Efficiency: I touched a little on the efficiency above, but like all projects done with Mottram Architecture, we always want to leave you with a little extra. Timber frame construction with board ceilings and fiberglass insulation are notoriously leaky! If you want to know what we think about fiberglass insulation, check our our blog post on Why Fiberglass Insulation Sucks. By installing cellulose insulation and covering it with sheetrock we were able to greatly reduce the heat flowing out of this home. It not only improves cashflow it improves the comfort level in the space. Who wants to sit in their living room and feel a draft? Let us remind you, we are not saying cellulose insulation is an air barrier, we use the sheetrock to help with that, but it does significantly reduce the air flow over fiberglass insulation. And when we reduce the airflow, we reduce the heat flow. And when we reduce the heat flow, we reduce the need to re-heat that drafty air from outside. When it comes to energy efficiency the first and best place to start is air infiltration. We greatly reduced the air infiltration with the new insulation, but we also added a hat and warm boots. What I mean by that is, we improved the insulation in the roof, and we installed insulation in the basement. Maybe it's a silly analogy, but when you think about keeping warm, we always start with the hat and boots! With sustainability in mind, the next project will be to add a deck to the front of this house with rain catchment barrels from the metal roof. They are planning to plant a garden in the spring and the rain catchment system will help to irrigate the new garden.
Builder: East Shore Builders
Photographer: Michael Eric Berube
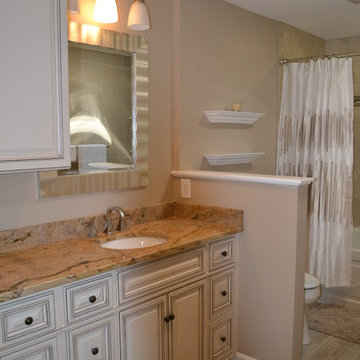
 User
UserComplete remodel with CAD design, flooring, lighting, cabinetry, tile and fixtures. Remove wall between vanities and shower to open space.
Inspiration for a transitional bathroom remodel in Raleigh
Inspiration for a transitional bathroom remodel in Raleigh
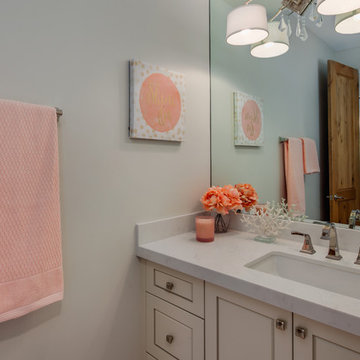
 Guided Home Design
Indy Ferrufino
EIF Images
eifimages@gmail.com
Small beach style 3/4 beige floor bathroom photo in Phoenix with shaker cabinets, beige cabinets, white walls and a drop-in sink
Small beach style 3/4 beige floor bathroom photo in Phoenix with shaker cabinets, beige cabinets, white walls and a drop-in sink
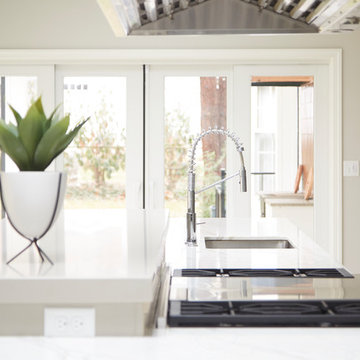
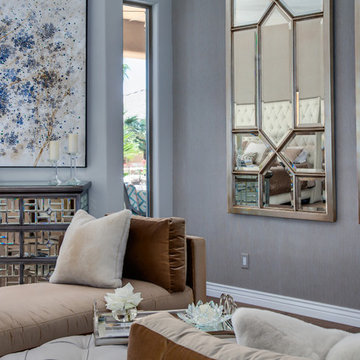 Guided Home Design
Indy Ferrufino
EIF Images
eifimages@gmail.com
Small transitional master beige floor bedroom photo in Phoenix with beige walls
Small transitional master beige floor bedroom photo in Phoenix with beige walls
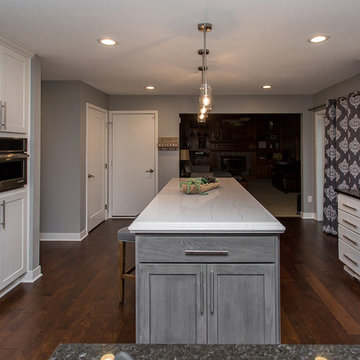
 Red House Remodeling
A cramped and dated kitchen and dining room were combined to create this open and bright kitchen. The design included careful collaboration with the homeowners to ensure the space is as functional as it is beautiful. The contrasting finishes on the perimeter cabinets and island add interest to the neutral space and its clean lines.
Photos by Jake Boyd Photo
18