
Search results for "Return correctly" in Home Design Ideas
 Brown Design Group
Matt Wier
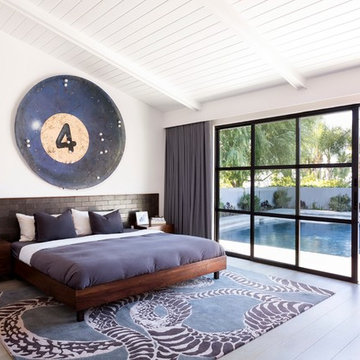
Bedroom - 1950s master light wood floor bedroom idea in Los Angeles with white walls
Bedroom - 1950s master light wood floor bedroom idea in Los Angeles with white walls
 User
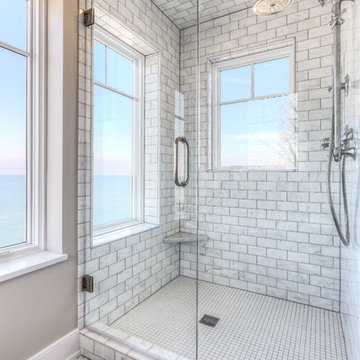
UserSoak up grand views while relaxing in the classic soaking tub or enjoying the roomy, floor-to-ceiling, Carrara marble shower.
Photography: Dan Zeeff
 Burnham Design
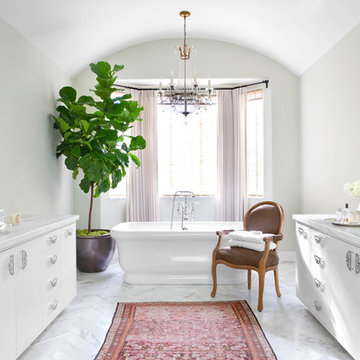
Inspiration for a transitional marble floor freestanding bathtub remodel in Los Angeles with an undermount sink, flat-panel cabinets, white cabinets, marble countertops and gray walls
Find the right local pro for your project
 Paul Maue Associates Landscape Architects
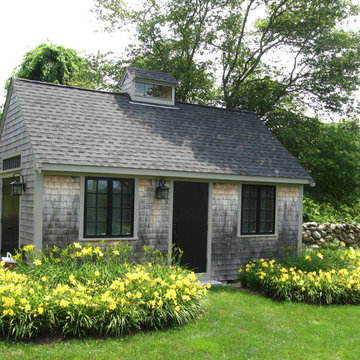
This garden storage cottage is viewed in the landscape from the house and has a setting that encourages a stroll to see the
Summer perennials as well as the small vegetable garden set off to the side.

 Allen Construction
Designer: Allen Construction
General Contractor: Allen Construction
Photographer: Jim Bartsch Photography
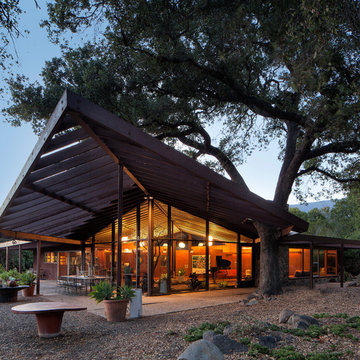
1960s one-story glass exterior home idea in Los Angeles
1960s one-story glass exterior home idea in Los Angeles
 Eric Ross Interiors, LLC
Marty Paoletta, ProMedia Tours
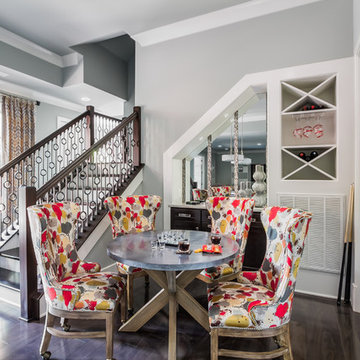
Example of a transitional dark wood floor basement design in Nashville with gray walls
Example of a transitional dark wood floor basement design in Nashville with gray walls
Sponsored
Columbus, OH

Trish Takacs Design
Award Winning & Highly Skilled Kitchen & Bath Designer in Columbus
 Wright Design & Remodeling
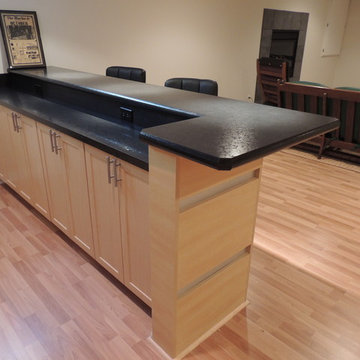
Example of a mid-sized trendy look-out light wood floor and beige floor basement design in Detroit with beige walls and no fireplace

 David Duncan Livingston
David Duncan Livingston
Elegant formal and enclosed medium tone wood floor living room photo in San Francisco with gray walls and a standard fireplace
Elegant formal and enclosed medium tone wood floor living room photo in San Francisco with gray walls and a standard fireplace

 Sweetlake Interior Design LLC
Up the ante of your bachelor's retreat (and alternative rooms) aesthetic by adding a meticulously stylised cornice boards. The cornice boards in this house includes (2) different materials, an upholstered wood top molding and absolutely symmetrical handicraft on the curtains. Also, the (4) animal skin wing-backed chairs square measure superbly adorned with nail-heads that are carried throughout the design. This bachelor retreat features a stunning pendant and hand-tufted ottoman table. This house is warm and welcoming and perfect for intimate conversations amongst family and friends for years to come. Please take note - when using cornices, one should decide what proportion return is required. Return is the distance your material hangs away from the wall. Yes, this additionally affects the proportion. Usually, return is 3½ inches. However, larger or taller windows might need a deeper return to avoid the fabric from getting squashed against the wall. An example of a mid-sized transitional formal dining area in Houston, Texas with dark hardwood floors, more, however totally different, large damask wallpaper on the ceiling, (6) custom upholstered striped fabric, scroll back chairs surrounding a gorgeous, glass top dining table, chandelier, artwork and foliage pull this area along for a really elegant, yet masculine space. As for the guest chambers, we carried the inspiration from the bachelor retreat into the space and fabricated (2) more upholstered cornices and custom window treatments, bedding, pillows, upholstered (with nail-heads used in the dining area chairs) headboard, giant damask wallpaper and brown paint. Styling tips: (A) Use nail-heads on furnishings within the alternative rooms to display a reoccurring motif among the house. (B) Use a similar material from one amongst your upholstered furnishing items on the cornice board for visual uniformity. Photo by: Kenny Fenton
 Deck and Patio Company "Outdoor Living Experts"
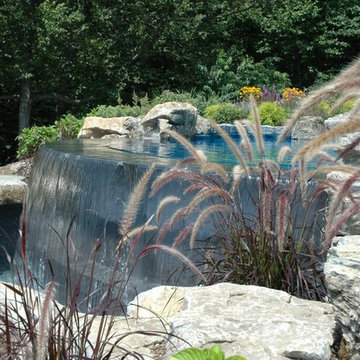
As you see from this second project, in Oyster Bay, NY, the water doesn’t actually disappear off the edge of the pool, it is captured and recycled.
The water is actually clinging to a recess in the pool wall which then drops into a catching pool below. And while this sounds simple enough, it requires a good deal of mastery to design it correctly. An undersized catch pool can almost never be corrected.
If the catch pool or basin isn’t large enough there won’t be enough water returning to the main pool and the catch pool will run dry. That can trigger huge water bills because it would have to be constantly refilled to compensate for not having enough room to store water. In addition, during rain falls, the basin could be overwhelmed, leading to it overflowing, or eroding or liquefying the soil behind it.
At the very least, it might cause the pool to shift, rotate or settle and then it’s no longer a vanishing edge, which is why Deck and Patio takes such great care to ensure it is done correctly.
www.deckandpatio.com
 Ginkgo Leaf Studio
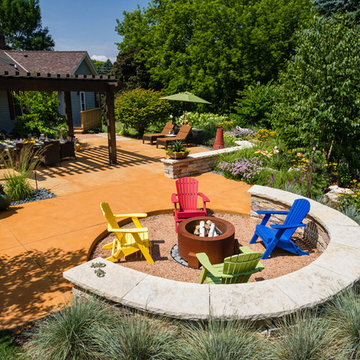
Grasses planted behind the stone seat wall help to reinforce the curved design of the wall.
Westhauser Photography
Design ideas for a mid-sized southwestern backyard concrete paver landscaping in Milwaukee with a fire pit.
Design ideas for a mid-sized southwestern backyard concrete paver landscaping in Milwaukee with a fire pit.

 PaveStone Brick Paving Inc.
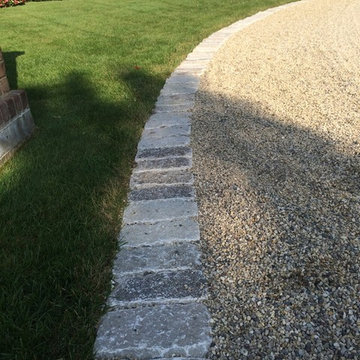
Design ideas for a large traditional full sun front yard stone driveway in Chicago.
 Clark Richardson Architects
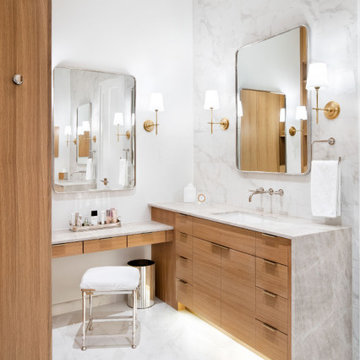
A subtle color palette and warm wood define the master bath vanities. Quiet sophistication and luxury at the double vanities prevails.
Inspiration for a mid-sized contemporary master white tile and porcelain tile ceramic tile, white floor, single-sink, shiplap ceiling and shiplap wall freestanding bathtub remodel in Austin with flat-panel cabinets, white cabinets, a two-piece toilet, white walls, an undermount sink, solid surface countertops, a hinged shower door, white countertops and a built-in vanity
Inspiration for a mid-sized contemporary master white tile and porcelain tile ceramic tile, white floor, single-sink, shiplap ceiling and shiplap wall freestanding bathtub remodel in Austin with flat-panel cabinets, white cabinets, a two-piece toilet, white walls, an undermount sink, solid surface countertops, a hinged shower door, white countertops and a built-in vanity
 Haste Woodcraft
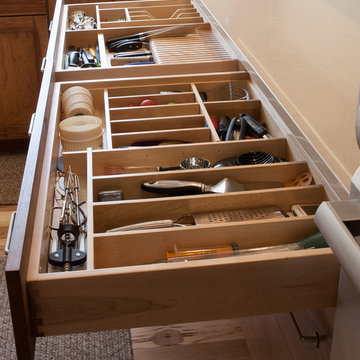
Large drawers with utensil and flatware organization inserts, as well as a knife block.
Heather Harris Photography, LLC
Example of a large mountain style l-shaped light wood floor eat-in kitchen design in Indianapolis with an undermount sink, flat-panel cabinets, medium tone wood cabinets, quartz countertops, white backsplash, ceramic backsplash, paneled appliances, an island and white countertops
Example of a large mountain style l-shaped light wood floor eat-in kitchen design in Indianapolis with an undermount sink, flat-panel cabinets, medium tone wood cabinets, quartz countertops, white backsplash, ceramic backsplash, paneled appliances, an island and white countertops
 Tile Doctor Ltd
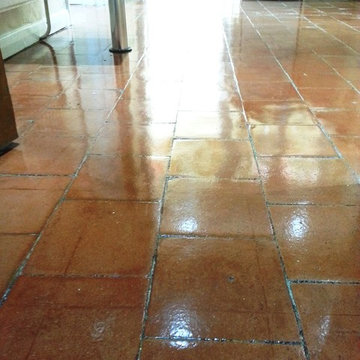
This was an unusual request in that this customer, in the small Bedfordshire village of Cople, had her Kitchen Quarry tiled floor cleaned and sealed six months earlier by another company. The sealer had come off and it soon became evident that after the work had been carried out the client was ill advised as to the correct maintenance of her floor. The cleaning product left by the previous company was totally unsuitable and over the course of six months she had managed in fact to slowly strip the sealer off of the tiles.
I soon realised the problem and advised that the only solution would be to strip any remaining sealer off the floor and re-seal, it’s generally not good practice to apply a different sealer on top of an existing sealer as there can be compatibility issues and the floor may look different in places where there are more layers of seal.
I used a strong dilution of Tile Doctor Pro-Clean to strip any remaining sealer off the tiles and clean them in the process, this involves spreading the solution over the tiles, allow it to dwell and soak in and then scrubbing the solution into the floor using a rotary machine fitted with a black scrubbing pad. The floor was then rinsed with water applied with a mop and bucket and the soiled water extracted using a wet vacuum. One the floor was clean I noticed there was evidence of concrete dust and grout haze on the surface of the tiles from when they were installed so I applied a another Tile Doctor product called Grout Clean-up to remove it, again the floor was thoroughly rinsed with water which was extracted the floor dried using air movers.
Tiled floors need to be dry before sealing and so I left this floor for four days to allow enough time for it to thoroughly dry out before returning to seal it. Choice of sealer for this floor was four coats of Tile Doctor Seal and Go which is a water based sealer so it doesn’t leave a smell and additionally adds a nice subtle shine to the floor. The difference was transformational as the sealer really does bring out the best in the quarry tiles.
Before leaving we have provided the customer a bottle of Tile Doctor Neutral Tile Cleaner which is the correct cleaning agent to maintain a sealed floor. It has a neutral PH formula so it won’t erode the sealer like many of the acidic floor cleaning products you find in the supermarket which are really only meant for use on Vinyl or Ceramic tiles.
Andrew Evans
Bedfordshire Tile Doctor

 Sloane Marshall Interiors, Inc.
Added architectural details, chair rail moulding, new furniture, rug, accessories, new double sided fireplace, new fireplace surround
Inspiration for a transitional dark wood floor and brown floor living room remodel in Denver with gray walls, a two-sided fireplace, no tv and a stone fireplace
Inspiration for a transitional dark wood floor and brown floor living room remodel in Denver with gray walls, a two-sided fireplace, no tv and a stone fireplace
 Tile Doctor Ltd
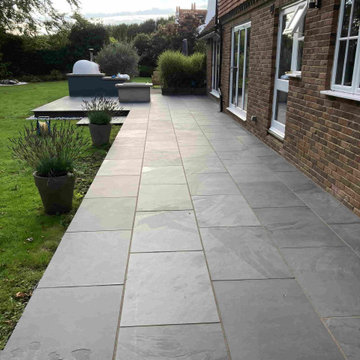
Our client in the villager of Pembury was feeling really deflated after having a Slate Patio laid adjacent to the full length of her house, however the builder had not applied the sealer correctly creating a mess which ruined the appearance of the stone.
Unfortunately, it is not that unusual to be contacted about this sort of situation, applying a sealer is not as easy as manufactures make out. There are lots of factors to consider, choosing the right sealer, is the stone damp, how do you know if you have applied too much, and it often catches tradesmen out. I was able to reassure them that with the right combination of products and equipment the problem could be rectified.
The first job was to strip off the old sealer which was done using a product called Tile Doctor Remove and Go. The name of this product pretty much says it all and once applied to the stone it is left to soak in for ten to twenty minutes before being scrubbed in with a rotary machine fitted with an abrasive burnishing pad.
Tile Doctor Remove and Go is a multi-purpose stripper which will remove most coatings and sealers, including epoxy grout haze which is another common problem we encounter when tradesmen have not cleaned up properly after grouting. It is also good for removing heavy build ups of grease. I used several burnishing pads of different grits going from coarse to smooth on this patio, rinsing and extracting the soil after each pad.
It was a large area, so this process took up most of the day on its own, fortunately I use a van mounted high pressure cleaning and extraction system to remove the soil which is very efficient and leaves the stone bright clean and reasonably dry afterwards. This ensures the process can be carried out with minimal mess.
It was a nice warm summers day and although cloudy we didn’t get any rain overnight, so after checking the forecast I was able to return the next day and apply a fresh sealer to the Slate.
My client wanted a natural look, so I used Tile Doctor Ultra Seal. This product is a no-sheen, natural-look, impregnating sealer which is formulated to provide maximum stain protection. These impregnating sealers work by penetrating the stone, occupying its pores, and thus preventing dirt from residing there.
The client was so happy and relieved to see the results on what a very expensive patio and commented she was eager to get the first barbecue of the season underway.
We recommended that a regular with the jet wash should keep the patio in good condition and in a few years time we could return to reapply the sealer for them.
Michael Conlon
South Kent Tile Doctor
 Tile Doctor Ltd
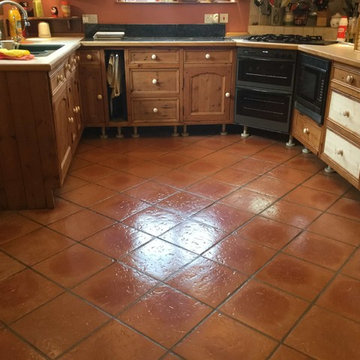
This Terracotta tiled floor was installed in the kitchen of a cottage in the small village of Maidford near Towcester. The tiles were not looking their best and the owner of the property realised it was time to do something about it and contacted Tile Doctor to have the floor stripped and resealed. Stripping and Sealing tile and stone floors is our bread and butter so I was more than happy to pop round and survey the floor which was approximately 9m2.
The grout had darkened with dirt and the previous tile sealer was failing so dirt was now getting ingrained in the Terracotta making it difficult to clean in places and leading to a patchy appearance. We discussed the work involved, my quote was accepted, and a date agreed for me to return and complete the work which would take two days, one to clean and one to seal.
After tidying up the Kitchen and removing the kickboards from underneath the kitchen units I set about working on cleaning and stripping the Terracotta floor of old sealers. To start I tested a small area with a strong dilution of Tile Doctor Wax Away. Wax was quite often used on Terracotta so I figured this product would be a good place to start. My suspicions were proved correct, and I found this to be the best product for removing the many layers of sealant on the floor. Wax Away is a new alkaline product by Tile Doctor and ideal for cleaning clay-based tiles such as Terracotta.
With my sights set on the rest of the floor Wax Away was scrubbed into the tile using a 17” rotary floor scrubbing machine and a black scrubbing pad running on a slow speed which helps to reduce splashing. This activity soon brought the dirt off the floor and the soiled cleaning solution was removed using a wet vacuum and the floor was rinsed down with clean water. The cleaning process was repeated a couple of times until I was happy with the floor, a stiff hand brush was then used along the grout lines with a dilution of Tile Doctor Pro-Clean to clean up the grout.
After rinsing and extracting the floor again the floor was inspected, and I noticed there were a few stubborn paint splashes on the tiles. I managed to remove these and these by spot treating the affected area with Tile Doctor Remove and Go and a steamer to lift the stain out of the clay tile. Once happy the floor was clean it was given a thorough rinse to neutralise it and remove any trace of cleaning products and then left it to dry.
I allowed the floor to dry for several days before returning to seal the Terracotta using numerous coats of Tile Doctor Seal and Go which is an ideal sealer for Terracotta and provides durable stain protection together with a low sheen finish. Terracotta is by its nature very porous and so it’s not unknown for it to take up to nine coats of sealer, which can take some time to apply as like paint you have to wait until it’s dry before it will take the next coat.
The customer was so impressed by the results I achieved in their kitchen they decided to go ahead and book me in to carry out this process throughout the whole of the ground floor which included lounge, study and hallway.
Phil Vissian
Northamptonshire Tile Doctor
1