
Search results for "Shredded" in Home Design Ideas
 Maria Fenlon Interior Design
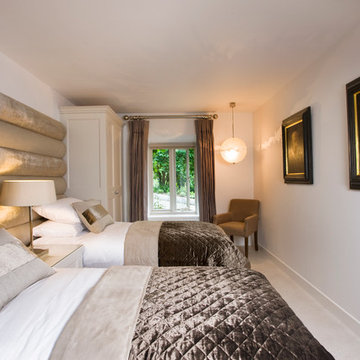
The wide custom made bed head is designed so that the two single beds can be made into a double bed or separated into two single beds. Art work was used to decorate the spaces. A feature pendant light is hung in the corner for a bit of fun! The bed throws are custom made in rich velvets and suede. Styling by Maria Fenlon Interior Design. Photography Sean & Yvette Photography
Find the right local pro for your project
 Park Landscaping Ltd.
Design ideas for a large contemporary partial sun backyard stone formal garden in Calgary with a fire pit.
 Fern Ridge Eco Landscaping Inc.
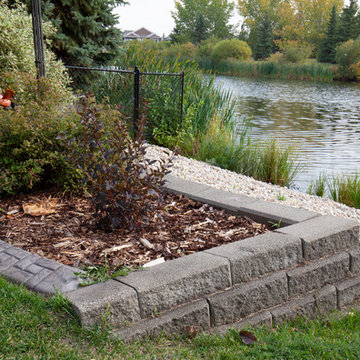
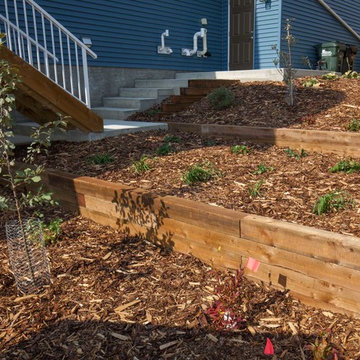
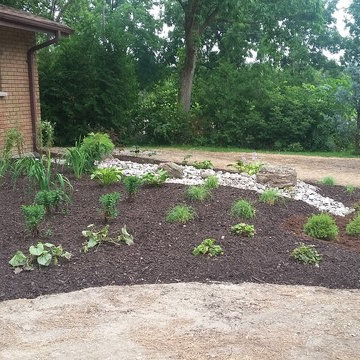
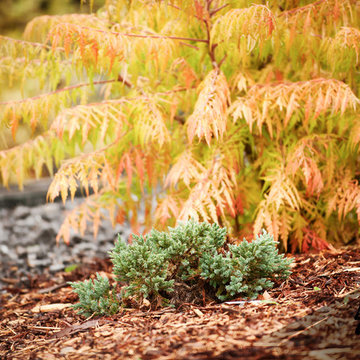
As well as biodiversity enhancing gardens, we built a river-rock swale to channel the water towards the new rain-garden, where water will infiltrate with the help of shredded hardwood-mulch and fen plants.
 Park Landscaping Ltd.
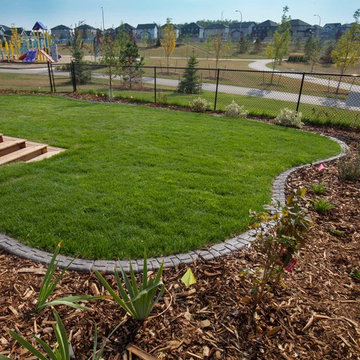
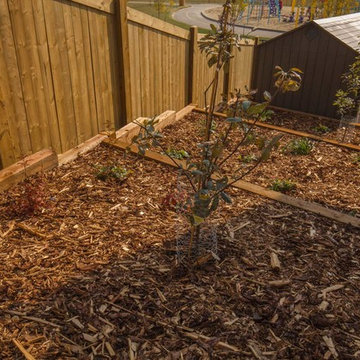
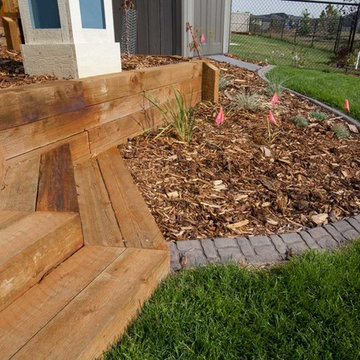
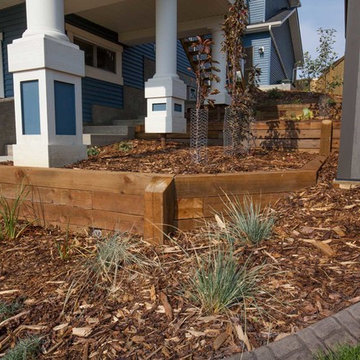
A expansive backyard with modern touch ups. Everything seen in the pictures are built or installed by Park Landscaping Ltd. From the brown slate outdoor walkway that supports the dark wood deck to the ocean pearl slate stairs that lead to the outdoor stone fireplace. Creativity with stealthy and modern elements to ensure that the surrounding area is complemented, not isolated.
 Tile Doctor Ltd
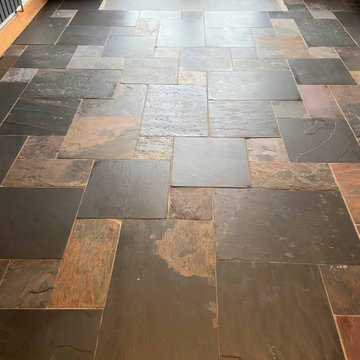
The pictures below are of Chinese Slate floor in the Kitchen of a property in the small village of Clifton just south of Penrith. We often get asked what the difference is between Rough and Semi Riven Slate, and this floor was a mixture of both.
If you look closely at the pictures and check out the darker parts of the floor you will see these smoother Semi Riven Slate, whereas the light copper-coloured parts of the floor were of the rougher textured variety. It’s not that unusual for stone to be mixed in this fashion as it can be supplied from different quarries in order to achieve a particular look.
The blend of different slates makes little difference when it comes to cleaning as the process is essentially the same. I would advise though if you intend to clean the floor using a mop then you should opt for Semi Riven Slate as Rough Slate can shred your mops and make it harder to maintain. We tend to use industrial floor buffing machines which work well on both surfaces so are less effected.
There was a bit of wax on this floor so to remove this Tile Doctor Wax Away was applied. The product was left to stand for fifteen minutes before being scrubbed into the stone, rinsed and then the soil extracted with a wet vacuum.
We then finished the cleaning with an Acid Rinse which involves scrubbing the Slate with Tile Doctor Grout Clean-up. This not only works well at cleaning up the stone and grout but also neutralises the alkaline pH left over from using Wax Away. I am very wary of the pH level of the floor as it could have an impact on the new sealer, giving the floor an acid rinse before sealing also ensures a better bond with the sealer.
Naturally, you can’t leave a strong product like Grout Clean-up on the Stone for long as it could etch the surface so once done the floor was thoroughly rinsed with water and extracted again with a wet vacuum. A mop and bucket and lots of sponges won’t do the job on a large area like this.
Once we finished the clean, we left it to dry off overnight and came back the next day to apply the sealer. We were originally going to apply a satin finish sealer, but the client had a big dog with sharp claws which could of scratched and marked the sealer so decided against it. I advised the client to use an Impregnating sealer called Tile Doctor Colour Grow, which lifts the natural colours in the stone, but is not a topical shiny sealer as the seal soaks into the Slate and leaves a a nice matt finish instead. Only two coats of sealer were needed, and the floor looked like new again.
My client was very happy with the difference in the appearance of the stone and how much cleaner the grout was, so much so they the following feedback for us, which is always appreciated.
“Totally impressed with the team they couldn’t have been more professional and even left me with some cleaner. My horrible 12 year old slate tiles look fabulous”
As usual we left a free bottle of Tile Doctor Neutral Tile Cleaner for aftercare, it’s very important not to undo all that hard work by using a product which will damage the seal, using a pH neutral cleaner will keep the seal looking sharp and fresh for years to come.
Heidi Taylor
North Cumbria Tile Doctor
 Park Landscaping Ltd.
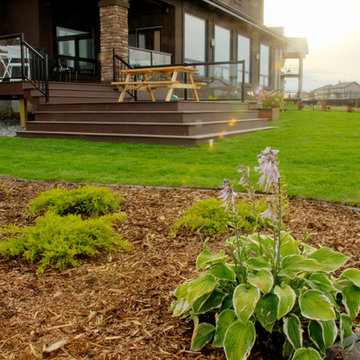
Photo of a mid-sized full sun backyard concrete paver landscaping in Calgary for summer.
 Tile Doctor Ltd
This is a large 17.2 m2 Sandstone Floor installed throughout the living and kitchen areas of a property in the beautiful village of Disley close to Lyme Park which is run by the National Trust. The floor had been installed four years ago and my client was unhappy with the original sealer which hadn’t lasted very long. Without the protection of a sealer dirt had become ingrained in the pores of the stone which was now difficult to clean. Another issue was the rough nature of the Sandstone meant it was impossible to mop as it shreds the mop! As a result, the floor was mainly cleaned with a hoover which was not ideal, especially in a kitchen.
I went over to survey the floor and before quoting I ran a small test clean in the kitchen which took the floor back to its natural pale colour and really showed how dirty the floor had become. Test cleans are great as it helps me to formulate an effective cleaning plan and provide an accurate quote. My client was impressed with the result and so I was booked to come back and deep clean and then reseal the whole floor. Due to its size I estimated the floor would take two days to deep clean and a further day to apply a new sealer, so three days in total.
Working in large sections I started by cleaning the floor and stripping off the old sealer with a strong dilution of Tile Doctor Remove and Go which is a coatings remover that is safe to use on stone. The solution was left to soak into the pores of the Sandstone for ten minutes before being worked in with a 200-grit diamond pad fitted to a rotary floor machine. This action not only removed the old sealer and cleaned the floor but the 200-grit pad being vey coarse removed a lot of the roughness from the surface of the Sandstone so it shouldn’t shred any more mops.
After rinsing the floor with water and removing the slurry with a wet vacuum I set about cleaning the grout with Tile Doctor Pro-Clean worked into the grout line with a stiff brush and assisted with steam from a professional steam cleaner with a grout attachment. Once done the floor was rinsed and extracted again to remove the soil from the grouting. There was also an area near one of the doors where the grout had become loose and needed replacing so I made up a batch of matching grout and filled this in. The floor was then left overnight to dry with assistance from a couple of air movers.
I returned the next day to finish the floor by applying a sealer. First, I double checked the floor was dry with the damp meter. The readings confirmed the air movers had done a good job and that the floor was within the accepted parameters, so I was ready to seal. The sealer I chose was Tile Doctor Seal and Go which being water based doesn’t leave a smell as it dries, it really works well on Sandstone and adds a nice subtle sheen to the stone.
Once finished the floor looked much cleaner, lighter in colour overall more inviting, you could even see the fossils in some of the tiles.
The surface was also smoother so the customer should find cleaning with a mop much easier in future. On that subject its worth pointing out that owners of sealed floors should always use a neutral pH tile cleaner on their floors as most supermarket products are simply too strong and will prematurely strip the sealer off a tile if used repeatedly. Tile Doctor sell a product called Tile Doctor Neutral Cleaner which is ideal for cleaning sealed Sandstone floors like this one.
My client was really happy with the results and sent me a message later saying: “the floor looks amazing!”
Kamila Logonzy
East Cheshire Tile Doctor

 tesa SE - International
Colourful squares: Who needs a rear wall if the area behind the open shelf cubes is painted in gorgeous colours?
HERE’S WHAT WE NEED:
Shelf cube without rear wall, pencil, wall paint in pastel colours, paint roller, tesa® Masking Tape PREMIUM CLASSIC 30 mm
AND THIS IS HOW IT’S DONE:
› Stand or hang the shelf cube where you want it. Trace the inside space of the cube shelf on the wall with the pencil. Remove the shelf.
› Mask the pencilled area on the wall with tesa® Masking Tape PREMIUM CLASSIC 30 mm.
› Use the paint roller to paint the area on the wall.
› Peel off the masking tape and place or hang the cube shelf in front of the painted area.
CUBOS DIFERENTES TAMAÑOS — natiram6



 NeoBest
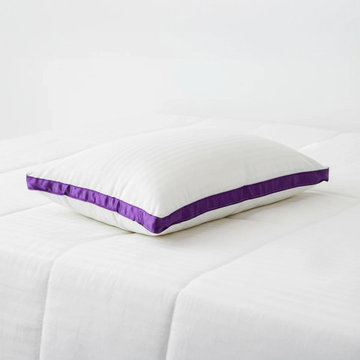
A neck support pillow is important for good sleep and a healthy neck. Neobest offers a pillow designed to give proper support to your head and neck. It helps reduce stiffness and is known as the best pillow for neck pain for daily use. This pillow works well as a pillow for side sleepers and also as a pillow for back sleepers.
Neobest uses high-quality filling like shredded memory foam pillow material, which adjusts to your sleeping position. The shredded foam pillow design allows better airflow and keeps the pillow fresh. It is soft, comfortable, and supportive at the same time.
This neck support pillow is easy to maintain and suitable for all age groups. Neobest makes sleep more comfortable and relaxing with the right balance of softness and support.
Visit here for more information: https://neobest.in/collections/beddings/products/shredded-foam-pillow
 Second Wind Interior Design
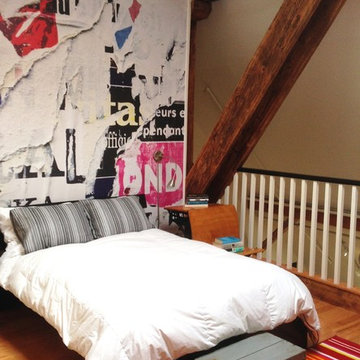
Custom wallpaper of torn advertisements behind the bed gives this room a downtown edge.
Inspiration for a large industrial loft-style medium tone wood floor bedroom remodel in Toronto with multicolored walls and no fireplace
Inspiration for a large industrial loft-style medium tone wood floor bedroom remodel in Toronto with multicolored walls and no fireplace
9