
Search results for "Unknown" in Home Design Ideas
 White Oak Interiors
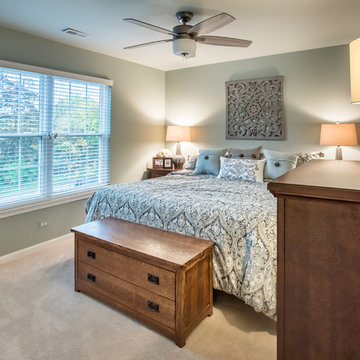
Mid-sized transitional guest carpeted and gray floor bedroom photo in San Diego with gray walls and no fireplace


Find the right local pro for your project
 Empie Residential
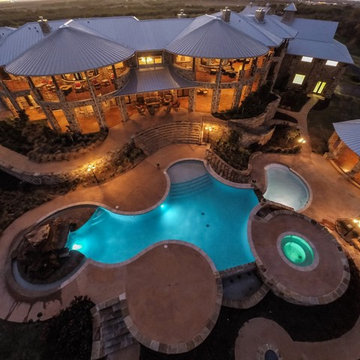
photo credit unknown - aerial view of pool
Example of a mountain style home design design in Dallas
Example of a mountain style home design design in Dallas
 KSI Kitchen & Bath
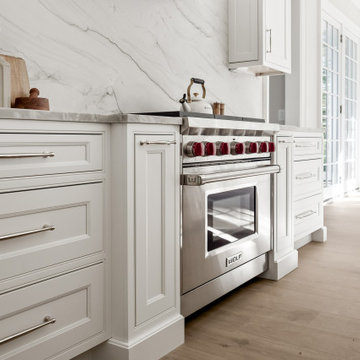
When architect Xander Bogaerts and interior designer Caryn Satovsky-Siegel of Alexander V Bogaerts and Associates came to KSI, they were working on a new home designed to sell. Because the future homeowner was unknown, our challenge was to create cabinetry that would feel warm, inviting, and universally appealing – spaces that anyone could walk into and immediately imagine themselves living in. Our goal was to highlight the home’s architectural beauty while keeping the overall aesthetic soft and approachable. By using neutral tones, rich textures, and furniture-inspired cabinetry, we created a design that feels both sophisticated and livable.
 Red Fox Design
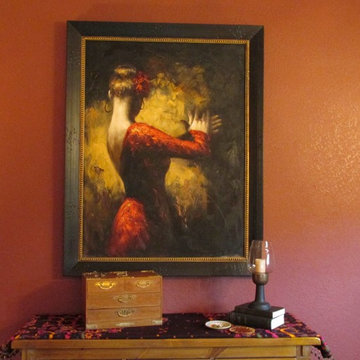
2 Color scheme selected for bedroom and adjacent master bath. Transitional theme reflects the Spanish Style preferred by the clients who lived in Spain. Large Flamenco Art of unknown artist. Table top accessories also added.
 Bungalow Pros
Fred Nagelbach, unknown
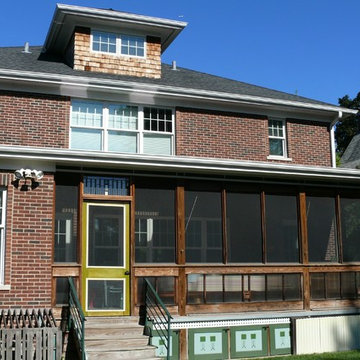
Large craftsman brown two-story brick exterior home idea in Chicago
Large craftsman brown two-story brick exterior home idea in Chicago


 Superior Cabinets
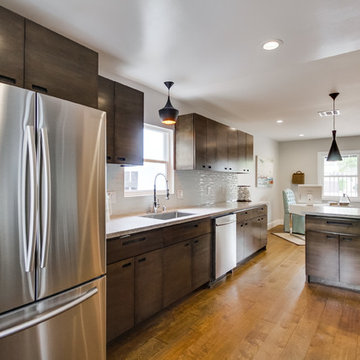
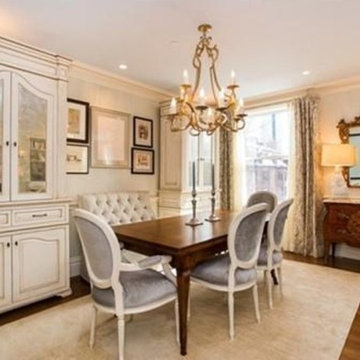
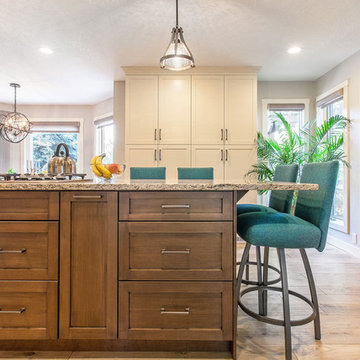
Cabinets: MDF, Fusion Smooth Antique White finish
Island Cabinets: Maple, Marca Biscotti finish
Countertops: unknown
Design by: Superior Cabinets Calgary
Photo Credit: Tracy Elliot
 Up By Design
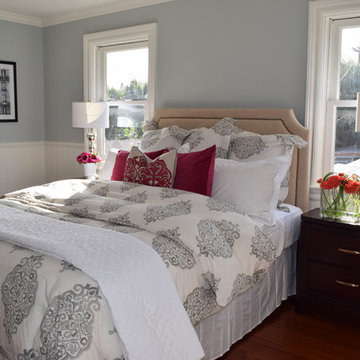
Bedroom - mid-sized transitional master medium tone wood floor bedroom idea in Los Angeles with blue walls and no fireplace

 Norfolk Kitchen & Bath
This beautiful contemporary kitchen was designed by Mariah from our Nashua, NH showroom. The design features a full-access slab door cabinet with granite & quartz countertops, an island with a waterfall countertop edge, an induction cooktop with a built-in ceiling vent, and an existing 10ft. window behind the sink. The original kitchen did not use the entire space, which was a main focus during the design process. Pushing the sink against the wall allowed for a bigger island and more space to move around within the kitchen. The homeowners originally wanted concrete countertops, but in the end decided on a more durable granite countertop that looked just like concrete!
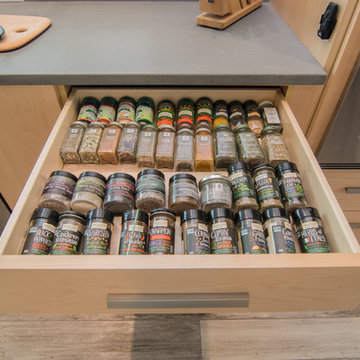
Special features in this kitchen include two mixer lift cabinets, under-cabinet lighting, a spice rack, double trash, roll out trays and floating shelves above the countertop.
Mariah also designed a laundry room cabinetry unit, featuring JSI Designer Cabinetry & a butcher block top, and an entertainment center in this home.
Cabinets: ShowplaceEVO Milan
Finish: Natural
Countertops: Quartz & Granite
Color: Calacatta Nuvo/Unknown
 The Design Studio of Wendy Harper
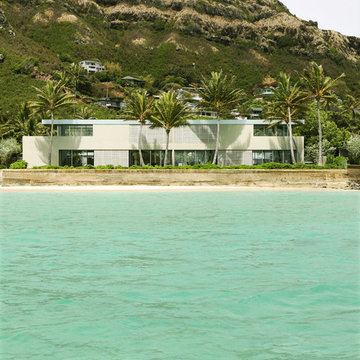
A view of the front yard. Planted with environmentally sensitive plant material, the front yard has natives, grass and coconut palms. All of the palms were dug and craned in full grown and planted prior to the homes construction for access constraints.
Photographer Unknown, photos provided by Owner

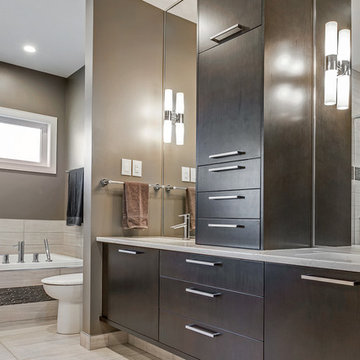 Superior Cabinets
Design by: Kevin Worman, Superior Cabinets Saskatoon
Interior Design: Studio 2.0
Cabinet Finish: Maple Ash
Doorstyle Cabinets & Island: Vienna Vertical Grain
Drawer Front Style: Standard
Door & Drawer Hardware: Marathon #9365-192 BSNPC
Countertops: unknown by other
Photos by: Optics Photos

 Tile Doctor Ltd
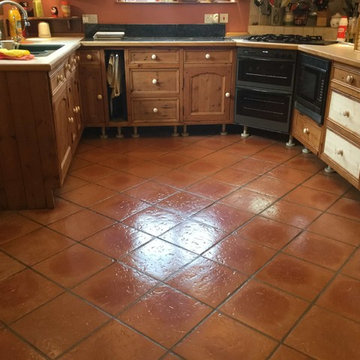
This Terracotta tiled floor was installed in the kitchen of a cottage in the small village of Maidford near Towcester. The tiles were not looking their best and the owner of the property realised it was time to do something about it and contacted Tile Doctor to have the floor stripped and resealed. Stripping and Sealing tile and stone floors is our bread and butter so I was more than happy to pop round and survey the floor which was approximately 9m2.
The grout had darkened with dirt and the previous tile sealer was failing so dirt was now getting ingrained in the Terracotta making it difficult to clean in places and leading to a patchy appearance. We discussed the work involved, my quote was accepted, and a date agreed for me to return and complete the work which would take two days, one to clean and one to seal.
After tidying up the Kitchen and removing the kickboards from underneath the kitchen units I set about working on cleaning and stripping the Terracotta floor of old sealers. To start I tested a small area with a strong dilution of Tile Doctor Wax Away. Wax was quite often used on Terracotta so I figured this product would be a good place to start. My suspicions were proved correct, and I found this to be the best product for removing the many layers of sealant on the floor. Wax Away is a new alkaline product by Tile Doctor and ideal for cleaning clay-based tiles such as Terracotta.
With my sights set on the rest of the floor Wax Away was scrubbed into the tile using a 17” rotary floor scrubbing machine and a black scrubbing pad running on a slow speed which helps to reduce splashing. This activity soon brought the dirt off the floor and the soiled cleaning solution was removed using a wet vacuum and the floor was rinsed down with clean water. The cleaning process was repeated a couple of times until I was happy with the floor, a stiff hand brush was then used along the grout lines with a dilution of Tile Doctor Pro-Clean to clean up the grout.
After rinsing and extracting the floor again the floor was inspected, and I noticed there were a few stubborn paint splashes on the tiles. I managed to remove these and these by spot treating the affected area with Tile Doctor Remove and Go and a steamer to lift the stain out of the clay tile. Once happy the floor was clean it was given a thorough rinse to neutralise it and remove any trace of cleaning products and then left it to dry.
I allowed the floor to dry for several days before returning to seal the Terracotta using numerous coats of Tile Doctor Seal and Go which is an ideal sealer for Terracotta and provides durable stain protection together with a low sheen finish. Terracotta is by its nature very porous and so it’s not unknown for it to take up to nine coats of sealer, which can take some time to apply as like paint you have to wait until it’s dry before it will take the next coat.
The customer was so impressed by the results I achieved in their kitchen they decided to go ahead and book me in to carry out this process throughout the whole of the ground floor which included lounge, study and hallway.
Phil Vissian
Northamptonshire Tile Doctor
50