
Search results for "Videos requested" in Home Design Ideas

 Aggieland Carpet One
Hard floors are whats in! They are a classic idea that has become the real home crave once again. Brought to you by Aggieland Carpet One.
Example of a classic living room design in Austin
Example of a classic living room design in Austin

 Abbey Carpet & Floor of San Luis Obispo
Kalen G.
Inspiration for a small modern galley medium tone wood floor enclosed kitchen remodel in San Luis Obispo with raised-panel cabinets, white cabinets, wood countertops, stainless steel appliances and a peninsula
Inspiration for a small modern galley medium tone wood floor enclosed kitchen remodel in San Luis Obispo with raised-panel cabinets, white cabinets, wood countertops, stainless steel appliances and a peninsula


Find the right local pro for your project



 Finishing Touch Hardwood Floor & Remodeling Co.
Michael Dangredo Design & installation.
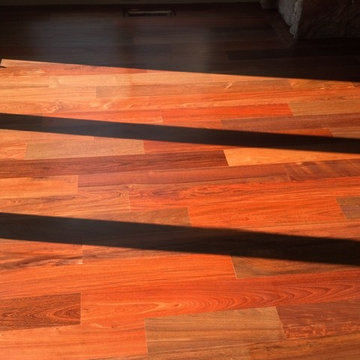
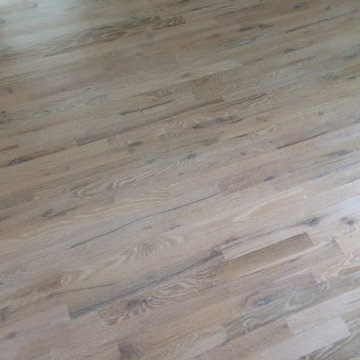
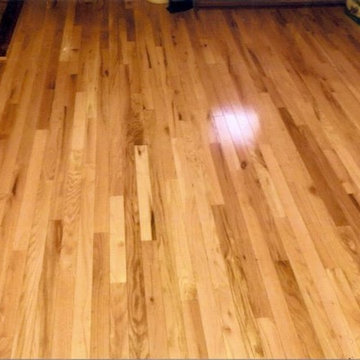
Customer wanted something to separate the existing Prefinished Family Room from the new unfinished Kitchen. When they couldn't decide on an Inlay they asked me to create something. I used Red Oak in a Herring Bone style with White Oak filling in the triangles. Simple & effective.
Sponsored
Plain City, OH

The Creative Kitchen Company
Columbus Area Kitchen Remodeling and Refacing Professional






 United Porte Inc
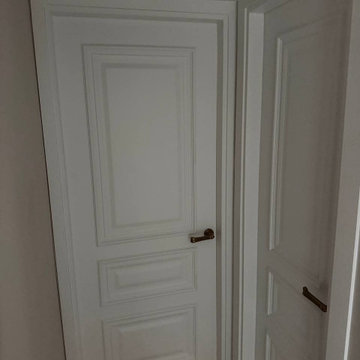
SOLID CORE
Crafted from laminated wood and reinforced with a honeycomb core for the strength and feel of solid wood, while remaining lightweight and stable.
SMOOTH SURFACE
Exceptional film coating perfectly applied over laminated wood with a honeycomb and wood core.
NO FORMALDEHYDE
We are committed to sustainability, using only the latest eco-friendly and non-toxic materials. Our company prioritizes safety—for both people and the planet. At Sarto Doors, we care deeply about your well-being and that of your loved ones, which is why our products are ideal for sensitive environments such as hospitals and childcare centers.
>
SOUND ATTENUATION
Door's 40mm thick solid wood with honeycomb construction yields 30% noise reduction over standard doors.
CONSTRUCTION
The door is engineered from a solid, seamless wood structure with a durable honeycomb core, ensuring long-lasting performance and minimal maintenance for generations to come.




 Robinson Glass
Inspiration for a mid-sized contemporary built-in desk dark wood floor study room remodel with white walls and no fireplace
 Tile Doctor Ltd
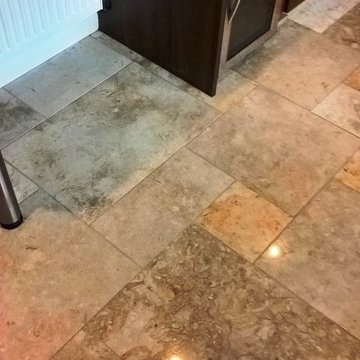
The photographs below are of a Polished limestone floor that had been installed in the Kitchen of a house in Cheltenham approximately eight years prior. The polish and sealer had worn off over that time allowing dirt to become ingrained into the pores of the stone making it difficult to clean.
This is a common problem with all types of porous stone and tile which need to be sealed to maintain their appearance. Sealers do wear down over time with use however and need to be maintained, this is why Tile Doctor have created a maintenance program whereby we pop by every 12 months to give the floor a light clean and top-up the sealer, it only takes a few hours, but it keeps your sealer in good condition.
Cheltenham by the way is a lovely town situated on the edge of the Cotswolds which is an area of Outstanding Natural Beauty. It has a racecourse and is well known for the mineral springs which were discovered here in 1716.
My first job was to protect the wooden kitchen units from any splashes by covering them some cotton sheets. Next, I set about restoring the Limestone’s appearance using a set of Burnishing Pads which is a form of polishing which involves the sequential application of four diamond encrusted pads of different grit levels.
The first pad applied is a Coarse 400 grit pad which is applied to the floor with a buffing machine and lubricated with water. This process grinds away the top layer of dirt and staining from the stone, along with any old sealer, the floor is then rinsed to remove the soil that is generated. I then move through the system, applying the Medium and then Fine pads using less and less water as you go but rinsing in-between and extracting the water with a wet-vac machine.
Once I was happy with the stone I scrubbed the grout lines to remove any soiling that the pads had failed to pick up. The floor was then given a final rinse and the wet vacuum used to extract as much moisture as possible. The floor was then left to dry out completely overnight.
The next day I gave the floor a polish with the Very Fine 3,000 grit diamond burnishing pad, this is applied using a technique we call a “spray burnish” due to the fact that very little water is used during its application.
The next step was to seal the stone using for which I used Tile Doctor Colour Grow which is an impregnating sealer that protects the stone from within by occupying its pores. Colour Grow also has the added benefit of intensifying the natural colours in the stone. The floor was then left to dry for an hour before I gave it one final dry polish using the Very Fine burnishing pad.
My customer was very happy with the final result and made the comment that they thought the floor looked brand new.
Malcolm Crowther
Gloucester Tile Doctor


34