
Search results for "Possibility" in Home Design Ideas
 Thomasville Cabinetry
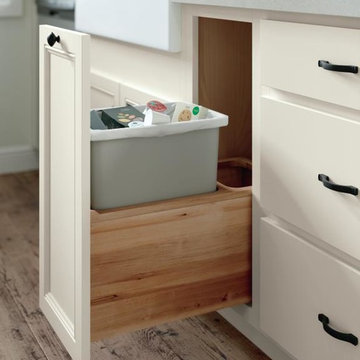
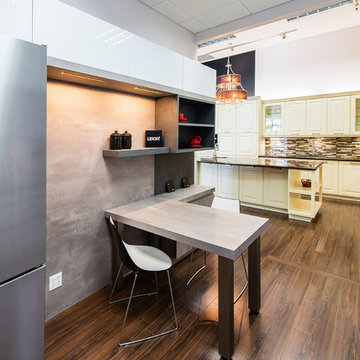
Convenient and concealed, this hidden wastebasket cabinet is right where you need it.
Inspiration for a large l-shaped brown floor eat-in kitchen remodel in Other with a farmhouse sink, white cabinets, gray backsplash, stainless steel appliances, an island and gray countertops
Inspiration for a large l-shaped brown floor eat-in kitchen remodel in Other with a farmhouse sink, white cabinets, gray backsplash, stainless steel appliances, an island and gray countertops

 Drury Design
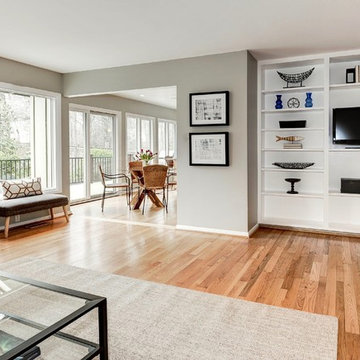
Maybe you can relate to these empty nesters who reached out to us to design and build a new kitchen for their current and long term needs. They do lots of entertaining, have an extensive wine collection and enjoy welcoming more grandchildren into the family. Both cook, although he prefers his grill. They wanted their new kitchen to be an open space that is easier to move around in. They were also looking forward to more storage and new, state-of-the-art appliances.
Design objectives:
-New layout to accommodate large groups for frequent entertaining
-Big island to seat as many people as possible
Improve traffic flow by omitting a counter peninsula by the family room and other cabinet barriers
-Main cooktop to face visitors with point-of-use spices, utensils, pots & pans nearby
-Multiple cooking & refrigeration appliances
-Plan for as much countertop space as possible for multiple cooks
-Dedicated spaces needed for wine, liquor, cold drinks & decorative glassware
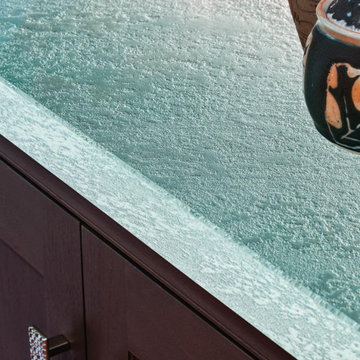
-Incorporate special details such as thick or waterfall countertops, unique backsplash, wood accents
-Need better task, ambient and general lighting
-Make it beautiful – a kitchen the homeowners could be proud of
-Seamlessly join kitchen with breakfast room, given load-bearing wall & various ceiling heights
-Ensure the large, newly opened space remains intimate and inclusive
-Determine how to best utilize the breakfast room, given limited availability of wall space with two sets of French doors and a large window
-Relocating two ventilation ducts currently in a wall to be removed
-Incorporate multiple appliances while adding functional storage
-Integrate special details that wouldn’t be lost in a large room
-Utilize multiple finishes and colors that provide continuity
Design solutions:
-The wall between the kitchen & breakfast nook was completely removed – the structural beam was shortened, providing the largest opening possible
-One small wall section remained intact to relocate ductwork, which conveniently created an alcove for the dual refrigerator armoire
-Two islands in the same finish visually join the elongated room
-The cooking island includes necessary point-of-use storage along with a steam oven and additional storage on the opposite side
The wide cooking island allows for two cooks to comfortably share the counter space, allowing casual interaction
-The second island fills the center of the former breakfast room; tall cabinets in a contrasting finish flank the French doors and provide visual balance
-The sizable second island provides seating for six on a conversation-conducive curve. It houses freezer drawers, a microwave drawer, an under-counter refrigerator, plus additional storage
-Docking station inside drawer
-Two cabinet styles in three finishes provide continuity, balance and interest in the large room
While the clients didn’t have a specific vision of the remodeled space, they were completely open to new ideas and knew which features they wanted when they saw them. They were truly doing the project for their own enjoyment and that of their family and guests. We’re happy to know they are thrilled with the end result. In fact, we had so much fun working together we’re now talking about a new project!
Find the right local pro for your project


 Thomasville Cabinetry
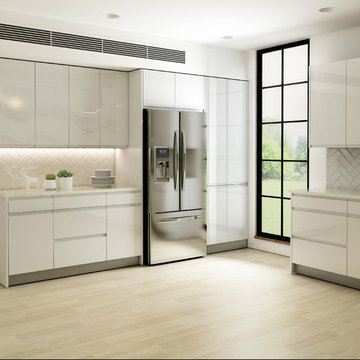
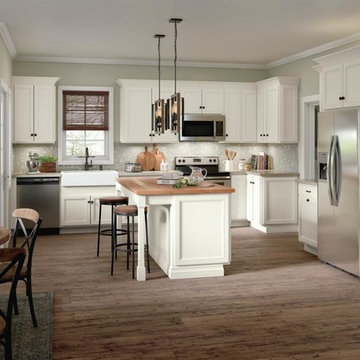
Live a life of casual bliss, inspired by natural elements and modern materials. This Vance Partial kitchen features all the makings of a remarkable space, from the PureStyle™ finish to the spacious Island and on-trend fixtures.
 AMEK Custom Builders
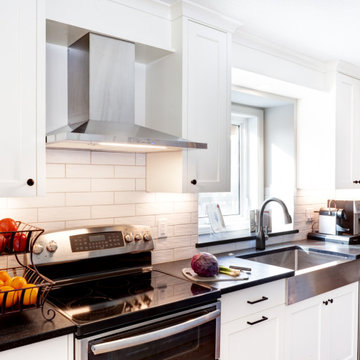
Custom cabinetry maximizes storage and organization and features Euro-style design and soft-touch closing mechanisms. The black granite countertop and black handles are a sharp-looking contrast to the white cabinets.
Sponsored
Columbus, OH

Hope Restoration & General Contracting
Columbus Design-Build, Kitchen & Bath Remodeling, Historic Renovations
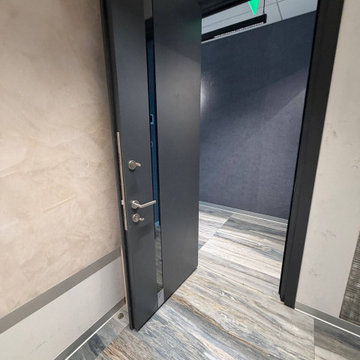
 United Porte Inc
Your front door is your best defender. It protects you, your family, and your most valuable personal belongings from theft and damage.
Furthermore, VDom Doors insulate your home from extreme weather conditions, as well as unwanted animals, insects, and dust from entering.
This technology makes it possible to protect the front door from condensation and ice formation.
A thermal break is a layer of material with low thermal conductivity. For the correct operation of the door, it must be located between the outer and inner sides of the leaf and the frame, thereby excluding the contact of the metal parts with each other.
This technology prevents the door from freezing, preserving its properties and impeccable appearance for many years.
The two-tone painting ofthe door leaf and the frame makes it possible to select colours separately for interior and exterior decoration, which gives the door a complete look and makes it possible to create a harmonious image in the interior and exterior.
All models of this collection are made with a frame made of aluminum. The external framework and internal power framework of the frame do not touch in any way, because they are interconnected by a polyamide insert (thermal break) 18 mm thick, which guarantees maximum thermal insulation performance.
The door leaf ofthis series is made of two sheets of metal 1 mm thick. A reliable two-layer design with a thermal insulation layer and expanded polystyrene filling guarantees reliability. durability, and the best indicators of heat and noise insulation of the door.
Model - 6777 Cynex
Color - Grey
Door thickness - 3 1/4"
Frame thickness - 4"
Metal frame 4" thick - dimensions of the door with frame is 38" x 82".
Metal threshold.Plate-type, primary lock for armoured type of steel doors, locked by 3 key turns
To maintain the warranty, a canopy is required over the door.

 Attleboro Kitchen and Bath
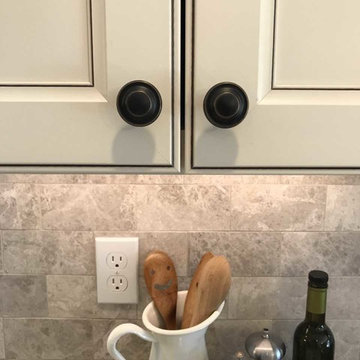
Pulls and knobs in the Amerock Antique Rust finish add richness.
Inspiration for a mid-sized transitional home design remodel in Providence
Inspiration for a mid-sized transitional home design remodel in Providence


 Judy's Interior Design & Home Accessories
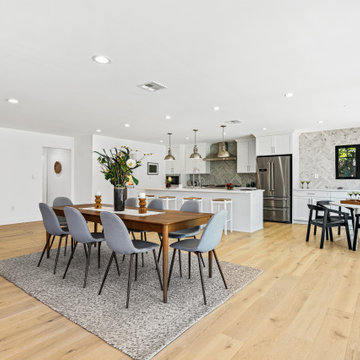
Large farmhouse kitchen photo in Cedar Rapids with a farmhouse sink, white backsplash, stainless steel appliances and an island
Sponsored
Columbus, OH

Snider & Metcalf Interior Design, LTD
Leading Interior Designers in Columbus, Ohio & Ponte Vedra, Florida

 Old Country Ceramic Tile
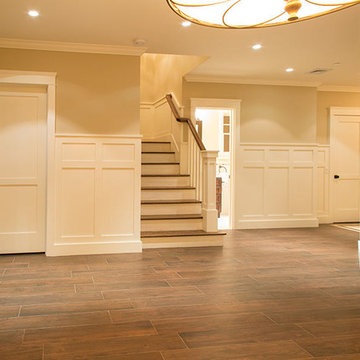
Created in a new 8x36 pressed plank, Magnolia delivers a format consistent with the current trends in natural hardwood flooring however without all the maintenance and worries of real wood. The Magnolia line is available in 4 classic wood stain colors Chestnut, Mahogany (shown) Burl and Cherry , will no doubt give you year round beauty.
photos courtesy of SandBar Contracting

 Spring Creek Design
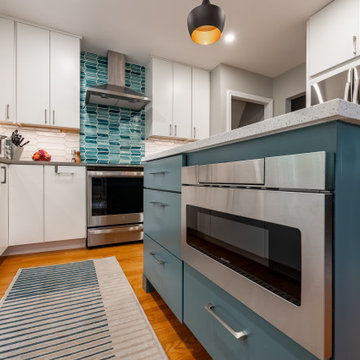
Deep teal island and backsplash tiles form the focal points of this inviting kitchen.
Example of a transitional kitchen design in Philadelphia
Example of a transitional kitchen design in Philadelphia
Sponsored
Galena, OH

Buckeye Restoration & Remodeling Inc.
Central Ohio's Premier Home Remodelers Since 1996
 OROA - Furniture
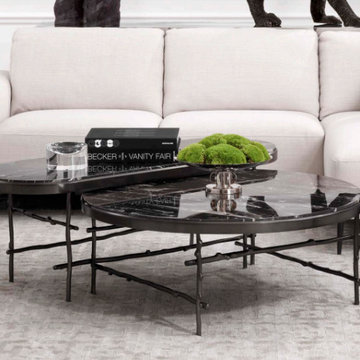
If we use them in the right way, rugs are capable of generating a cozy, warm and comfortable atmosphere that will make our house a true home. On the other hand, they also help us when it comes to giving that more personal touch. The trend for 2021 and that will surely continue until next year. It is the mosaic, using different rugs and placing them one on top of the other. In this way, create a much warmer, more comfortable, and welcoming environment, perfect for this fall.
 Tile Doctor Ltd
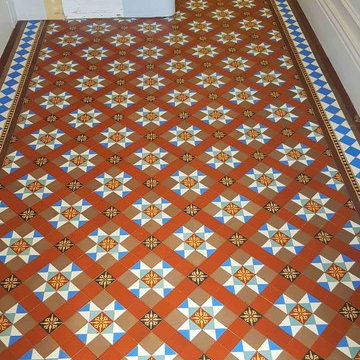
This beautiful Victorian tiled hallway was in desperate need of some TLC. The house had recently changed hands and the new owners of the house were having the entire property renovated. The last part of the renovation plan was to have the Victorian hallway tiles restoring back to their former glory. Floors are always best left until last, especially hallways as last as workmen don’t usually take a lot of care in my experience.
The house was built in the early 1900’s and was situated close to Doncaster town centre a couple of streets away in fact from the famous Doncaster Racecourse which dates to the late 1500’s.
There were a few areas of damage to the floor that would need dealing with first. This is not surprising given the age of the floor which must have seen a lot of comings and goings over the years. Our first task therefore was to repair the damage using replica tiles sourced to be as close a match to the originals as possible. We usually find any slight differences disappear once the floor has been deep cleaned and sealed. Once removing the damaged tile and cleaning the base we use a fast setting adhesive to fix the replacement tiles in place so we can get on with the cleaning as soon as possible.
Once the replacement tiles had set, we unloaded our slow speed rotary floor machine and large wet vacuum which would be used during the cleaning. To start the cleaning the floor was sprayed with Tile Doctor Remove & Go and this was left to dwell on the tiles for twenty minutes. This gives time for the product to break down old floor coatings and grime, this was followed by scrubbing the tiles with a 200-grit diamond pad fitted to the floor machine and assisted with the addition of more water to help lubricate the process. This process generates a lot of slurry as the dirt and old sealers etc are released from the tiles and this is extracted from the surface of the floor using the wet vacuum.
The next step was to give the floor an acid wash using Tile Doctor Acid Gel which is applied to the tiles and left to dwell for fifteen minutes and scrubbed in again with the floor buffer and 200-grit diamond pad. Once done the floor was rinsed with water and then dried using the wet vacuum to extract as much moisture as possible. This last process is designed to counter any alkaline salts that may be present in the floor which may cause efflorescence to appear later. It also removes old mineral deposits and generally get the tiles looking much brighter. Once complete the floor was left to dry off naturally overnight.
I came back the next day to seal the tiles first checking the floor was dry using a moisture meter. Satisfied that the floor was ready for sealing I started to seal the tiles using multiple coats of Tile Doctor Seal and Go Extra which is a fully breathable sealer which is important for old floors like this. Seal and Go Extra also leaves a lovely satin finish which works well on Victorian tiles and brings the floor alive.
This was the last step in this properties renovation, and I think you will agree that the floor responded really well to the restoration process and the colours in the tiles are now very vibrant.
Matthew Lovett
South Yorkshire Tile Doctor
 ASA Cabinets Corp
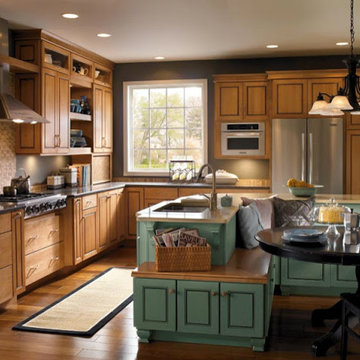
Inspiration for a large timeless l-shaped medium tone wood floor kitchen remodel in Detroit with a double-bowl sink, raised-panel cabinets, distressed cabinets, granite countertops, beige backsplash, ceramic backsplash, stainless steel appliances and an island
154