
Search results for "Remove dust" in Home Design Ideas
 Lynn Holender Designs
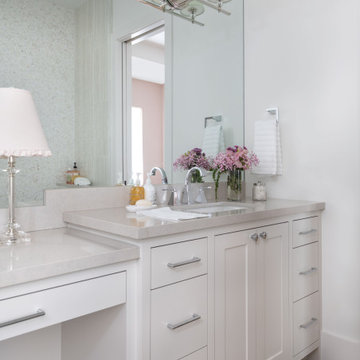
Inspiration for a coastal single-sink bathroom remodel in Houston with shaker cabinets, white cabinets, white walls, an undermount sink, gray countertops and a built-in vanity


 Megan Booth, Photographer
Photo: Megan Booth
mboothphotography.com
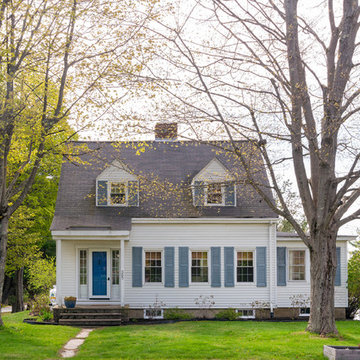
Example of a farmhouse white two-story vinyl house exterior design in Portland Maine with a shingle roof
Example of a farmhouse white two-story vinyl house exterior design in Portland Maine with a shingle roof
Find the right local pro for your project
 The Jack + Mare | Portland Design & Build
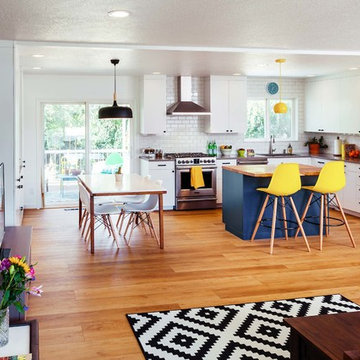
Split Level 1970 home of a young and active family of four. The main public spaces in this home were remodeled to create a fresh, clean look.
The Jack + Mare demo'd the kitchen and dining room down to studs and removed the wall between the kitchen/dining and living room to create an open concept space with a clean and fresh new kitchen and dining with ample storage. Now the family can all be together and enjoy one another's company even if mom or dad is busy in the kitchen prepping the next meal.
The custom white cabinets and the blue accent island (and walls) really give a nice clean and fun feel to the space. The island has a gorgeous local solid slab of wood on top. A local artisan salvaged and milled up the big leaf maple for this project. In fact, the tree was from the University of Portland's campus located right where the client once rode the bus to school when she was a child. So it's an extra special custom piece! (fun fact: there is a bullet lodged in the wood that is visible...we estimate it was shot into the tree 30-35 years ago!)
The 'public' spaces were given a brand new waterproof luxury vinyl wide plank tile. With 2 young daughters, a large golden retriever and elderly cat, the durable floor was a must.
project scope at quick glance:
- demo'd and rebuild kitchen and dining room.
- removed wall separating kitchen/dining and living room
- removed carpet and installed new flooring in public spaces
- removed stair carpet and gave fresh black and white paint
- painted all public spaces
- new hallway doorknob harware
- all new LED lighting (kitchen, dining, living room and hallway)
Jason Quigley Photography
 Nicole White Designs Interiors LLC
RMStudio
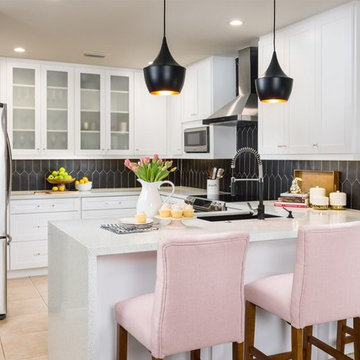
Example of a mid-sized trendy l-shaped porcelain tile and beige floor enclosed kitchen design with a drop-in sink, shaker cabinets, white cabinets, quartz countertops, black backsplash, ceramic backsplash, stainless steel appliances, an island and white countertops
Example of a mid-sized trendy l-shaped porcelain tile and beige floor enclosed kitchen design with a drop-in sink, shaker cabinets, white cabinets, quartz countertops, black backsplash, ceramic backsplash, stainless steel appliances, an island and white countertops
 DF Design Build
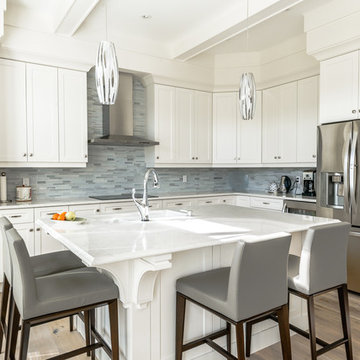
Transitional l-shaped light wood floor kitchen photo in Toronto with an undermount sink, shaker cabinets, white cabinets, blue backsplash, matchstick tile backsplash, stainless steel appliances and an island

 LDa Architecture & Interiors
TEAM /////
Architect: LDa Architecture & Interiors /////
Interior Designer: Vivian Hedges Interior Design /////
Builder: Sea-Dar Construction //////
Landscape Architect: Dan K. Gordon //////
Photographer: Eric Roth Photography



 Jerome's Furniture
With solid wood construction and birch veneers the Kateri is a fresh take on a rustic style. The two-tone finish of hazelnut and ebony is stylish and soothing. Extra storage is always a must, the Kateri combines style with function by adding 2 storage drawers for blankets, clothes and more. The case pieces have English Dovetail fronts and backs and finished drawer interiors that are dust proofed with custom designed bronze pulls. The 8 drawer dresser has removable dividers in the top drawer to help with organization and the matching mirror features a beveled edge.
 Tile Doctor Ltd
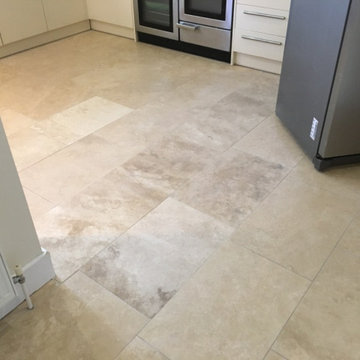
This client from Cobham contacted me in despair, she was quite concerned about her Travertine tiled floor which was cracking. She had the Kitchen and Dining room tiled with Travertine six years ago and recently several cracks had begun to appear in a long line crossing five tiles.
Several holes had also begun to appear and across the threshold to the kitchen from the dining area a serious lip had formed where a tile had risen above its neighbour causing a trip hazard.
After removing a tile from an unobtrusive area, I began to see where the issues lay. The tiler had dabbed the adhesive. This mean that instead of spreading the adhesive equally across the tile and floor they had splurged four lumps in each corner then set the tile down. This is poor working practice that will sooner or later become apparent. It means the areas were no adhesive was applied are eventually compromised resulting in cracking. This could take years or weeks to surface.
After some discussion we decided that I would remove and replace six tiles in total. The client was happy for me to go ahead and agreed a cost for the works to be done.
Returning the following week, firstly I had to remove the grout. This was done with a handheld Fein tool fitted with an oscillating blade. I thought this would be good experience from my son during the holidays, so I took him along and whilst I was working on the grout, he was able to gather the dust in a vacuum cleaner.
Next, I started to remove the cracked tiles with a chisel, starting from the cracks where the tiles would be weakest. This was noisy and messy work which required ear defenders and safety goggles. The process took several hours with the help of my son on general assistance duties. Once the tiles were removed this just left the remaining adhesive attached to the floor to get removed. This was the hardest part of the job, a lot of hammer and chisel work with as much dust gathered as possible to try and contain the mess. I had warned the customer that a considerable amount of mess would be produced and request that she should remove as much items as possible and to tape up her cupboards. Finally, I filled several holes in the sub floor so I would have a flat surface to lay the new tiles on. I left it there for the night to solidify.
Returning the next day, I began laying the replacement tiles down. Colour matching replacement tiles is a difficult task as Travertine is a natural product and colours vary greatly so these were a pretty good match.
Once the adhesive had set, I grouted in the newly laid tiles and once that was dry set about applying a sealer. For this I used two coats of Tile Doctor Ultra Seal which is an impregnating sealer that doesn’t alter the colour of the stone. This would ensure they were nicely protected and hopefully the client will not experience any further issues.
She was very happy with the result and was pleased the floor no long looked unsightly or posed a tripping hazard.
Rupert Mcleod
West Surrey Tile Doctor
 Custom Kitchens by John Wilkins, Inc.
Francis Combes
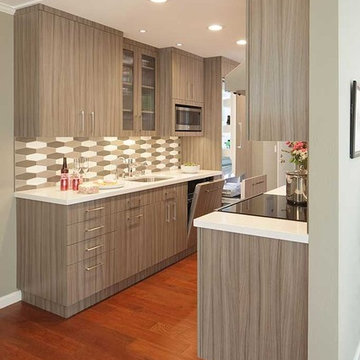
Small trendy galley medium tone wood floor and brown floor kitchen photo in San Francisco with an undermount sink, flat-panel cabinets, gray cabinets, quartz countertops, multicolored backsplash, ceramic backsplash, paneled appliances and no island
Small trendy galley medium tone wood floor and brown floor kitchen photo in San Francisco with an undermount sink, flat-panel cabinets, gray cabinets, quartz countertops, multicolored backsplash, ceramic backsplash, paneled appliances and no island

 Amber Hodgins Design
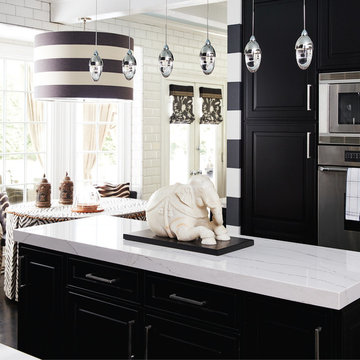
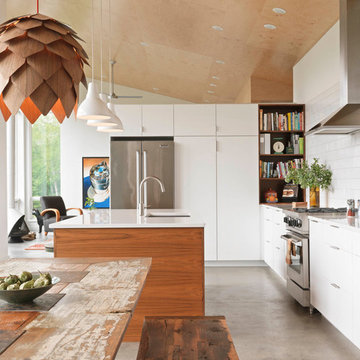
Trendy l-shaped concrete floor and gray floor open concept kitchen photo in Burlington with an undermount sink, flat-panel cabinets, white cabinets, white backsplash, subway tile backsplash, stainless steel appliances and an island

 DesRosiers Architects
Jim Haefner Photography
Bedroom - contemporary carpeted and gray floor bedroom idea in Detroit with gray walls
Bedroom - contemporary carpeted and gray floor bedroom idea in Detroit with gray walls

 Tonya Neihardt
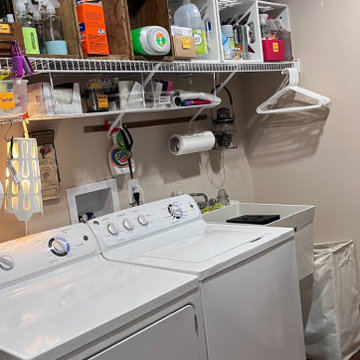
Client had a few items from a family business that she wanted to display but didn't want in her living spaces. We opted to make the laundry room her tribute space. The wood crates were repurposed for laundry soap storage. The clients dog eats in the laundry room so his food is stored in and under the utility sink. There are two cloth hampers with two compartments each on either side of the room for whites, darks, gentle care, and towels/linens. We added to her storage by hanging wire shelves underneath the wire shelf and small items are stored there for easy access -- dryer sheets, dusting cloths, essential oils for wool dryer balls, stain remover, dog medicines and towels.
 Closet & Storage Concepts - Norwalk
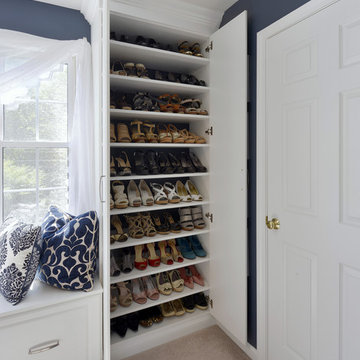
Inspiration for a large contemporary gender-neutral carpeted walk-in closet remodel in New York with raised-panel cabinets and white cabinets
 Rugs That Fit
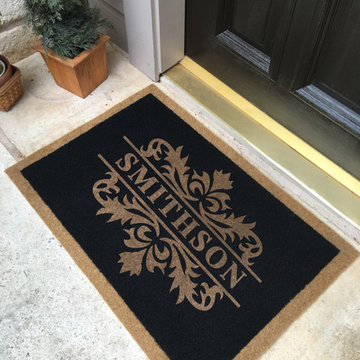
Who doesn't love the elegant look of a personalized door mat? This makes a wonderful house warming gift, wedding gift, Christmas gift or any gift! But don't forget about yourself. We think this mat would look awesome in front of your door too! We call our mats Coco "Not" because unlike ordinary coco mats made out of scratchy coir, ours don't shed or shred, they are anti-bacterial, don't mold, mildew or hold water, and are soft enough to walk on but rough enough to catch the dust and dirt. Cleaning is a breeze. Use a broom for a light dusting or hose off with water to remove heavier soiling. Our mats are inlaid, not printed & are finished with a non-slip backing that keeps them in place to perform better than any other entry mat made today. Every mat is made to order and you can customize yours just the way you want it. We are working on setting up our International order/shipping charges. In the meantime email us with your International shipping request and we will get back to you with a quote.
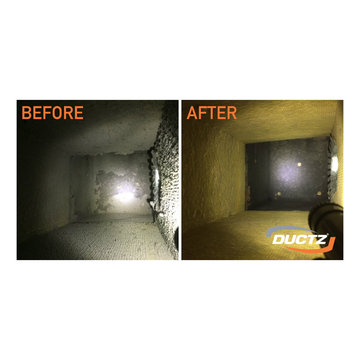
 DUCTZ of Greater Lancaster and York Cities
Years of dust, hair, pests, and other pollutants will hinder your systems air flow. A proper cleaning will help remove the buildup and promote the proper air flow needed to run your system at peak efficiency. The spiders, insects and rodents that have been living and dying in your ducts for years will be cleaned out as well from a thorough cleaning. If you live in Lancaster County, York County, or the surrounding area, give us a call at 717-735-7020 to have your air ducts inspected and cleaned!
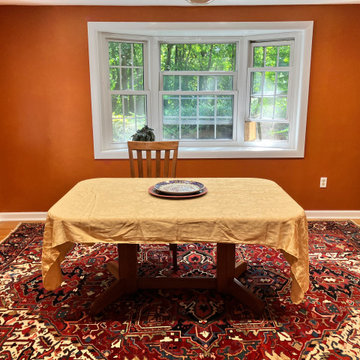
 Kaoud Carpet & Rugs
Keeping your area rugs cleaned is important for several reasons. Dirt, dust and pet dander can accumulate into the fibers of your carpet over time and cause premature aging and damage to the foundation of any rug. The life span of your rug will improve greatly by professionally having dirt, stains and odors removed. This is exactly what our team performed for our client with this Persian Heriz rug.
 Tile Doctor Ltd
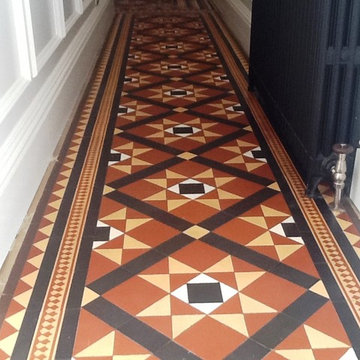
Here’s a job I completed just before Christmas last year, at a house in Northampton which has a rich history and mix of architectural styles. The run up to Christmas is always popular as people try to get their household projects finished off in time for celebrating the festive season with family so this is always a busy time for Tile Doctor.
The photos below show a neglected Victorian Quarry tiled floor in need of repair, with cracked tiles along the edges. These were caused by somebody in the past using brute force to remove carpet gripper rods which had been glued to the tiles. These cracks were present around the edges of the entire hallway, however; this particular type of tile is very hard to get hold of. Furthermore, it is a costly process to replace the tiles as the skirting boards would have had to have been removed.
As well as the physical issues the floor had a dull appearance due to the build-up of builder’s dust and the general wearing down of the paintwork over time. I agreed with the client that the best course of action would be to fill the tiles, and paint the damaged tiles using a colour that matched as close as possible. Many of my Tile Doctor colleagues would disagree with this approach opting to source the correct tile and rebuild the damaged section however unfortunately in this case we didn’t have the time or the budget.
My first action was to use a brush and vacuum to remove as much loose debris and dust as possible. I followed this by agitating the tiles with a dilution of Tile Doctor Pro Clean which is a strong alkaline product and safe to use on tile and stone. I use a combination of a coarse burnishing pad fitted to a rotary machine and hand held brushes, in order to get the floor clean. The resulting slurry was then rinsed and removed using a wet vacuum. This process was repeated twice followed by a thorough rinse to ensure any trace of cleaning agent had been removed and the floor neutralised.
As this was such an old property, I then used a steamer to heat up the tiles in order to draw out any contaminants and assist with the drying process. I installed a fan to dry the floor before starting repairs, mixing up some coloured grout and filling all holes and cracks along the edges, including the doormat area.
I allowed the coloured grout to dry overnight, before hand painting the black and Terracotta tiles. These were then given time to dry (about a couple of hours). Following this, I carefully painted in the other colours: brown and cream. The overall effect was quite convincing and you had to look very closely to notice.
Due to the fact that there were other tradesmen working in the house at the time, the floors were sheeted up to protect from additional dust and muck. I then left the house for a week, allowing the floor ample time to dry completely in preparation for sealing.
Upon my return, I took damp meter readings, and once satisfied with the dryness of the tiles, I began the sealing process with the impregnating, colour-enhancing sealer Tile Doctor Colour Grow. The sealer provides both durable surface protection and an aesthetically pleasing matte finish.
The below photos show how the product has enriched the colours with the two coats applied.
The process of restoring this wonderful Victorian Quarry tiled floor was certainly time consuming, but very rewarding. I am exceptionally pleased with the results myself, and my client couldn’t have been happier and I’m sure the newly revitalised hallway will have been a talking point for all their visitors during the Christmas break.
Phil Vissian
Northamptonshire Tile Doctor
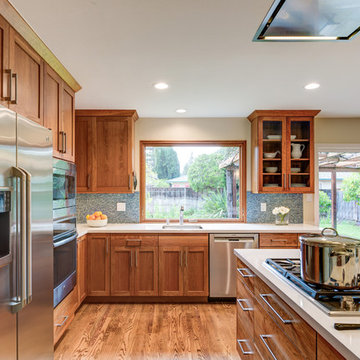
 Gilmans Kitchens and Baths
The original kitchen was tight and cramped, offering little storage and function. the clients wanted more countertop space and more storage solutions. They also wanted an open space plan, with views into their backyard, and to allow more natural light into the space.
The wall separating the kitchen and living space was removed and a large picturesque window was installed above the sink, creating a large and open space. A large island with open cubbies housed much of the homeowner's pots and pans, and other countertop appliances.
Treve Johnson Photography
18