
Search results for "Stirring" in Home Design Ideas
 Gina Fitzsimmons ASID NKBA
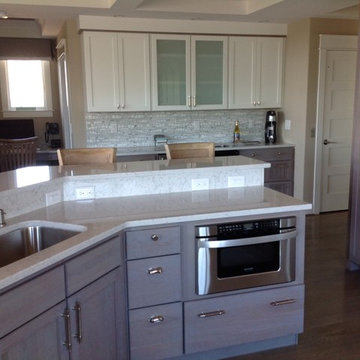
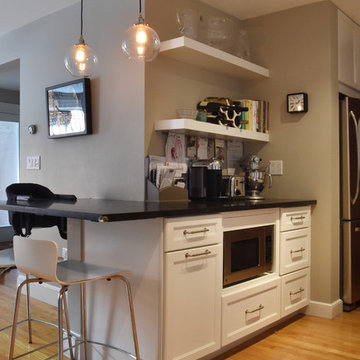
Kitchen- We used an under counter microwave. They are great! If you want to stir what you are heating up, you just pull out the drawer! Gina Fitzsimmons
 K. Gennaro Photography
Remodel by Stud Construction [ www.studconstruction.net ] • Photography by K. Gennaro Photography [ www.kgennarophotography.com ]
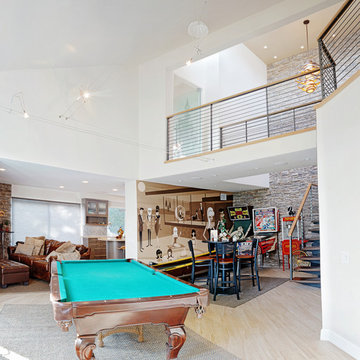
Inspiration for a mid-sized contemporary open concept ceramic tile game room remodel in Orange County with white walls
Inspiration for a mid-sized contemporary open concept ceramic tile game room remodel in Orange County with white walls

Find the right local pro for your project

 Grandin Road
Thrill them to the bone with our Skeleton Scene Kit. Allow our lifesize skeleton and his pack of canine companions to stand guard by your bowl of Halloween treats, or stage a spooky tableau anywhere indoors or out. Frighteningly detailed, you’ll have everything up and causing a stir in no time. Plus, one look will leave trick-or-treaters starving for more.

 Astrid Gaiser Garden Design, LLC
Astrid Gaiser
Inspiration for a tropical home design remodel in San Francisco
Inspiration for a tropical home design remodel in San Francisco
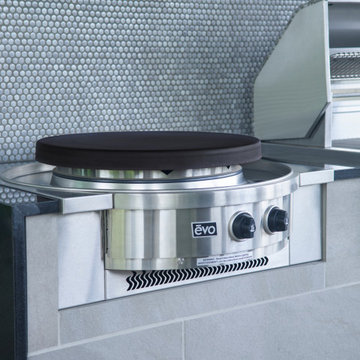
 All Things Barbecue
Evo Affinity cooktop. Directly grill, sear, toast or stir-fry, or indirectly bake, sauté, steam or braise. Seasoned steel cook surface heated underneath by inner and outer gas tube burners. The circular design supplies even heat from the grill center to the outside edge without the hot spots and temperature problems prone to traditional square griddles. The ideal outdoor kitchen centerpiece for an interactive cooking experience.
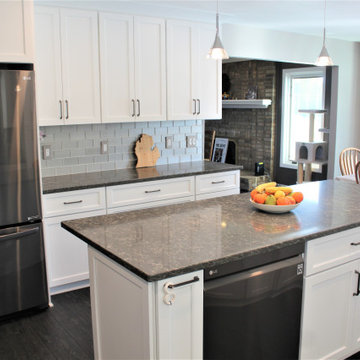
 Cabinetry by Better Bilt
Cabinetry: Starmark
Style: Edinburgh w/ Five Piece Drawers
Finish: Maple – White
Countertop: Lakeside Surfaces Quartz – Coastal Gray
Sink: Blanco Diamond Reverse 60/40 in Truffle
Faucet: (Customer’s Own)
Hardware: Hardware Resources – Callie Pull in Brushed Pewter
Backsplash Tile: Virginia Tile – Astoria French 3” x 6” and Stir Stick, Debut Dune Blend Random Strip Mosaic
Designer: Devon Moore
Contractor: Greg Meehan
Tile Installer: Joe Lovasco
 Stacey Guggenheim
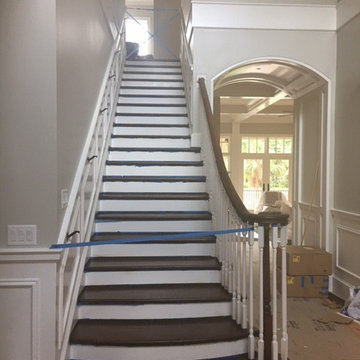
We refinished the stairs and banisters. The owner did not like the standard finish the builder applied so we sanded, refinished , restained and sealed the banister and the stirs to a much darker color and a more upscale finish
 TimberTown
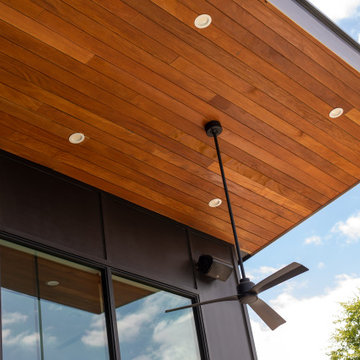
A beautiful backyard patio is framed by Ipe soffit. With a modern ceiling fan stirs the air, creating a cool, comfortable vibe.
Inspiration for a large modern backyard patio remodel in Austin with a bbq area
Inspiration for a large modern backyard patio remodel in Austin with a bbq area
 The Rediscovered Wood Floor Company
Kerry Bloom
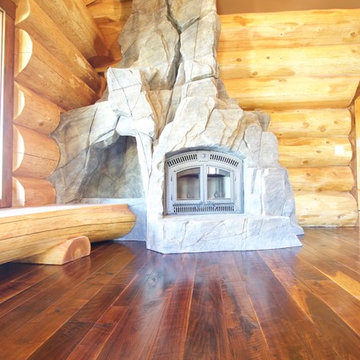
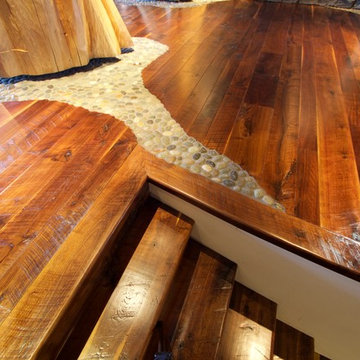
Example of a mountain style home design design in Vancouver
Example of a mountain style home design design in Vancouver
 Edvivi Lighting
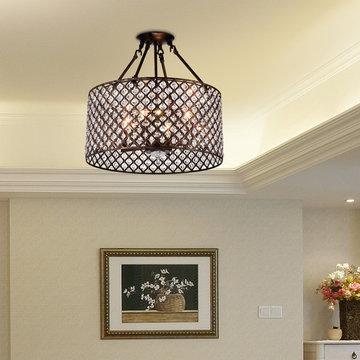
Antique Copper Drum Shade Crystal Semi Flush Mount Chandelier Ceiling Fixture
This beautifully opulent chandelier is the picture of contemporary perfection; it features antique copper hardware, crystal latticed drum shade and a 4 light design. It features a semi-flush mount design, perfect for a low ceiling or smaller space that needs style and stirring elegance. The down lighting casts a glow of light in the room that is low yet powerful and sets a mood of drama and romanticism that is perfect for any room.
 KHP Homes
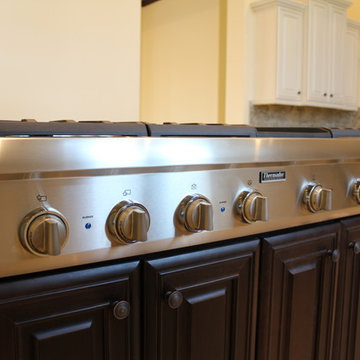
Inspires passion, ignites creativity and stirs the soul of those with a true love for fine cooking with a Thermador kitchen.
Inspiration for a contemporary kitchen remodel in Tampa
Inspiration for a contemporary kitchen remodel in Tampa
 Kelly and Abramson Architecture
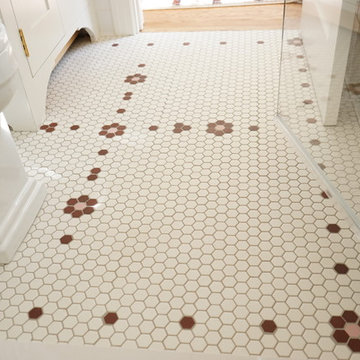
Do you have a favorite color? This question has not come up since I was 5 years old and it stirred long dormant emotions. Colors are fun and playful.
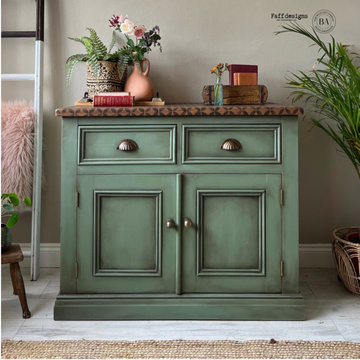
 Dixie Belle Paint Company
Materials Needed:
Side Console
Dixie Belle White Lightning Cleaner
Dixie Belle Weeping Willow Chalk Paint
Dixie Belle Best Dang Wax (Clear)
Dixie Belle Chocolate Chalk Mineral Paint
Dixie Belle Retro Lattice Stencil
Dixie Belle Coffee Bean Chalk Mineral Paint
Dixie Belle Synthetic Paintbrush
Clean, lint-free cloths
Before You Begin:
Ensure that your side console is clean and free from any dust, dirt, or grease. If necessary, sand the surface lightly to create a smooth painting surface.
Step 1: Clean with White Lightning
Use Dixie Belle White Lightning Cleaner to thoroughly clean the side console. This will remove any lingering residues and prepare the surface for painting. Follow the instructions on the cleaner, and make sure the surface is completely dry before proceeding.
Step 2: Paint with Weeping Willow
Stir the Weeping Willow Chalk Paint well before use. Apply an even coat of Weeping Willow paint to the entire side console using a paintbrush or foam roller. Allow the first coat to dry completely before applying a second coat if needed. The chalk paint dries relatively quickly, but follow the recommended drying time on the product.
Step 3: Apply Best Dang Wax with Chocolate Chalk Paint
After the Weeping Willow paint has dried, use a clean cloth or brush to apply a layer of Best Dang Wax (Clear) over the painted surface. For added depth and dimension, mix a small amount of Chocolate Chalk Mineral Paint into the wax. Apply the wax mixture evenly, focusing on details and edges. Allow the wax to dry and buff it to a desired sheen using a clean, lint-free cloth.
Step 4: Stencil the Top with Retro Lattice
Secure the Retro Lattice Stencil to the top of the side console using painter's tape to prevent it from moving during the stenciling process. Using a brush or foam roller, apply Coffee Bean Chalk Mineral Paint over the stencil, ensuring even coverage. Carefully remove the stencil while the paint is still wet to reveal the pattern. Allow the painted design to dry completely.
Step 5: Finishing Touches
Inspect the entire side console for any touch-ups or additional detailing. If needed, apply extra coats of paint or wax to achieve the desired finish. Once satisfied with the results, allow the piece to cure fully according to the paint manufacturer's recommendations.
Step 6: Enjoy Your Upcycled Side Console
Place your revamped side console in its designated space and revel in the transformation. The combination of Weeping Willow, Best Dang Wax, and the Retro Lattice stencil has turned a simple side console into a unique and visually appealing piece of upcycled furniture, adding charm and character to your living space.
 KB Lueck Building Consultants, LLC.
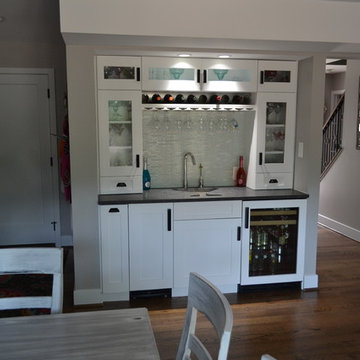
Wet bar - transitional galley dark wood floor wet bar idea in Baltimore with an undermount sink, glass-front cabinets, white cabinets, granite countertops, white backsplash and glass tile backsplash
 Archadeck of Austin
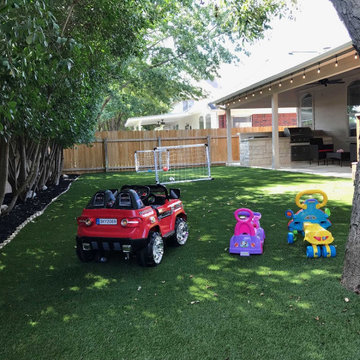
These homeowners now have all the options they need outdoors. With a covered patio for relaxing, dining, and watching the kids play in the yard, rain showers and hot sun will not be a problem. The ceiling over their new patio is equipped with recessed lighting for nighttime use and a ceiling fan to stir welcome breezes. The open deck they already had gives them a comfortable place to enjoy the warmth of the sun when it’s not too hot outdoors. It’s also the perfect place for stargazing. The outdoor kitchen means they can cook outside and eat outside. The grill master will be able to visit with guests on the patio while grilling their favorite foods.
 Superior Woodcraft, Inc.
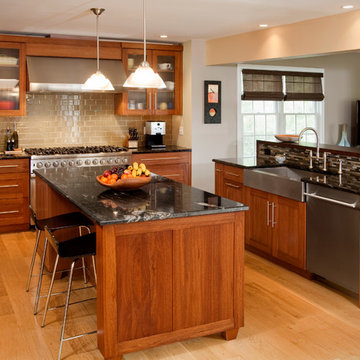
Custom made kitchen by Superior Woodcraft features shaker style cabinets handcrafted in Lyptus. Stainless steel Viking appliances are featured. The large island provides ample space for appliances and seating. While the open floor plan and ample windows allow for the living space to receive plenty of natural light.
Photo Credit: Randl Bye
![Design Fixation [Faith Provencher]](https://st.hzcdn.com/fimgs/07a3fbf7003fc8b3_6655-w32-h32-b0-p0--.jpg) Design Fixation [Faith Provencher]
Design Fixation [Faith Provencher]Photo: Faith Towers © 2019 Houzz
Transitional kitchen photo in Boston
Transitional kitchen photo in Boston
21