
Search results for "You should" in Home Design Ideas
 Highmark Builders
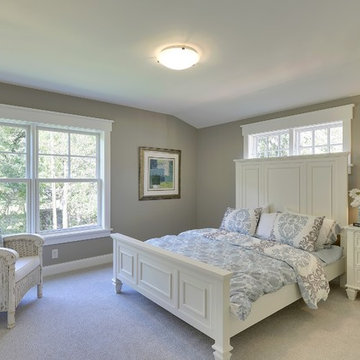
Professionally Staged by Ambience at Home http://ambiance-athome.com/
Professionally Photographed by SpaceCrafting http://spacecrafting.com
 Renaissance Remodeling
Scott Conover
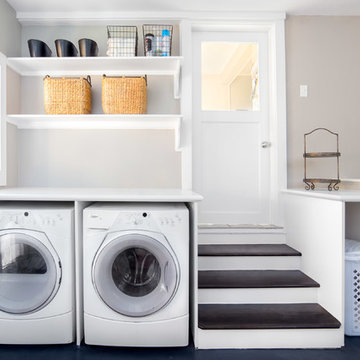
Dedicated laundry room - large transitional concrete floor and black floor dedicated laundry room idea in Boise with white cabinets, laminate countertops, a side-by-side washer/dryer, open cabinets, white countertops and gray walls
Dedicated laundry room - large transitional concrete floor and black floor dedicated laundry room idea in Boise with white cabinets, laminate countertops, a side-by-side washer/dryer, open cabinets, white countertops and gray walls
 MODIVO LIGHT
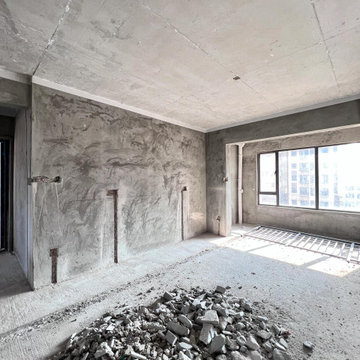
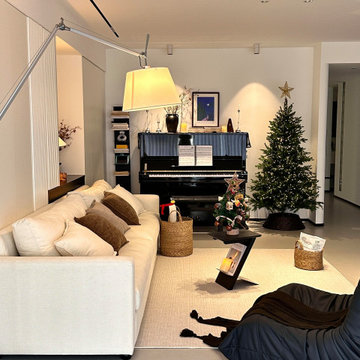
This is our first time decorating a house. Starting from knowing nothing at all to now having the hard decoration completed, we have experienced every emotion along the way—anxiety, doubt, tiredness, hesitation, joy, satisfaction, and touch. We learned and explored on our own, and bit by bit, we finished decorating our home. We’ve accumulated so much experience in this process, and now we want to share it, hoping it can be of a little help to all of you who are doing your own home decoration.
Preparations in Advance
1、Clarify your own ideas: Whether you are looking online, talking to designers, or copying ideas from friends' homes, you should have a clear vision of what your home should look like before designing—such as the style, color scheme, and elements to be used... It is crucial to avoid wanting to install everything that looks good in others' homes in your own. This way, you can clearly put forward your requirements during the design and decoration process, and also avoid frequent revisions to the plan, which may lead to unnecessary rework.
2、Understand your own needs: You need to first figure out the needs of your family, such as how many people live in the house permanently, how many rooms are needed, everyone's living habits, and daily preferences... A home is always for living in, so functionality is always the most important. It is best to list these needs and give priority to meeting them during the design and decoration. This way, you won't find out after decoration that many necessary things are missing, while a bunch of installed things are useless.
3、Determine your budget: There are ways to decorate with more money, and also ways to do it with less. No matter how much money you have, the decorated house can be both beautiful and practical. Therefore, it is essential to decide exactly how much you want to spend on decoration. In every link, such as designing the plan, making a budget table, selecting materials, and construction, you should act in accordance with your own budget.
4、Understand the advantages and disadvantages of your house: There is no perfect house in the world, and every house has its pros and cons. Your design plan should avoid its shortcomings and amplify its advantages. I once wrote an article about the drawbacks of my house ("My house is not perfect, but I still want to find ways to save it"), so we figured out solutions to these problems during the decoration.
5、Learn as much decoration knowledge as possible in advance: Although you can pick up this knowledge in the subsequent decoration process, it is better to learn more beforehand. This will make you much more calm when facing problems.
6、Know your strengths: Before decoration, you must be clear about what you are good at and what you are not. If you are good at design, do the design yourself; if you are skilled at bargaining, go buy building materials on your own; if you have strong hands-on ability, you can even do the decoration and repairs yourself... During the decoration process, you should focus on what you are good at, and leave what you are not good at to others.
Find the right local pro for your project
 MODIVO LIGHT
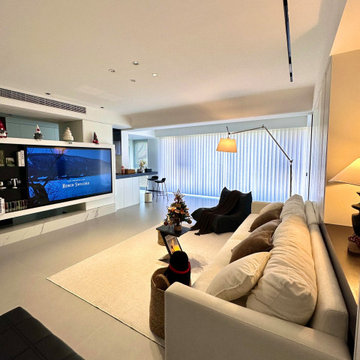
This is our first time decorating a house. Starting from knowing nothing at all to now having the hard decoration completed, we have experienced every emotion along the way—anxiety, doubt, tiredness, hesitation, joy, satisfaction, and touch. We learned and explored on our own, and bit by bit, we finished decorating our home. We’ve accumulated so much experience in this process, and now we want to share it, hoping it can be of a little help to all of you who are doing your own home decoration.
Preparations in Advance
1、Clarify your own ideas: Whether you are looking online, talking to designers, or copying ideas from friends' homes, you should have a clear vision of what your home should look like before designing—such as the style, color scheme, and elements to be used... It is crucial to avoid wanting to install everything that looks good in others' homes in your own. This way, you can clearly put forward your requirements during the design and decoration process, and also avoid frequent revisions to the plan, which may lead to unnecessary rework.
2、Understand your own needs: You need to first figure out the needs of your family, such as how many people live in the house permanently, how many rooms are needed, everyone's living habits, and daily preferences... A home is always for living in, so functionality is always the most important. It is best to list these needs and give priority to meeting them during the design and decoration. This way, you won't find out after decoration that many necessary things are missing, while a bunch of installed things are useless.
3、Determine your budget: There are ways to decorate with more money, and also ways to do it with less. No matter how much money you have, the decorated house can be both beautiful and practical. Therefore, it is essential to decide exactly how much you want to spend on decoration. In every link, such as designing the plan, making a budget table, selecting materials, and construction, you should act in accordance with your own budget.
4、Understand the advantages and disadvantages of your house: There is no perfect house in the world, and every house has its pros and cons. Your design plan should avoid its shortcomings and amplify its advantages. I once wrote an article about the drawbacks of my house ("My house is not perfect, but I still want to find ways to save it"), so we figured out solutions to these problems during the decoration.
5、Learn as much decoration knowledge as possible in advance: Although you can pick up this knowledge in the subsequent decoration process, it is better to learn more beforehand. This will make you much more calm when facing problems.
6、Know your strengths: Before decoration, you must be clear about what you are good at and what you are not. If you are good at design, do the design yourself; if you are skilled at bargaining, go buy building materials on your own; if you have strong hands-on ability, you can even do the decoration and repairs yourself... During the decoration process, you should focus on what you are good at, and leave what you are not good at to others.
 MODIVO LIGHT
This is our first time decorating a house. Starting from knowing nothing at all to now having the hard decoration completed, we have experienced every emotion along the way—anxiety, doubt, tiredness, hesitation, joy, satisfaction, and touch. We learned and explored on our own, and bit by bit, we finished decorating our home. We’ve accumulated so much experience in this process, and now we want to share it, hoping it can be of a little help to all of you who are doing your own home decoration.
Preparations in Advance
1、Clarify your own ideas: Whether you are looking online, talking to designers, or copying ideas from friends' homes, you should have a clear vision of what your home should look like before designing—such as the style, color scheme, and elements to be used... It is crucial to avoid wanting to install everything that looks good in others' homes in your own. This way, you can clearly put forward your requirements during the design and decoration process, and also avoid frequent revisions to the plan, which may lead to unnecessary rework.
2、Understand your own needs: You need to first figure out the needs of your family, such as how many people live in the house permanently, how many rooms are needed, everyone's living habits, and daily preferences... A home is always for living in, so functionality is always the most important. It is best to list these needs and give priority to meeting them during the design and decoration. This way, you won't find out after decoration that many necessary things are missing, while a bunch of installed things are useless.
3、Determine your budget: There are ways to decorate with more money, and also ways to do it with less. No matter how much money you have, the decorated house can be both beautiful and practical. Therefore, it is essential to decide exactly how much you want to spend on decoration. In every link, such as designing the plan, making a budget table, selecting materials, and construction, you should act in accordance with your own budget.
4、Understand the advantages and disadvantages of your house: There is no perfect house in the world, and every house has its pros and cons. Your design plan should avoid its shortcomings and amplify its advantages. I once wrote an article about the drawbacks of my house ("My house is not perfect, but I still want to find ways to save it"), so we figured out solutions to these problems during the decoration.
5、Learn as much decoration knowledge as possible in advance: Although you can pick up this knowledge in the subsequent decoration process, it is better to learn more beforehand. This will make you much more calm when facing problems.
6、Know your strengths: Before decoration, you must be clear about what you are good at and what you are not. If you are good at design, do the design yourself; if you are skilled at bargaining, go buy building materials on your own; if you have strong hands-on ability, you can even do the decoration and repairs yourself... During the decoration process, you should focus on what you are good at, and leave what you are not good at to others.
 Pineapple House Interior Design
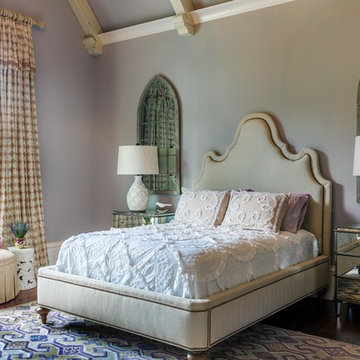
Ruffles update the teen girl's bedroom because of their unexpected circular overlapping pattern on the bedding. The shams bring another layer of ruffle into play, as does the crinoline in the chair's accent pillow. The mirrored dressers and gothic mirrors over the pieces help expand and brighten the room.
A Bonisolli Photography
 Capital Area Remodeling, LLC
Capital Area Remodeling
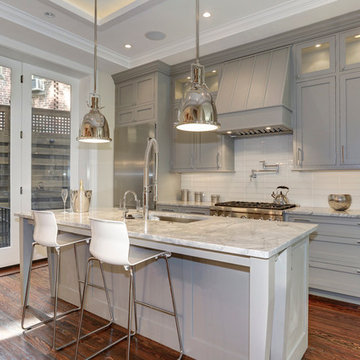
Benjamin Moore Cadet Grey painted cabinets and Super White granite counters
Stainless steel pendant lights hang over island.
Sponsored
Columbus, OH
Free consultation for landscape design!

Peabody Landscape Group
Franklin County's Reliable Landscape Design & Contracting
 User
UserMartin Vecchio Photography
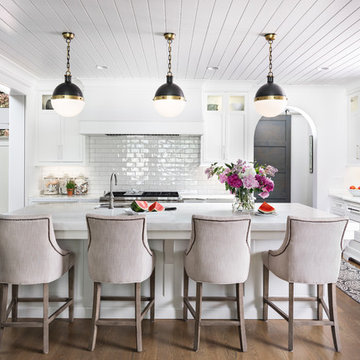
Open concept kitchen - large coastal medium tone wood floor open concept kitchen idea in Detroit with a farmhouse sink, shaker cabinets, white cabinets, marble countertops, white backsplash, subway tile backsplash, an island and white countertops
Open concept kitchen - large coastal medium tone wood floor open concept kitchen idea in Detroit with a farmhouse sink, shaker cabinets, white cabinets, marble countertops, white backsplash, subway tile backsplash, an island and white countertops
 Advance Design Studio, Ltd.
Jennifer and Dan have lived in their Deer Park Illinois home for 15 years, slowly making minor fixes like painting and decorating; but they had a new plan for their kitchen the entire time. An awkwardly placed garage door, and an island cooktop with a terrible downdraft made a full-scale kitchen remodel an absolute must. Jennifer had many ideas in mind and wanted to work with a company that could provide high-end work, while partnering with a designer that would tailor the kitchen to her ideas.
She was intrigued by the phrase “Common Sense Remodeling” in Advance Design’s feature she discovered while perusing an issue of the community’s Quintessential Barrington Magazine. Doing further research on the company’s website, as she looked through project profiles and read about Advance Design’s “Common Sense Remodeling” philosophy, she promptly scheduled an appointment to see if the people and ideas she read about were truly who they said they were. The more she read, the more she knew that the “Common Sense” approach to remodeling they described was exactly the type of company she was looking for.
The partnership was sealed after an initial consultation with Owner Todd Jurs and Project Designer Michelle Lecinski. They displayed a combination of friendliness, professionalism and respect that was unmatched by any of the other companies Jennifer talked to. She knew that with Advance Design, she would be able to retain the vision that she had in mind with high-quality craftsmanship.
“I reached out to Advance Design because of the ‘Common Sense Remodeling’ tagline,” Jennifer said. “That’s what lingered for me”. “Advance Design was the most respectful- of the house and of my design ideas, and the most professional of the handful of companies that looked at my project”.
Soon after the meeting Jennifer began working with Michelle on the project design. They quickly developed chemistry. Jennifer loved how Michelle researched and located every detail that Jennifer wanted for the kitchen. Between the two of them, every concept and idea was worked through and perfected. “Jennifer had definite ideas about what she wanted the new kitchen to look like, she just didn’t know how to bring it all together. We worked together really well to make her ideas into the practical reality necessary for a well-functioning kitchen, with the look and feel that she had envisioned”, says Michelle.
“Michelle was wonderful in using the CAD system she would show me new drawings every time we changed the layout while working through the design,” Jennifer said. “She was a really wonderful partner in execution, she made sure everything happened quickly and easily.”
The finished design drew out elements of Jennifer’s style and personality. The pair call the look “sophisticated farmhouse” to describe the kitchen renovation to family and friends. The result was a beautifully crafted, authentic-feeling space that satisfied Jennifer’s dreams 15 years in the making. The whole project consisted of a kitchen remodel, mudroom upgrade with powder room, and garage entry relocation. “The projects I personally like the best, are the ones that put the client’s dreams on display,” Project Designer Michelle said. “And this is one of those projects.”
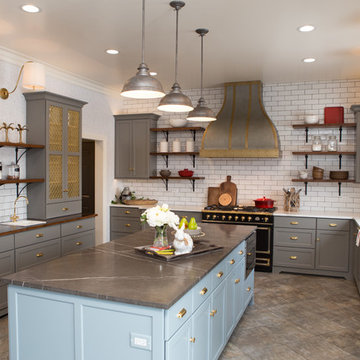
The main focal point of the kitchen is custom zinc and brass ventilation hood with a vintage sheen, which was hand made to order by a small company in Indiana named Vogler Metalworking. “It’s like sculpture, a true work of art”, says Jennifer. Your eye is immediately drawn towards this elegant yet practical hood that eliminated the home’s downdraft problem and added a striking conversation piece at the same time. The carpenters had to use special gloves when transporting and installing it, so they didn’t smudge it with fingerprints. The beautiful hood centers proudly over the stunning black enamel and brass LaCornue Range. “I had a friend who had a LaCornue range and after learning how easy it was to cook perfect meals, I was convinced I wanted to have one”, says Jennifer. This unique, breathtaking combination anchors the entire kitchen and is apparent immediately as you walk into the great room the surrounds the space.
DuraSupreme Crestwood cabinets with a Kendall Panel add function and sophistication. A custom gray paint color paired with a storm blue was developed so that the new kitchen looked like it belonged to the existing space. Unlacquered brass faucets and hardware were important to Jennifer because she wanted the living finishes to age over time. Remarkable brass diamond mesh cabinet door inserts imported from the UK continue to add this one-of-a-kind kitchen renovation; giving it a “you won’t see this everywhere” quality. The use of old railcar flooring for the coffee bar countertop and reclaimed oak for the open shelving gives an authenticity to the space uncommon in kitchens today.
Jennifer and Michelle fell in love with the Limestone Grey Stone while they were investigating unique island countertop ideas. They liked the fact that the limestone as a living finish will age and change over time. Calcutta Miel Quartz countertops made for an excellent pairing around the perimeter, as it’s durable and perfect for cooking preparations. A textured white subway tile backsplash that runs to the ceiling keeps your eye moving towards the open shelving, and to the main focal point of the stunning range hood combination.
“The kitchen functions beautifully, and it’s gorgeous,” beams Jennifer as she gestures with both hands while smiling ear to ear. “The most important thing was I wanted a kitchen that had a wonderful flow, cooked beautiful meals and was a great gathering place for family and friends, and this space does that perfectly! Beauty wise, it turned out exactly how I had envisioned. I felt the function part was the hardest part, and that was nailed”!
Relocating the garage entry to the new mudroom was a huge priority and has finally separated the family’s arriving home functions from their kitchen. Now coats and shoes and bags have their own area for dropping once members arrive home. Matching gray DuraSupreme cabinetry helped create gorgeous, purposeful lockers for the family. A reclaimed vintage sink and custom wall paper were added to the tiny powder room to beautify the once previously only functional space. Advance Design was even able to create a custom space for their dog to sleep while the family is away.
“It was unbelievable that a project of this size was completed in such a short time, and I think that’s because of the large amount of planning and preparation that went into it,” Jennifer marveled, “When we started, we were ready, and everything was prepared”.
When it came to execution, Project Manager Justin Davis and his crew were quick, accessible, and organized. Projects like this kitchen are typically completed in as little as 8-10 weeks. Jennifer’s kitchen however despite the relocation of some challenging HVAC in a soffit and moving of an exterior door was completed remarkably fast in part because the team was working with an existing tile floor that ran throughout the first floor that the client really loved.
“You get to know these people really well because they’re living in your house while you’re living in your house. They were so fast and really good, it didn’t take as long as even planned” reported Jennifer. “I would text Justin and he always responded almost immediately. I got to know all the guys who were working in our house and they were all wonderful people”.
Details in a customized kitchen like this one require skill and care from the people who install it. “All the guys on the job were skilled at what the did. I wanted small details like little feet to look like furniture, that is where their carpentry skill came in to make these all perfect”, said Jennifer. “The tile guys were wonderful. They even let me determine how I wanted the texture with the grout to appear for a salt and pepper look; now that is a very skilled trade person making it custom”.
In Jennifer’s interview, she continued to reference Advance Design’s “Common Sense Remodeling”, so I took a minute to ask her exactly what that phrase meant to her and how it played out in her experience with her project and the Advance Design team. Here is what she said: “I was intrigued about Common Sense Remodeling and in my head that there would be clear costs and prices, great communication between the design team, the execution team and me”, said Jennifer. They did deliver on that, it was so clear about the cost breakdown, what I could expect from everyone who came to my house, and everything that we had ordered. That to me is the Common Sense”!
It’s great to see a client take literally our assertion that a well-planned remodeling project is simply “Common Sense”! She anticipated each step of the way would be clear, concise, and predictable, all the while protecting the outcome due to the careful upfront planning. “Advance Design delivered on their ‘Common Sense Remodeling’ promise,” Jennifer said. “From the design team, to the execution team - everything was straight forward like I imagined. The project turned out exactly how I envisioned, I enjoyed this process and absolutely would recommend Advance Design Studio to anyone.”
 Kon-strux Developments
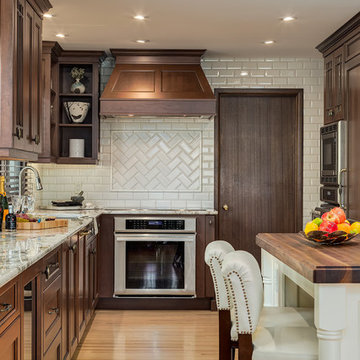
Example of a classic u-shaped light wood floor kitchen design in Calgary with recessed-panel cabinets, dark wood cabinets, white backsplash, subway tile backsplash, stainless steel appliances and an island
 Catherine Renae Thomas Design Co.
Photo: Brian Barkley © 2015 Houzz
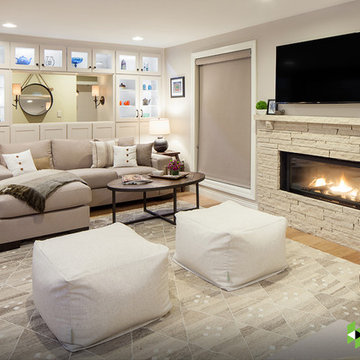
Elegant light wood floor and beige floor living room photo in Other with gray walls and a ribbon fireplace
Elegant light wood floor and beige floor living room photo in Other with gray walls and a ribbon fireplace
 Jennifer Taylor Studio
Photographer: Beth Singer
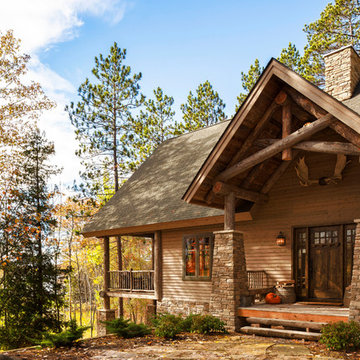
Inspiration for a large rustic beige one-story wood exterior home remodel in Detroit with a hip roof
Inspiration for a large rustic beige one-story wood exterior home remodel in Detroit with a hip roof
 Hutton Design Studio
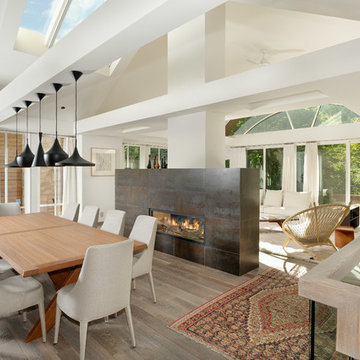
Great room - mid-sized contemporary medium tone wood floor great room idea in Denver with white walls, a two-sided fireplace and a tile fireplace

Sponsored
Columbus, OH

Hope Restoration & General Contracting
Columbus Design-Build, Kitchen & Bath Remodeling, Historic Renovations
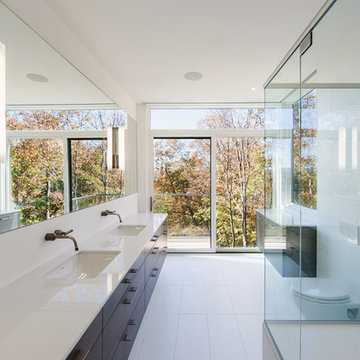
Large minimalist white tile ceramic tile corner shower photo in Montreal with flat-panel cabinets, dark wood cabinets, a wall-mount toilet, white walls and an undermount sink
 Eurodale Developments Inc
How awesome is this powder room?!?
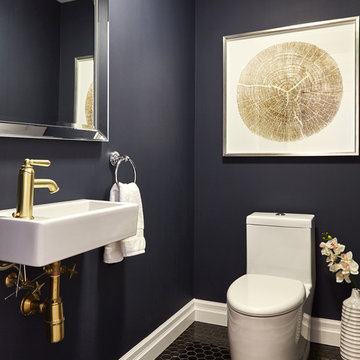
Powder room - small transitional black tile and ceramic tile ceramic tile powder room idea in Toronto with a one-piece toilet, blue walls and a wall-mount sink
Powder room - small transitional black tile and ceramic tile ceramic tile powder room idea in Toronto with a one-piece toilet, blue walls and a wall-mount sink
 Blansfield Builders, Inc.
Jim Fuhrmann, Beinfield Architecture PC
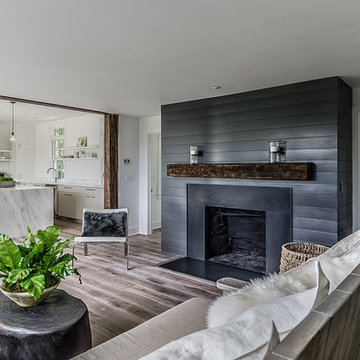
Example of a mid-sized country open concept living room design in New York with a standard fireplace and gray walls
Example of a mid-sized country open concept living room design in New York with a standard fireplace and gray walls
 Younger Brothers Door and Trim
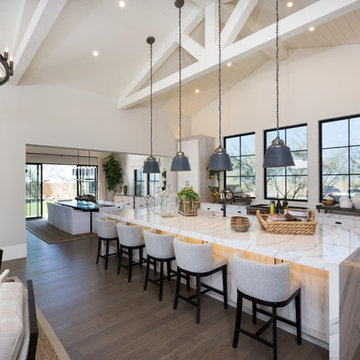
Large trendy galley dark wood floor and brown floor open concept kitchen photo in Phoenix with shaker cabinets, white cabinets, an island, white countertops, an undermount sink, quartz countertops and paneled appliances
Sponsored
Columbus, OH

Structural Remodeling
Franklin County's Heavy Timber Specialists | Best of Houzz 2020!
 Shannon Connor / Maison, LLC.
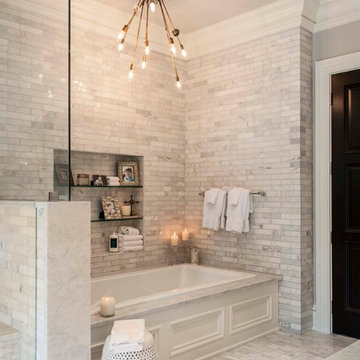
Transitional master gray tile drop-in bathtub photo in Indianapolis with gray walls and marble countertops
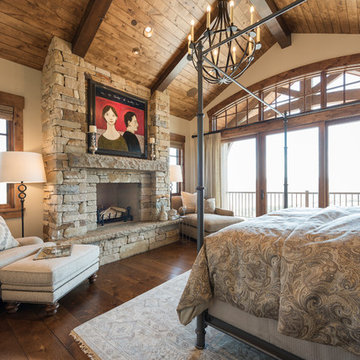
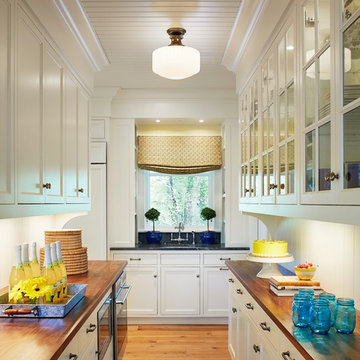
 O’Hara Interiors
Martha O'Hara Interiors, Interior Design & Photo Styling | Kyle Hunt & Partners, Builder | Corey Gaffer Photography
Please Note: All “related,” “similar,” and “sponsored” products tagged or listed by Houzz are not actual products pictured. They have not been approved by Martha O’Hara Interiors nor any of the professionals credited. For information about our work, please contact design@oharainteriors.com.
38