
Search results for "Head start" in Home Design Ideas
 Michelle Dirkse Interior Design
Aaron Leitz
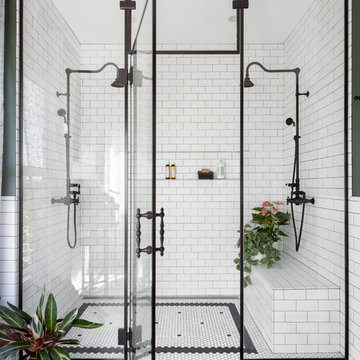
Example of a large classic master white tile and ceramic tile ceramic tile and white floor walk-in shower design in Seattle with green walls and a hinged shower door
Example of a large classic master white tile and ceramic tile ceramic tile and white floor walk-in shower design in Seattle with green walls and a hinged shower door

 Change Your Bathroom©
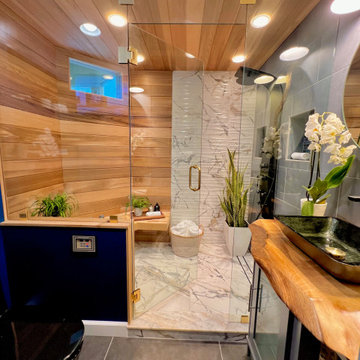
This transformation started with a builder grade bathroom and was expanded into a sauna wet room. With cedar walls and ceiling and a custom cedar bench, the sauna heats the space for a relaxing dry heat experience. The goal of this space was to create a sauna in the secondary bathroom and be as efficient as possible with the space. This bathroom transformed from a standard secondary bathroom to a ergonomic spa without impacting the functionality of the bedroom.
This project was super fun, we were working inside of a guest bedroom, to create a functional, yet expansive bathroom. We started with a standard bathroom layout and by building out into the large guest bedroom that was used as an office, we were able to create enough square footage in the bathroom without detracting from the bedroom aesthetics or function. We worked with the client on her specific requests and put all of the materials into a 3D design to visualize the new space.
Houzz Write Up: https://www.houzz.com/magazine/bathroom-of-the-week-stylish-spa-retreat-with-a-real-sauna-stsetivw-vs~168139419
The layout of the bathroom needed to change to incorporate the larger wet room/sauna. By expanding the room slightly it gave us the needed space to relocate the toilet, the vanity and the entrance to the bathroom allowing for the wet room to have the full length of the new space.
This bathroom includes a cedar sauna room that is incorporated inside of the shower, the custom cedar bench follows the curvature of the room's new layout and a window was added to allow the natural sunlight to come in from the bedroom. The aromatic properties of the cedar are delightful whether it's being used with the dry sauna heat and also when the shower is steaming the space. In the shower are matching porcelain, marble-look tiles, with architectural texture on the shower walls contrasting with the warm, smooth cedar boards. Also, by increasing the depth of the toilet wall, we were able to create useful towel storage without detracting from the room significantly.
This entire project and client was a joy to work with.
Find the right local pro for your project
 Andreozzi Architecture
Aaron Usher http://aaronusher.com/
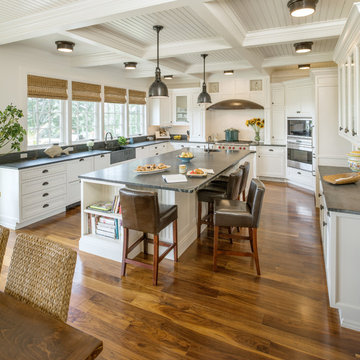
Inspiration for a coastal u-shaped dark wood floor open concept kitchen remodel in Providence with a farmhouse sink, shaker cabinets, white cabinets, stainless steel appliances and an island
Inspiration for a coastal u-shaped dark wood floor open concept kitchen remodel in Providence with a farmhouse sink, shaker cabinets, white cabinets, stainless steel appliances and an island


 Carolyn Reyes
Photo: Carolyn Reyes © 2015 Houzz
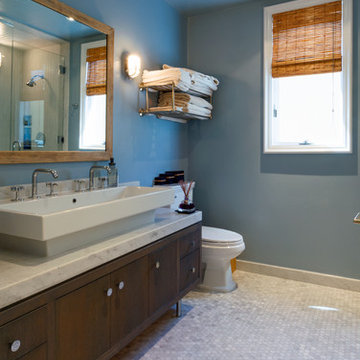
Large island style master freestanding bathtub photo in Los Angeles with furniture-like cabinets and dark wood cabinets
Large island style master freestanding bathtub photo in Los Angeles with furniture-like cabinets and dark wood cabinets
Sponsored
Columbus, OH

Structural Remodeling
Franklin County's Heavy Timber Specialists | Best of Houzz 2020!
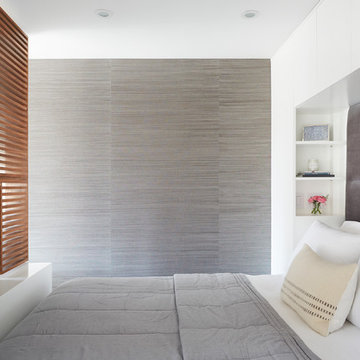

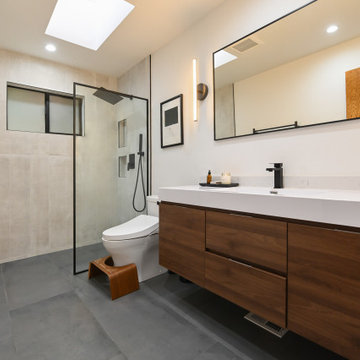
 Green Bay Remodeling Inc.
A marvel of the minimalist style, this bathroom uses natural light, clean lines and simplistic design to create a space filled with a calming elegance. An ideal place to start and end your days in serenity.
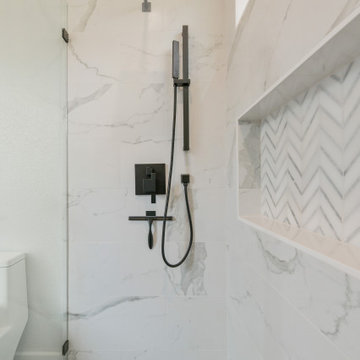 Green Bay Remodeling Inc.
What started off as simple vanity and floor replacement turned into a full bathroom remodel. With its minimalist aesthetic, this modern bathroom has a simple yet elegant design which gives the space a calming and focused feel. Making it the perfect place to prepare for the day ahead.
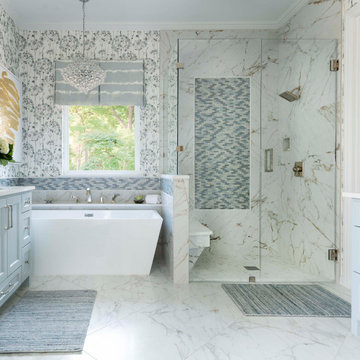
 Nicole Arnold Interiors
This house has great bones and just needed some current updates. We started by renovating all four bathrooms and the main staircase. All lighting was updated to be clean and bright. We then layered in new furnishings for the dining room, living room, family room and entry, increasing the functionality and aesthetics of each of these areas. Spaces that were previously avoided and unused now have meaning and excitement so that the clients eagerly use them both casually every day as well as for entertaining.

 Lore Patterson
The Edible Garden
Photo: Lore Patterson
Inspiration for a mid-sized farmhouse partial sun backyard formal garden in Seattle for summer.
Inspiration for a mid-sized farmhouse partial sun backyard formal garden in Seattle for summer.
 Lesley Glotzl
Todd Wright
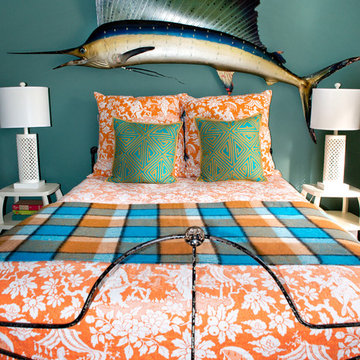
Inspiration for a mid-sized eclectic guest bedroom remodel with blue walls and no fireplace
Inspiration for a mid-sized eclectic guest bedroom remodel with blue walls and no fireplace
Sponsored
Columbus, OH
Structural Remodeling
Franklin County's Heavy Timber Specialists | Best of Houzz 2020!
 Commonwealth Renovation Experts
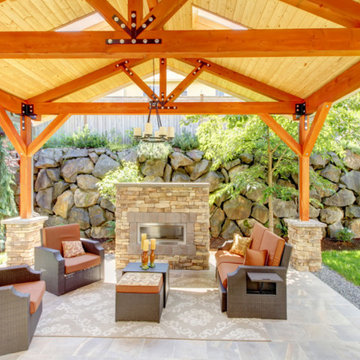
EXPAND YOUR LIVING SPACE WITH A HOME ADDITION
More space in your home is always a good thing. When you decide to get room additions in North Wales, Blue Bell, and Doylestown, PA, call the pros at Commonwealth Renovation Experts.
Not sure where to begin? We can sit down with you to discuss your goals for the new space. Then, we'll get to work creating the addition of your dreams.
Call today to get a free estimate on your house additions in North Wales, Blue Bell, and Doylestown, PA.
WE WALK YOU THROUGH THE PROCESS FROM START TO FINISH
Room additions in North Wales, Blue Bell, and Doylestown, PA are exciting projects for your home and family. We want you to rest easy. We will be with you every step of the way through the entire project.
Our process includes:
Ensuring you have proper permits
Certifying your foundation is ready for the addition
Interior and Exterior Framing
Implementing central air into new additions
Don't go in alone on your next room addition project. Get a top-notch team that knows how to handle every aspect of construction. Contact us today to get a head start on your project. We will walk you through the process from start to finish
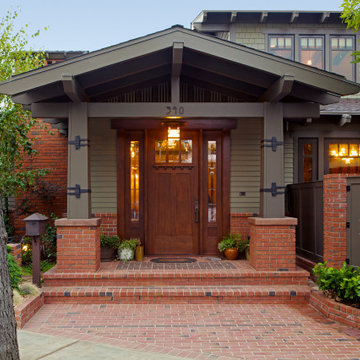
Example of a large arts and crafts green two-story mixed siding and shingle gable roof design in Los Angeles with a shingle roof and a black roof
 Corine Maggio Design
Photo courtesy of Chipper Hatter
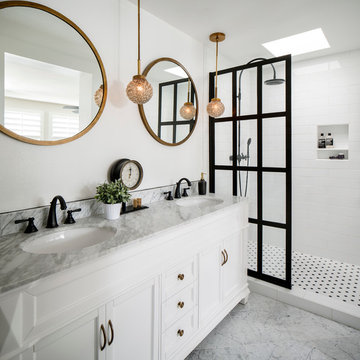
Inspiration for a mid-sized modern master white tile and subway tile marble floor doorless shower remodel in San Francisco with recessed-panel cabinets, white cabinets, a two-piece toilet, white walls, an undermount sink and marble countertops
Inspiration for a mid-sized modern master white tile and subway tile marble floor doorless shower remodel in San Francisco with recessed-panel cabinets, white cabinets, a two-piece toilet, white walls, an undermount sink and marble countertops
 Tali Roth
Photos by Claire Esparros for Homepolish
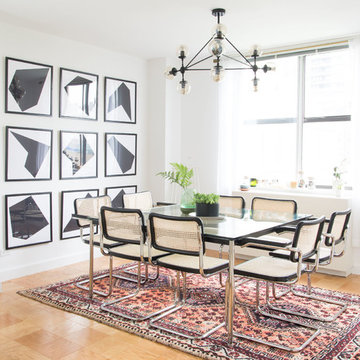
Inspiration for a scandinavian plywood floor and brown floor dining room remodel with white walls
Inspiration for a scandinavian plywood floor and brown floor dining room remodel with white walls

 Cindy McCarley Designs
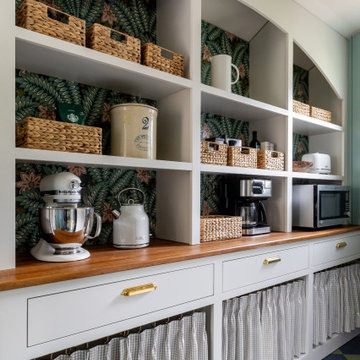
Historic 1880s farmhouse renovation in Spring City, Utah by certified kitchen & bath designer Cindy McCarley. Traditional meets farmhouse chic with sage green cabinetry, marble backsplash, floral wallpaper & copper details. Award-winning interior design preserving vintage charm with modern luxury.

 Tile Doctor Ltd
My client had recently moved into a bungalow in Godalming where they inherited the Limestone tiled kitchen floor pictured below. The previous owner had not looked after the floor very well and by the time they moved in it was pretty filthy. Limestone is a natural but porous stone where, unless sealed, attracts dirt into its tiny holes and as you would expect Cream Limestone shows the dirt easily. The protective seal had long since worn off this floor and was now ingrained with dirt it was now looking permanently dirty.
Before quoting I conducted a small test clean to work out the best method to renovate the stone and this also gives the client a good idea of how the floor will look after its finished. They were delighted with the initial result and happy with my quote gave me the go ahead.
On arrival first I helped the customer remove his tables and chairs and I then set about tapping up the plinths in the kitchen and the skirtings to protect them from cleaning solutions and equipment. The cleaning equipment I have invested in works more efficiently in open spaces, so it’s worth spending time at the beginning preparing the area first.
Next, I used a deck brush to apply a mixture of water and Tile Doctor Pro-Clean to the dirtiest tiles. Tile Doctor Pro-Clean works well when left to dwell for ten minutes or so. I also applied the same product to the grout over half the room so it could get a head start breaking down the dirt. Then using a stiff brush, I scrubbed the grout clean. Once it was worked loose, I extracted the now dirty solution with a wet vacuum.
With the grout clean I turned my attention back to the tiles with where the Pro-Clean had been left to soak in. Giving them a quick brush, I noted that what appeared to be permanently ingrained dirt had now come loose. To get the tiles really clean I used a 17″ rotary machine fitted with diamond encrusted buffer pads. This removes the tiny dots of dirt on the stone and with it comes any existing sealer and dirt.
A set of four burnishing pads were used, starting with a 400-grit, and finishing with a 3000-grit pad. The first 400-grit pad is coarse, and the grits become smoother as you work through the set. Water is used to lubricate the process and the released dirt is extracted in-between using the wet vacuum mentioned earlier. This process does take time but by the end of day one the floor was looking a lot better.
The next step is sealing however the floor needs to be bone dry for that, so I left a couple of industrial fans in place and left the Limestone to dry off overnight.
Returning the following day my first job was to ensure the floor was dry by taking multiple moisture readings with a damp meter. The readings were good, so I was able to make a start applying the sealer which for this floor was Tile Doctor Ultra Seal.
Ultra-Seal is an impregnating sealer that soaks into those small holes in the stone I mentioned earlier, I occupies the pores thus preventing dirt from becoming ingrained. The other feature of this sealer is it doesn’t change the appearance or colour of the stone leaving it with a very natural finish. Two coats of sealer were applied, leaving the seal to dry between each coat.
After the final coat was dried, I gave it a final polish with a soft nylon pad and the floor was finished. Before leaving we discussed after care which for this floor, I recommended Tile Doctor Stone Soap and I requested that the customer to stay out of the kitchen for a couple of hours while the sealer cured. They were over the moon with the new floor and could not believe the difference it had made to their kitchen.
Rupert Mcleod
West Surrey Tile Doctor

 The House of Broadloom Ltd.
Inspiration for a transitional medium tone wood floor and brown floor reach-in closet remodel in Toronto with recessed-panel cabinets and medium tone wood cabinets
7