
Search results for "Well becoming" in Home Design Ideas

 William Hoffman Architect
4 Steps to Achieving a Rewarding Cost Effective Home Renovation
1 Home Renovation an Introduction
A home renovation due to changes in family needs and space requirements can be a challenging, but also a rewarding experience. As a homeowner, gathering and coordinating resources and possibly help from professional consultants are required. Once the construction phase has started, patience, endurance and commitment to follow through are necessary. Despite the challenges, the rewards of a well-planned and successfully completed project are meaningful, adding aesthetic and economic value, also providing the opportunity to personalize a home, encompassing the function, comfort and aesthetics to accommodate individual taste and lifestyle.
A renovation of an existing home is a viable alternative to moving or building a new home, assuming that a home is structurally sound, the expenditure to enlarge or improve can be a cost effective alternative. A home possessing charm, style, historical significance, established landscaping or an exceptional location could be a significant motivation to consider purchasing another home with the intent to renovate.
The complexity of a project could be relatively simple, changing the use of a room, consolidating two rooms into one, or opening up a room to the outdoors. It could also be a more involved task requiring planning, design and construction documents to build a second floor addition, the addition of a new wing or completely gutting the interior. Some projects could be completed in a weekend’s work or more complex projects, using a “Master Plan”, a plan which provides overall guidance; a renovation can be accomplished all at once or divided into manageable projects over a period of time. With the home evolving gradually allowing the renovation to be planned, timed and tailored to meet individual needs and circumstances.
The due diligence phase should precede the decision to renovate whether it’s an existing home or a home that is purchased with the intent to renovate. The due diligence phase will reveal the factors affecting the nature and scope of the project or if a renovation makes sense.
Every renovation project is unique relative to personal requirements, architectural style & construction type. This guide will be helpful in developing an understanding of the preliminary groundwork required to realize a successful project. If properly planned, a home renovation project can be a positive and rewarding experience resulting in a comfortable, practical and an attractive living environment.
The first step of the planning process is documenting the goals and long-range plans referred to as the “Project Program”. This will dictate the nature, scope and feasibility of the project. Providing a guide to achieving defined goals, the timing or phasing of the project and budget required to achieve the desired end result.
2 Documenting Existing Conditions
Once the “Project Program”, has been established, the next step is to determine what there is to work with. This requires documenting the home’s floor plan and site elements which includes drawing an “as built” floor & site plan consisting of the existing exterior walls, interior rooms, doors, windows, etc. and surrounding site elements, landscape and other significant exterior features. Additionally understanding and noting on the “as built” plan, the structural, mechanical and electrical systems as necessary. Gathering the “existing condition” information defines what there is to work with, creating the framework from which to facilitate and organize the decision making process and develop effective “project program” solutions.
3 Evaluating Existing Conditions
The goals and long-range plans have been established, and the existing floor plan and site elements have been documented. Before developing design solutions, the next step is to evaluate existing conditions. The evaluation includes: a detailed analysis of the structural, mechanical and electrical systems, determining the condition of the house, noting functional and aesthetic deficiencies. At the same time recognizing the home’s strengths, assets and evaluating its relationship to its site. The remaining parameters will be defined by the local jurisdiction’s zoning regulations, these regulations will define the “envelope”, within which the proposed project will be required to fit:
•required front, side & rear yard setbacks
•maximum allowable lot coverage & height
The previous three steps have provided the necessary foundation to start the design phase. The goals and long range plans have been established, existing conditions have been documented and the evaluation of what there is to work with are now in place. This will provide the framework from which to facilitate and organize design solutions. The consolidation of this information is manifested in the development of the “Master Plan” which will become the road map by which sound decision-making can be made as a home renovation evolves. Keeping the project, on a linear path, avoiding redundancies and back tracking, on time, within budget, concluding with a well crafted finished product. After all the “up front” research and documentation has been completed, the design phase of the project can now precede, with the creation of diagrammatic design drawings. Organizing interior spaces, taking into account the external elements, prevailing breezes, solar orientation, view, existing outdoor features, etc. Through the development of schematic sketches themes will emerge followed by design development drawings. Wise planning and renovation decisions can save money and time at the same time provide a well crafted finished project. The “Master Plan” provides a strategic path in the planning and decision making process leading to a successful and rewarding home renovation, which will add value and considerable enjoyment, for many years, living in a newly renovated home.
By virtue of having gone through these steps, frustrations sometimes encountered during a home renovation will be minimized, allowing the renovation to be a gratifying and rewarding experience. Being aware of the process allows one to become an “Educated Client,” which is worth quite a bit more than one might realize. The uneducated client may not realize the benefit of going through the planning, evaluation and documentation groundwork. He will only realize its benefits after having completed a prior renovation project. This rational approach keeps the design process on a direct path to achieving prescribed goals.
4 Exploring Design Solutions & Developing a Master Plan
The previous three steps have provided the necessary foundation to start the design phase. The goals and long range plans have been established, existing conditions have been documented and the evaluation of what there is to work with are now in place. This will provide the framework from which to facilitate and organize design solutions. The consolidation of this information is manifested in the development of the “Master Plan” which will become the road map by which sound decision-making can be made as a home renovation evolves. Keeping the project, on a linear path, avoiding redundancies and back tracking, on time, within budget, concluding with a well crafted finished product.
By virtue of having gone through these steps, frustrations sometimes encountered during a home renovation will be minimized, allowing the renovation to be a gratifying and rewarding experience. Being aware of the process allows one to become an “Educated Client,” which is worth quite a bit more than one might realize. The uneducated client may not realize the benefit of going through the planning, evaluation and documentation groundwork. He will only realize its benefits after having completed a prior renovation project. This rational approach keeps the design process on a direct path to achieving prescribed goals.
After all the “up front” research and documentation has been completed, the design phase of the project can now precede, with the creation of diagrammatic design drawings. Organizing interior spaces, taking into account the external elements, prevailing breezes, solar orientation, view, existing outdoor features, etc. Through the development of schematic sketches themes will emerge followed by design development drawings. Wise planning and renovation decisions can save money and time at the same time provide a well crafted finished project. The “Master Plan” provides a strategic path in the planning and decision making process leading to a successful and rewarding home renovation, which will add value and considerable enjoyment, for many years, living in a newly renovated home.
 TKS Design Group
Download our free ebook, Creating the Ideal Kitchen. DOWNLOAD NOW
For many, extra time at home during COVID left them wanting more from their homes. Whether you realized the shortcomings of your space or simply wanted to combat boredom, a well-designed and functional home was no longer a want, it became a need. Tina found herself wanting more from her Old Irving Park home and reached out to The Kitchen Studio about adding function to her kitchen to make the most of the available real estate.
At the end of the day, there is nothing better than returning home to a bright and happy space you love. And this kitchen wasn’t that for Tina. Dark and dated, with a palette from the past and features that didn’t make the most of the available square footage, this remodel required vision and a fresh approach to the space. Lead designer, Stephanie Cole’s main design goal was better flow, while adding greater functionality with organized storage, accessible open shelving, and an overall sense of cohesion with the adjoining family room.
The original kitchen featured a large pizza oven, which was rarely used, yet its footprint limited storage space. The nearby pantry had become a catch-all, lacking the organization needed in the home. The initial plan was to keep the pizza oven, but eventually Tina realized she preferred the design possibilities that came from removing this cumbersome feature, with the goal of adding function throughout the upgraded and elevated space. Eliminating the pantry added square footage and length to the kitchen for greater function and more storage. This redesigned space reflects how she lives and uses her home, as well as her love for entertaining.
The kitchen features a classic, clean, and timeless palette. White cabinetry, with brass and bronze finishes, contrasts with rich wood flooring, and lets the large, deep blue island in Woodland’s custom color Harbor – a neutral, yet statement color – draw your eye.
The kitchen was the main priority. In addition to updating and elevating this space, Tina wanted to maximize what her home had to offer. From moving the location of the patio door and eliminating a window to removing an existing closet in the mudroom and the cluttered pantry, the kitchen footprint grew. Once the floorplan was set, it was time to bring cohesion to her home, creating connection between the kitchen and surrounding spaces.
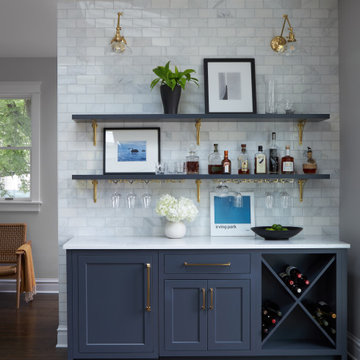
The color palette carries into the mudroom, where we added beautiful new cabinetry, practical bench seating, and accessible hooks, perfect for guests and everyday living. The nearby bar continues the aesthetic, with stunning Carrara marble subway tile, hints of brass and bronze, and a design that further captures the vibe of the kitchen.
Every home has its unique design challenges. But with a fresh perspective and a bit of creativity, there is always a way to give the client exactly what they want [and need]. In this particular kitchen, the existing soffits and high slanted ceilings added a layer of complexity to the lighting layout and upper perimeter cabinets.
While a space needs to look good, it also needs to function well. This meant making the most of the height of the room and accounting for the varied ceiling features, while also giving Tina everything she wanted and more. Pendants and task lighting paired with an abundance of natural light amplify the bright aesthetic. The cabinetry layout and design compliments the soffits with subtle profile details that bring everything together. The tile selections add visual interest, drawing the eye to the focal area above the range. Glass-doored cabinets further customize the space and give the illusion of even more height within the room.
While her family may be grown and out of the house, Tina was focused on adding function without sacrificing a stunning aesthetic and dreamy finishes that make the kitchen the gathering place of any home. It was time to love her kitchen again, and if you’re wondering what she loves most, it’s the niche with glass door cabinetry and open shelving for display paired with the marble mosaic backsplash over the range and complimenting hood. Each of these features is a stunning point of interest within the kitchen – both brag-worthy additions to a perimeter layout that previously felt limited and lacking.
Whether your remodel is the result of special needs in your home or simply the excitement of focusing your energy on creating a fun new aesthetic, we are here for it. We love a good challenge because there is always a way to make a space better – adding function and beauty simultaneously.
 Studio Dearborn
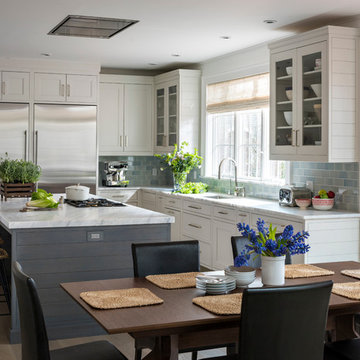
A young family moving from NYC tackled a lightning fast makeover of their new colonial revival home before the arrival of their second child. The kitchen area was quite spacious but needed a facelift and new layout. Painted cabinetry matched to Benjamin Moore’s Light Pewter is balanced by grey glazed rift oak cabinetry on the island. Shiplap paneling on the island and cabinet lend a slightly contemporary edge. White bronze hardware by Schaub & Co. in a contemporary bar shape offer clean lines with some texture in a warm metallic tone.
White Marble countertops in “Alpine Mist” create a harmonious color palette while the pale blue/grey Waterworks backsplash adds a touch of color. Kitchen design and custom cabinetry by Studio Dearborn. Countertops by Rye Marble. Refrigerator, freezer and wine refrigerator--Subzero; Ovens--Wolf. Cooktop--Gaggenau. Ventilation—Best Cirrus Series CC34IQSB. Hardware--Schaub & Company. Sink--Kohler Strive. Sink faucet--Rohl. Tile--Waterworks Architectonics 3x6 in the dust pressed line, Icewater color. Stools--Palacek. Flooring—Sota Floors. Window treatments: www.horizonshades.com in “Northbrook Birch.” Photography Adam Kane Macchia.
Find the right local pro for your project

 Ecraft LLC.
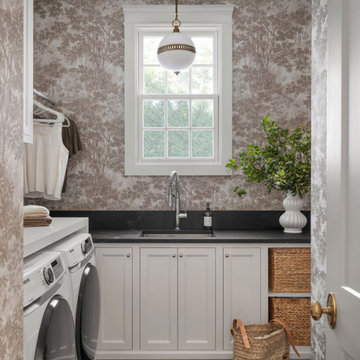
Elegant l-shaped black floor and wallpaper laundry room photo in Atlanta with an undermount sink, recessed-panel cabinets, white cabinets, multicolored walls, a side-by-side washer/dryer and black countertops

 Keystone Millworks Inc
David Cannon Photography
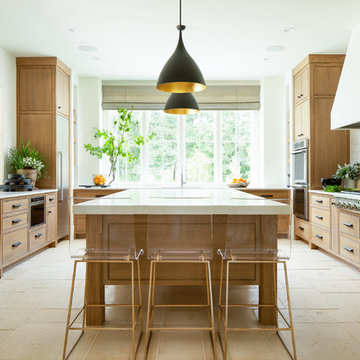
Example of a transitional u-shaped beige floor eat-in kitchen design in Atlanta with flat-panel cabinets, medium tone wood cabinets, white backsplash, stainless steel appliances, an island and white countertops
Example of a transitional u-shaped beige floor eat-in kitchen design in Atlanta with flat-panel cabinets, medium tone wood cabinets, white backsplash, stainless steel appliances, an island and white countertops

 Giulietti Schouten Weber Architects
Photos By; Nate Grant
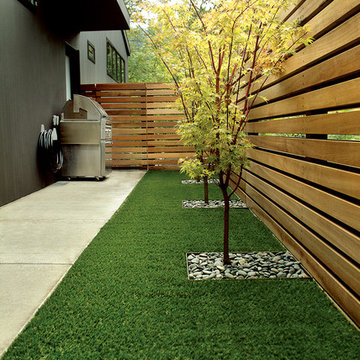
Design ideas for a contemporary side yard wood fence landscaping in Portland.
Design ideas for a contemporary side yard wood fence landscaping in Portland.

 Organized Living
Organized Living Classica closet design in bisque. Organization tip & image from pro organizer, Amanda LeBlanc: store shoes heel to toe - not only does make it easy to see them, it also help you save space! See more Classica designs: http://organizedliving.com/home/products/classica/inspiration-gallery
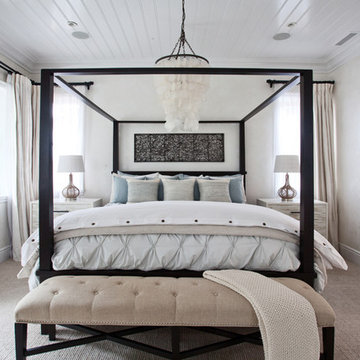
 Lindye Galloway Interiors
Coastal Luxe interior design by Lindye Galloway Design. Master bedroom design with canopy bed and capiz shell chandelier.
Inspiration for a large coastal master carpeted bedroom remodel in Orange County with beige walls and no fireplace
Inspiration for a large coastal master carpeted bedroom remodel in Orange County with beige walls and no fireplace


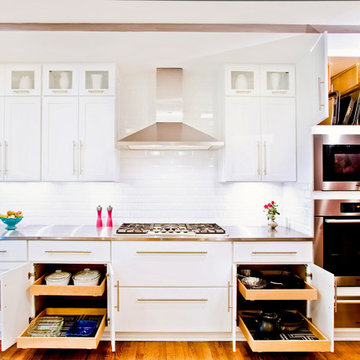
 CR Cabinetry Kitchen & Bath Design Studio
Featuring R.D. Henry & Company
Mid-sized transitional single-wall medium tone wood floor kitchen photo in Chicago with shaker cabinets, white cabinets, white backsplash, subway tile backsplash, stainless steel appliances and stainless steel countertops
Mid-sized transitional single-wall medium tone wood floor kitchen photo in Chicago with shaker cabinets, white cabinets, white backsplash, subway tile backsplash, stainless steel appliances and stainless steel countertops
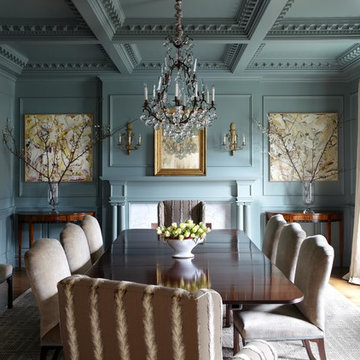
 Lisa Hilderbrand - Hilderbrand Interiors
Inspiration for a mid-sized timeless medium tone wood floor enclosed dining room remodel in New York with blue walls and a standard fireplace
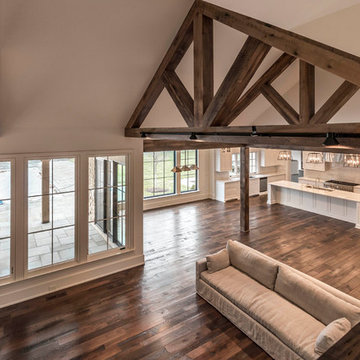

 Stripe Design Services
The front elevation of this house consists of the original 1910 farmhouse. The rest of the house had been augmented incrementally over time and the roofline beyond the original structure had become convoluted and the flanking elevations nonsensical. The current owners preserved the original 1910 farmhouse portion of the home and took the rest of the structure down to the foundation. A simple modern black barn was designed to run perpendicular with the old farmhouse structure and painted black in stark contrast to its old, white counterpart. Siding runs vertically on the new section as opposed to the horizontal shiplapped siding on the old. The new structure houses the kitchen with 12’ cathedral ceilings, a pantry / mudroom and a study.
The kitchen boasts a 1930’s island reclaimed from a commercial bakery and pendant lights from an old schoolhouse in Ohio as its nucleus, against a quiet backdrop of black stained oak cabinetry. Gently veined quartzite slabs serve as countertop, backsplash and wrap the stove hood to accentuate the ceiling height.
The interior design of this home is a carefully balanced alchemy of antiquity and modernity. It has an overriding monochromatic theme with layers of pattern and texture for depth. The color interest is derived from the lush outside landscape, with the exception of their daughter’s bedroom which is a tasteful symphony of pink, landed by a hand painted mural.
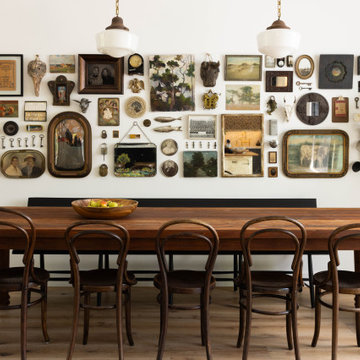
The theme of the home is framed around comfortable family living against curated backdrops of beloved collected items. The living room boasts no less than nineteen vintage crystal
 Emerick Architects
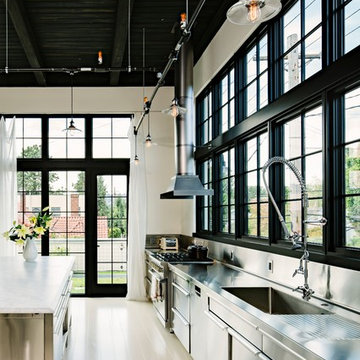
Windows and door panels reaching for the 12 foot ceilings flood this kitchen with natural light. Custom stainless cabinetry with an integral sink and commercial style faucet carry out the industrial theme of the space.
Photo by Lincoln Barber
 ROAM Architecture
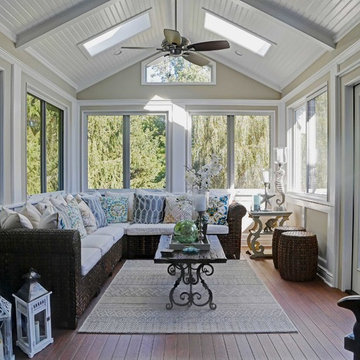
This one-room sunroom addition is connected to both an existing wood deck, as well as the dining room inside. As part of the project, the homeowners replaced the deck flooring material with composite decking, which gave us the opportunity to run that material into the addition as well, giving the room a seamless indoor / outdoor transition. We also designed the space to be surrounded with windows on three sides, as well as glass doors and skylights, flooding the interior with natural light and giving the homeowners the visual connection to the outside which they so desired. The addition, 12'-0" wide x 21'-6" long, has enabled the family to enjoy the outdoors both in the early spring, as well as into the fall, and has become a wonderful gathering space for the family and their guests.

Sponsored
Columbus, OH

Hope Restoration & General Contracting
Columbus Design-Build, Kitchen & Bath Remodeling, Historic Renovations
 Acadia Shutters & Blinds, Inc.
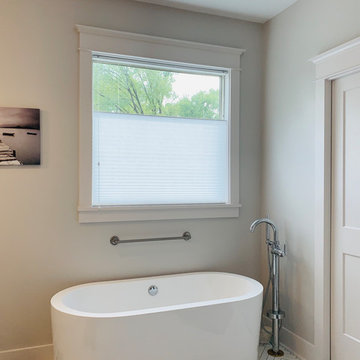
Top Down Bottom Up Cellular Shades / Honeycomb Shades in Jack Frost | Designed by Acadia Consultant, Ben Stephens
Inspiration for a large craftsman master ceramic tile and white floor freestanding bathtub remodel in Nashville with gray walls
Inspiration for a large craftsman master ceramic tile and white floor freestanding bathtub remodel in Nashville with gray walls
 Alison Kandler Interior Design
Kitchen
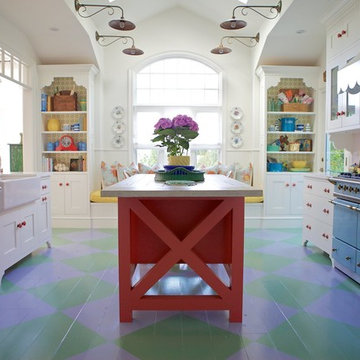
Example of a beach style painted wood floor and multicolored floor kitchen design in Los Angeles with a farmhouse sink, white cabinets, quartz countertops, ceramic backsplash, an island and colored appliances
Example of a beach style painted wood floor and multicolored floor kitchen design in Los Angeles with a farmhouse sink, white cabinets, quartz countertops, ceramic backsplash, an island and colored appliances
 Pedersen Associates
Barbara Ries
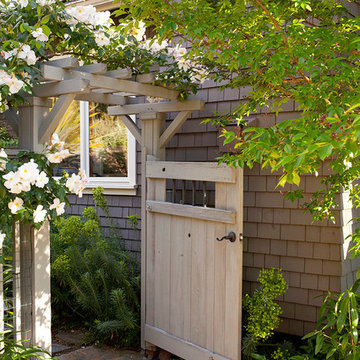
Inspiration for a traditional partial sun stone garden path in San Francisco with a pergola.
Inspiration for a traditional partial sun stone garden path in San Francisco with a pergola.
2