
Search results for "Hallway tile" in Home Design Ideas
 Boswell Construction
Porcelanosa tiles
floating vanity
#buildboswell
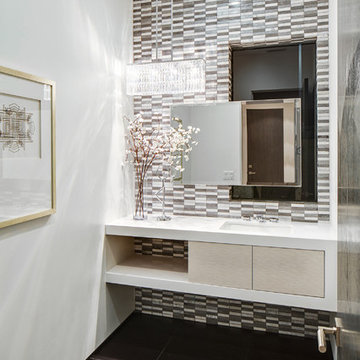
Mid-sized trendy gray tile, porcelain tile and brown tile limestone floor powder room photo in Los Angeles with an undermount sink, open cabinets, light wood cabinets, white walls and white countertops
Mid-sized trendy gray tile, porcelain tile and brown tile limestone floor powder room photo in Los Angeles with an undermount sink, open cabinets, light wood cabinets, white walls and white countertops
 Matthew Bolt Graphic Design
Design by Amy Trowman
Photo by Matthew Bolt
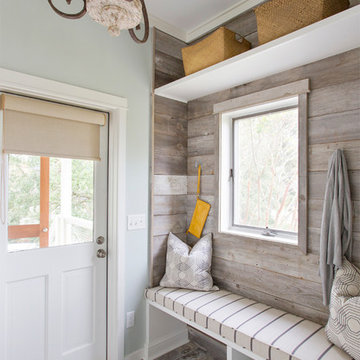
Inspiration for a coastal single front door remodel in San Francisco with gray walls and a glass front door
Inspiration for a coastal single front door remodel in San Francisco with gray walls and a glass front door
 Citidev Inc
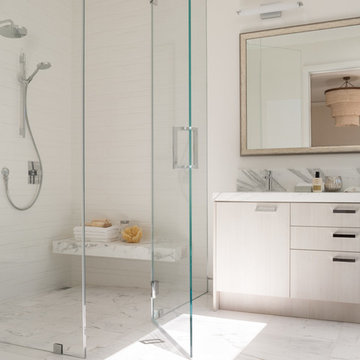
Alcove shower - contemporary white tile alcove shower idea in San Francisco with flat-panel cabinets and white cabinets
Find the right local pro for your project
 Tile Doctor Ltd
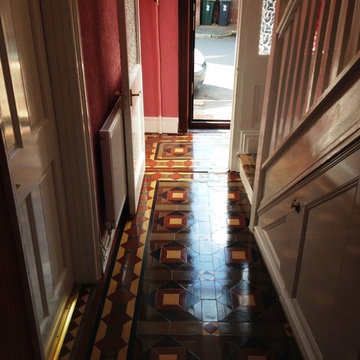
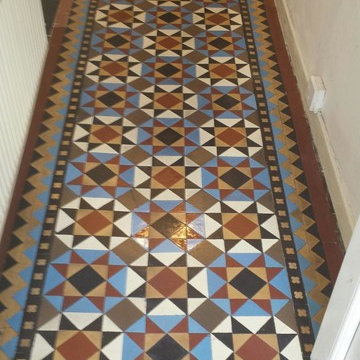
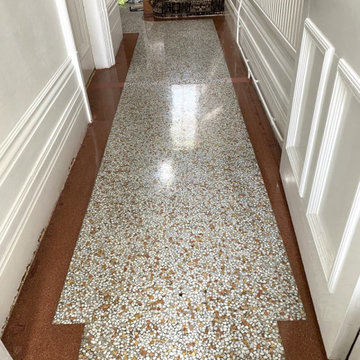
This Victorian tiled hallway at a house in the Forest of Dean had a very interesting pattern, consisting of an array of different colours, including shades of red, yellow and blue. Unfortunately, as you can see from the first photograph below, the tiles had lost all life, with the colours largely masked by months’ – or maybe even years’ – worth of ingrained dirt and muck. The floor as a whole was also suffering from a number of loose tiles that needed to be reset before it could be cleaned.
The property owner was keen to employ some professional assistance to restore the appearance of the floor and prevent it from getting in an even wrote state, and so contacted Tile Doctor who have a lot of experience working with Victorian tiled floors.
As mentioned, the loose tiles had to be repaired before the cleaning process could be started. I removed the tiles and extracted excess grout and old adhesive from the exposed concrete substrate using a vacuum, before putting the original tiles back into place and fixing them back into position carefully using fresh adhesive and matching grout.
Once happy the replaced tiles had set, I started the process of cleaning the entire area of hallway tiles using a combination of Tile Doctor Remove and Go to strip away the old sealer and Tile Doctor NanoTech HBU (formerly Ultra Clean) remover to get the tiles as clean as possible. The latter product contains nano-sized cleaning particles (hence the name) to reach difficult areas of trapped dirt, making it more effective than your run-of-the-mill tile cleaner. These two products were scrubbed into the tiles using a rotary machine fitted with a black scrubbing pad. The floor was then rinsed with water and the soiled residue was extracted with a wet vacuum.
I then paid particular attention to the grout, applying our alkaline-based multi-purpose cleaner Tile Doctor Pro-Clean to the grout lines, before scrubbing them with a narrow grout brush. This quickly had the grout looking clean again: I’d even go as far as to say that it matched it seamlessly with the fresh grout that had just been laid.
With the tile and grout as clean as it was possible to get it, I gave the whole floor a final rinse to neutralise the excess chemicals. I extracted as much water as possible with a wet vacuum and left the floor to dry overnight.
My first task upon returning to the property the next day was to check for any dampness. If you neglect to remove all excess moisture from the surface of the tiles before sealing it is more than likely going to cloud the sealer, rendering it less effective I’m protecting the stone against ingrained dirt and stains.
Once satisfied that the floor was completely dry, I proceeded to seal the tiles using multiple costs of Tile Doctor Seal and Go. Seal and Go is what we would classify as a topical sealer, meaning it rests on the surface of the tiles to act as a durable layer of protection against all kinds of muck. While providing surface protection, Seal and Go also adds a nice subtle sheen to the tiles, as per the customer’s request.
The customer was quite amazed at how quickly the appearance of the tiles had been restored. It was fantastic to see the colours we both knew were hidden in the tiles come to life once again. Another satisfied customer for sure!
Paul Wales
Monmouthshire Tile Doctor

 Ezra Lee Design+Build
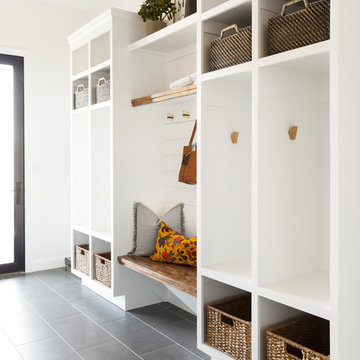
This mudroom has enough storage space for the whole family.
Inspiration for a mid-sized transitional ceramic tile and gray floor mudroom remodel in Salt Lake City with white walls
Inspiration for a mid-sized transitional ceramic tile and gray floor mudroom remodel in Salt Lake City with white walls

 Tile Doctor Ltd
This set of photographs are from a house in the Warrington suburb of Stockton Heath where my client had discovered a Victorian Tiled floor under carpet in the hallway and was keen to have it restored back to its original condition. You can see from the photograph below that it was in quite a state with dirt and paint splashes however I was confident we could manage it.
On arrival I started to protect the skirting boards and entrance carpet to another room. Once that was done i started to strip the paint splashed and any remaining sealer from the floor using Tile Doctor Remove and Go which is an effective coatings and sealer remover that unlike some products is perfect safe to use on Victorian tiles
Working on the floor the product was diluted, scrubbed into the tile and then left to dwell for twenty minutes before being rinsed off with water which was then removed using a wet vacuum. The floor was now looking a lot cleaner, however I could see a number of stubborn areas that were going to need further treatment so I mixed the Remove and Go 50/50 with another Tile Doctor product called NanoTech HBU (Heavy Build-up Remover), which adds abrasive particles to the solution. This solution was scrubbed in and then rinsed off when i was happy with the condition of the floor. This process took much of the day and once done it was left to dry overnight ready for sealing the next day.
On my return the next morning i tested the floor in several places with a damp meter to ensure it was dry. When i was happy the floor was dry i started sealing with thin coats of Tile Doctor Seal and Go leaving thirty minutes between coats to allow it to dry; in total i gave the floor seven coats of sealer which gave the floor a nice shine which the customer was very happy with. As well as enhancing the look of the floor the sealer will provide stain protection going forward.
Alastair Robb
West Cheshire Tile Doctor
 Kimberlee Marie Interiors
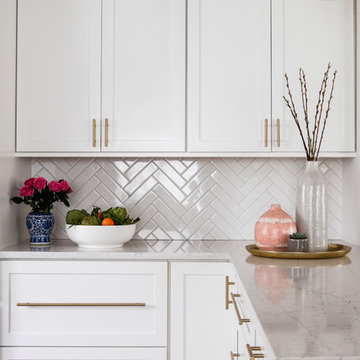
When my clients purchased this charming 1940's home in the Seattle neighborhood of Wedgwood, they were amazed by how intact the original kitchen was. It was like a perfect time capsule. The color palette was avocado green and buttercream yellow. The highlights were an original retro built-in banquette and vintage oven! The challenge we faced (besides the awesome but dated finishes) was the closed floor plan typical in this era of homes and the lack of storage. So, we opened the kitchen to the adjacent dining and living room, bringing it up to speed with modern-day living. In opening it up, we also walled off a doorway that went from the kitchen to the hallway, but it was completely unnecessary and allowed us to gain an entire wall of cabinets that didn't exist previously.
For the finishes, we kept it classic with mostly gray and white but brought in a little flare and interest with the herringbone backsplash and brushed brass finishes because who doesn't love a little gold? Also, we added color with the finishing details like the rug and countertop decor because those things are a great way to add interest and warmth to a space and can be easily changed when it's time for a fresh new look.
 TKS Design Group
Free ebook, Creating the Ideal Kitchen. DOWNLOAD NOW
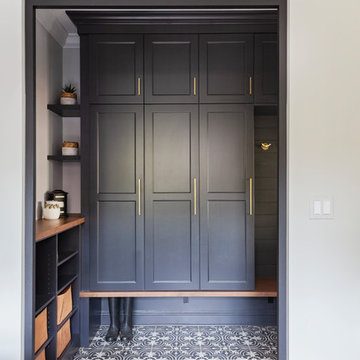
We went with a minimalist, clean, industrial look that feels light, bright and airy. The island is a dark charcoal with cool undertones that coordinates with the cabinetry and transom work in both the neighboring mudroom and breakfast area. White subway tile, quartz countertops, white enamel pendants and gold fixtures complete the update. The ends of the island are shiplap material that is also used on the fireplace in the next room.
In the new mudroom, we used a fun porcelain tile on the floor to get a pop of pattern, and walnut accents add some warmth. Each child has their own cubby, and there is a spot for shoes below a long bench. Open shelving with spots for baskets provides additional storage for the room.
Designed by: Susan Klimala, CKBD
Photography by: LOMA Studios
For more information on kitchen and bath design ideas go to: www.kitchenstudio-ge.com

 Yellowstone Traditions
MillerRoodell Architects // Benjamin Benschneider Photography
Inspiration for a large rustic slate floor mudroom remodel
Inspiration for a large rustic slate floor mudroom remodel
 Fluidesign Studio
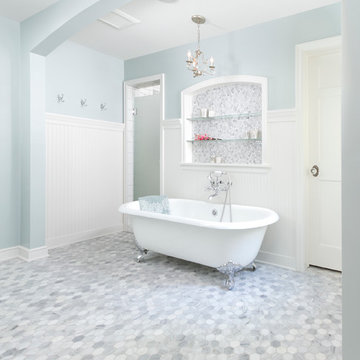
Building Design, Plans (in collaboration with Orfield Drafting), and Interior Finishes by: Fluidesign Studio I Builder & Creative Collaborator : Anchor Builders I Photographer: sethbennphoto.com
 Charles Martin Custom Homes
Wade Blissard
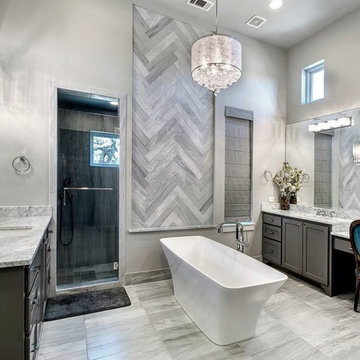
Example of a large transitional master gray tile and stone tile marble floor and gray floor freestanding bathtub design in Austin with an undermount sink, shaker cabinets, gray cabinets, marble countertops, gray walls and a hinged shower door
Example of a large transitional master gray tile and stone tile marble floor and gray floor freestanding bathtub design in Austin with an undermount sink, shaker cabinets, gray cabinets, marble countertops, gray walls and a hinged shower door
Sponsored
Sunbury, OH

J.Holderby - Renovations
Franklin County's Leading General Contractors - 2X Best of Houzz!
 Robeson Design
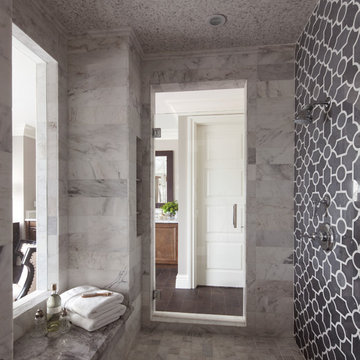
Stone tilling creates a luxury spa bathroom retreat for the homeowners. A beautiful focal wall using geometric patterns allows this shower to take center stage in this gorgeous design.
 Sarah Dane-Brown Designs
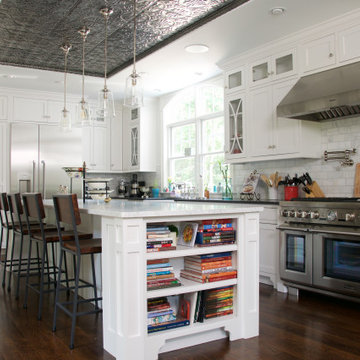
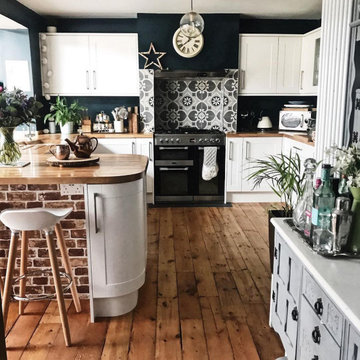
Inspiration for a large transitional l-shaped medium tone wood floor and brown floor kitchen remodel in San Luis Obispo with an undermount sink, recessed-panel cabinets, white cabinets, gray backsplash, stainless steel appliances, an island and black countertops
 Kitchen Design Concepts
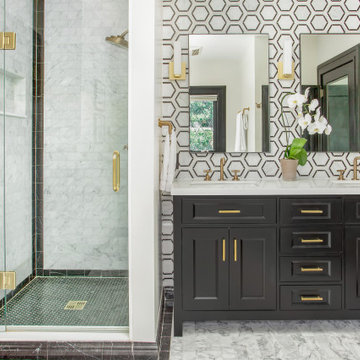
Black and white can never make a comeback, because it's always around. Such a classic combo that never gets old and we had lots of fun creating a fun and functional space in this jack and jill bathroom. Used by one of the client's sons as well as being the bathroom for overnight guests, this space needed to not only have enough foot space for two, but be "cool" enough for a teenage boy to appreciate and show off to his friends.
The vanity cabinet is a freestanding unit from WW Woods Shiloh collection in their Black paint color. A simple inset door style - Aspen - keeps it looking clean while really making it a furniture look. All of the tile is marble and sourced from Daltile, in Carrara White and Nero Marquina (black). The accent wall is the 6" hex black/white blend. All of the plumbing fixtures and hardware are from the Brizo Litze collection in a Luxe Gold finish. Countertop is Caesarstone Blizzard 3cm quartz.

 Robson Homes
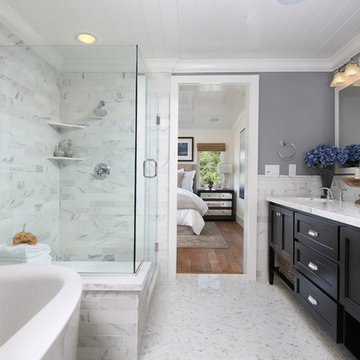
Tub/shower combo - traditional master marble floor tub/shower combo idea in San Francisco with an undermount sink, recessed-panel cabinets, dark wood cabinets, marble countertops and gray walls
 Fisher Custom Homes
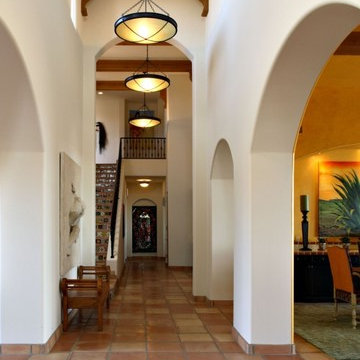
Gentle lighting, Mexican tile flooring, iron railings and bold artwork in the dining room, peaking through the hallway arches are reminiscent of Old Mexico.
 Tile Doctor Ltd
Shipley is a town in West Yorkshire that was heavily shaped by the Industrial Revolution and the Victorian period. It became particularly well-known for its textile industry and some of the original mills in which textiles were manufactured still survive in the town today. Being in West Yorkshire, Shipley is also part of what is commonly known as ‘Brontë country’ – once home to the famous Brontë sisters.
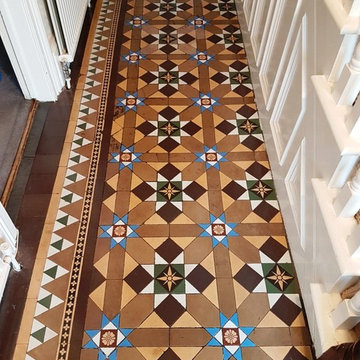
Many Victorian era properties still survive in the area too and all too often the original Victorian tiled floors contained within are not well maintained. I recently visited a customer in Shipley who had a Victorian tiled hallway that was in need of a deep clean and seal. What’s more, the customer told me that there were around 20 loose tiles in the hallway that would need to be reinstalled.
On the first day, I started by refitting the 20 loose tiles in the hallway. The problem however was a lot worse than originally thought and, in the end, I had to take up 108 tiles, so I could rebuild the base of the floor, and then relay them. This process took up most of the day but at least the adhesive and grout would be set in time for cleaning the next day.
On day two I focused on deep cleaning the tiles and removing any remaining sealer by applying a strong dilution of Tile Doctor Pro-Clean. Pro-Clean is a strong alkaline heavy-duty tile and grout cleaner that serves the purpose of both cleaning the stone and when used in a strong dilution will strip off sealers.
I applied the Pro Clean liberally across the length of the hallway and left it to soak into the tiles for about twenty minutes. This allows the product time to breakdown the sealer and dirt before being scrubbed in with a black scrubbing pad.
Special attention had to be paid to parts of the floor which had suffered paint splashes from previous decoration. I was also surprised to find that there were even some chewing gum stains marking the tiles. These were removed using the combination of a steam cleaner, more Pro-Clean and the careful use of a handheld scraper.
The floor was then given a thorough rinse with fresh water and then dried as much as possible with a wet vacuum. It was then also left to dry off overnight.
Upon returning to the property the next day I checked for any moisture issues with a damp tester. Thankfully, the floor proved dry and I could proceed with sealing the tiles which was done using four coats of Tile Doctor Seal and Go that leaves a deep satin finish that the customer had requested.
Nigel Stoker
North West Yorkshire Tile Doctor
26