
Search results for "Rip off" in Home Design Ideas
 User
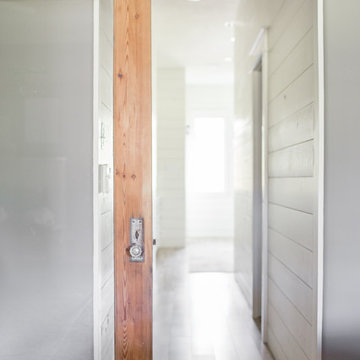
UserVintage door entering the master bathroom.
Freestanding bathtub - large country master freestanding bathtub idea in Houston
Freestanding bathtub - large country master freestanding bathtub idea in Houston
 Meier Landscape Architecture
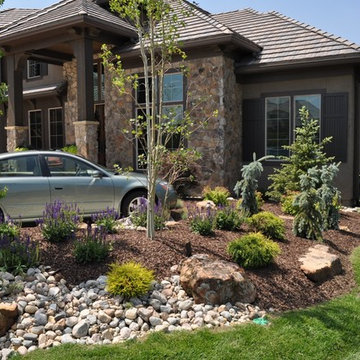
Landscaping berm used to screen driveway from the street view.
Example of a classic exterior home design in Kansas City
Example of a classic exterior home design in Kansas City
 KCS Design Inc.
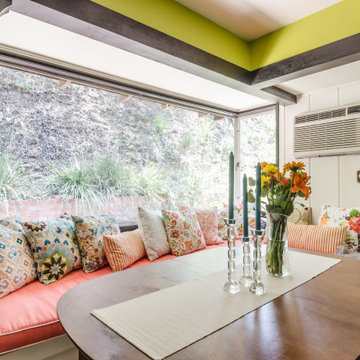
I was hired as the interior designer for HGTV's House Hunters: Renovation to help a young couple remodel their living/dining room in their new home that needed major work. Their style, as they describe it was vintage meets old lady chic with pops of modern industrial. They LOVE color and wanted it everywhere. We ripped off all the old wood paneling on the walls, painted the ceiling white and stained the beams dark, added a wall of vintage wallpaper, painted bright and bold accent walls in every room and found a mixture of pieces from flea markets, vintage stores and main stream stores to create their perfect space.
Photography by Joshua Targownik
www.targophoto.com
Find the right local pro for your project
 KCS Design Inc.
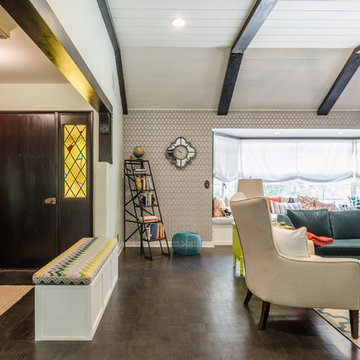
I was hired as the interior designer for HGTV's House Hunters: Renovation to help a young couple remodel their living/dining room in their new home that needed major work. Their style, as they describe it was vintage meets old lady chic with pops of modern industrial. They LOVE color and wanted it everywhere. We ripped off all the old wood paneling on the walls, painted the ceiling white and stained the beams dark, added a wall of vintage wallpaper, painted bright and bold accent walls in every room and found a mixture of pieces from flea markets, vintage stores and main stream stores to create their perfect space.
Photography by Joshua Targownik
www.targophoto.com
 Coastal Signature Homes
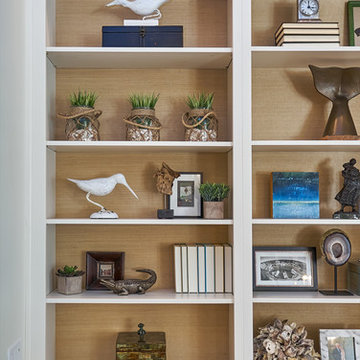
Close up view of the cabinets flanking the fireplace in the family room. These are perfect for displaying family art pieces, collections and books. The wood finish background helps show off the items better. There is also plenty of storage underneath in the cabinets, great for family games, DVD collections.
 John Lum Architecture, Inc. AIA
Photos Courtesy of Paul Dyer
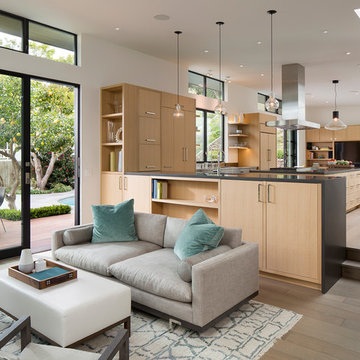
Inspiration for a contemporary family room remodel in San Francisco
Inspiration for a contemporary family room remodel in San Francisco
 User
User
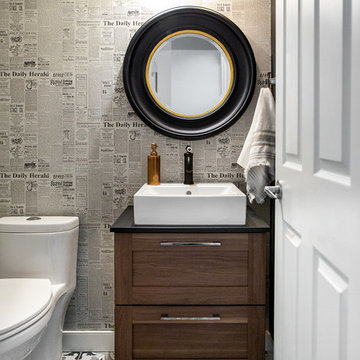
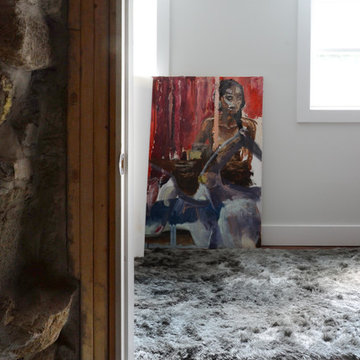
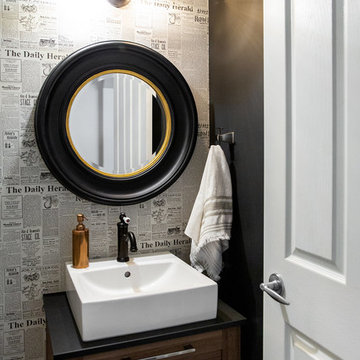
This Calgary home needed a little more than a lick of paint and new furniture. Together with our lovely clients, we undertook a mini renovation. We ripped out the carpet on the stairs and second floor, installed a stunning new tile for the fireplace, replaced all the light fixtures, and gave the mudroom a “functional facelift” with new tile and shelving. Voila! Instant update. We also overhauled the first floor powder room (below), with our own special ode to Joanna Gaines (of HGTV’s Fixer Upper)!
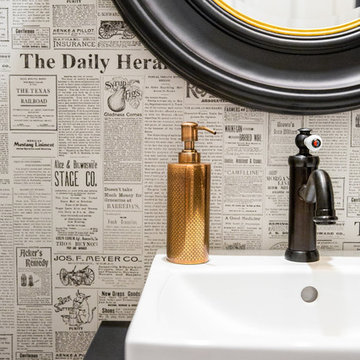
Modern, rustic, not too fussy. This powder room is precious. We replaced everything from the toilet and vanity to the paper holder. We were thrilled when our clients opted for this unique cement tile, ecstatic when they chose the vintage newspaper wallpaper, and downright beside ourselves when they finished it off with the beautiful matte black paint. We’re sure Joanna Gaines would feel the exact same way.
We could stand in the doorway and stare at this powder room all day

 Maraya Interior Design
Luxurious modern take on a traditional white Italian villa. An entry with a silver domed ceiling, painted moldings in patterns on the walls and mosaic marble flooring create a luxe foyer. Into the formal living room, cool polished Crema Marfil marble tiles contrast with honed carved limestone fireplaces throughout the home, including the outdoor loggia. Ceilings are coffered with white painted
crown moldings and beams, or planked, and the dining room has a mirrored ceiling. Bathrooms are white marble tiles and counters, with dark rich wood stains or white painted. The hallway leading into the master bedroom is designed with barrel vaulted ceilings and arched paneled wood stained doors. The master bath and vestibule floor is covered with a carpet of patterned mosaic marbles, and the interior doors to the large walk in master closets are made with leaded glass to let in the light. The master bedroom has dark walnut planked flooring, and a white painted fireplace surround with a white marble hearth.
The kitchen features white marbles and white ceramic tile backsplash, white painted cabinetry and a dark stained island with carved molding legs. Next to the kitchen, the bar in the family room has terra cotta colored marble on the backsplash and counter over dark walnut cabinets. Wrought iron staircase leading to the more modern media/family room upstairs.
Project Location: North Ranch, Westlake, California. Remodel designed by Maraya Interior Design. From their beautiful resort town of Ojai, they serve clients in Montecito, Hope Ranch, Malibu, Westlake and Calabasas, across the tri-county areas of Santa Barbara, Ventura and Los Angeles, south to Hidden Hills- north through Solvang and more.
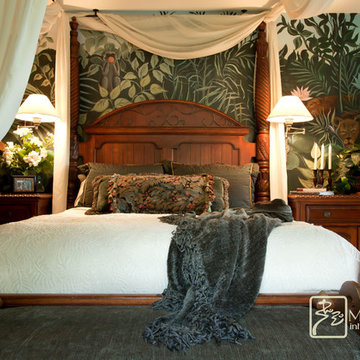
Exotic English cottage bedroom with mural, canopy & sheers, custom pillows and bedding,
Timothy J. Droney Contractor
![Design Fixation [Faith Provencher]](https://st.hzcdn.com/fimgs/07a3fbf7003fc8b3_6655-w32-h32-b0-p0--.jpg) Design Fixation [Faith Provencher]
Design Fixation [Faith Provencher]Photo: Faith Towers Media © 2015 Houzz
Inspiration for an eclectic home design remodel in Boston
Inspiration for an eclectic home design remodel in Boston

 Kitchens by Good Guys
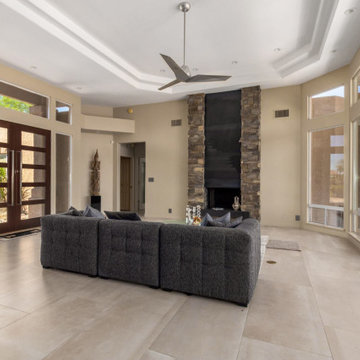
The home was a very outdated Southwest style with Aztec architectural elements, and it was time for a transformation to the beautiful modern style you see now. For Phase 1, we ripped out all the flooring throughout, squared off and removed a lot of the Aztec styled elements in the home, redesigned the fireplace and opened up the kitchen. In the kitchen, we opened up a wall that made the kitchen feel very closed in, allowing us room to make a more linear and open kitchen. Opening up the kitchen and its new layout allowed us to create a large accent island that is truly a statement piece. Our clients hand selected every finish you see, including the rare quartzite that has beautiful pops of purple and waterfall edges. To create some contrast, the island has a pretty neutral taupe acrylic cabinetry and the perimeter has textured laminate cabinets with a fun white geometric backsplash. Our clients use their TV in their kitchen, so we created a custom built in just for their TV on the backwall. For the fireplace to now match the homes new style, we reshaped it to have sleek lines and had custom metal pieces acid washed for the center with stacked stone on the sides for texture.
 Alison Kandler Interior Design
Bret Gum for Cottages and Bungalows
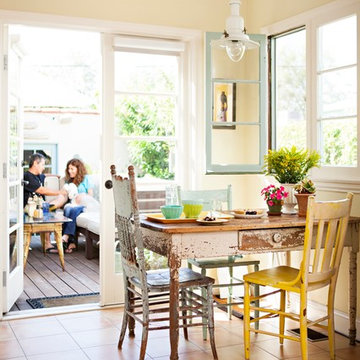
Inspiration for a shabby-chic style terra-cotta tile dining room remodel in Los Angeles with white cabinets and tile countertops
Inspiration for a shabby-chic style terra-cotta tile dining room remodel in Los Angeles with white cabinets and tile countertops
 Platt Builders
Greg Premru Photography, Inc.
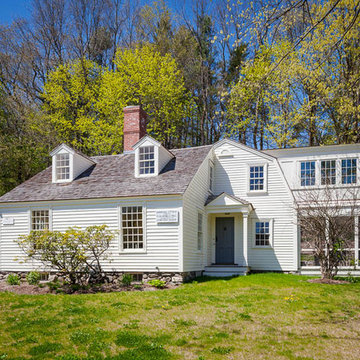
Cottage white two-story wood exterior home idea in Boston
Cottage white two-story wood exterior home idea in Boston
Sponsored
Delaware, OH

Buckeye Basements, Inc.
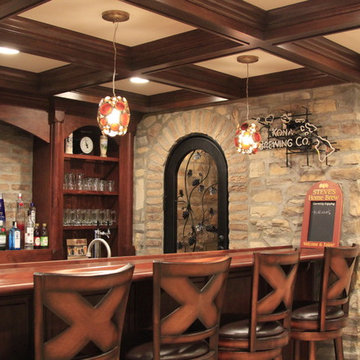
Central Ohio's Basement Finishing ExpertsBest Of Houzz '13-'21
 User
User
This Calgary home needed a little more than a lick of paint and new furniture. Together with our lovely clients, we undertook a mini renovation. We ripped out the carpet on the stairs and second floor, installed a stunning new tile for the fireplace, replaced all the light fixtures, and gave the mudroom a “functional facelift” with new tile and shelving. Voila! Instant update. We also overhauled the first floor powder room (below), with our own special ode to Joanna Gaines (of HGTV’s Fixer Upper)!
Modern, rustic, not too fussy. This powder room is precious. We replaced everything from the toilet and vanity to the paper holder. We were thrilled when our clients opted for this unique cement tile, ecstatic when they chose the vintage newspaper wallpaper, and downright beside ourselves when they finished it off with the beautiful matte black paint. We’re sure Joanna Gaines would feel the exact same way.
We could stand in the doorway and stare at this powder room all day
 User
User
This Calgary home needed a little more than a lick of paint and new furniture. Together with our lovely clients, we undertook a mini renovation. We ripped out the carpet on the stairs and second floor, installed a stunning new tile for the fireplace, replaced all the light fixtures, and gave the mudroom a “functional facelift” with new tile and shelving. Voila! Instant update. We also overhauled the first floor powder room (below), with our own special ode to Joanna Gaines (of HGTV’s Fixer Upper)!
Modern, rustic, not too fussy. This powder room is precious. We replaced everything from the toilet and vanity to the paper holder. We were thrilled when our clients opted for this unique cement tile, ecstatic when they chose the vintage newspaper wallpaper, and downright beside ourselves when they finished it off with the beautiful matte black paint. We’re sure Joanna Gaines would feel the exact same way.
We could stand in the doorway and stare at this powder room all day
 Lukas Ruzbasan
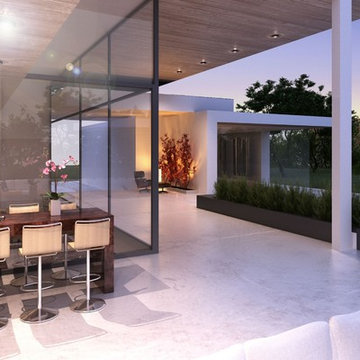
Design and 3D renderings done by : Vantage Design Group. www.vantagedesigngroup.com Lukas Ruzbasan 310.866.2216 ruzba12@yahoo.com
Minimalist exterior home photo in Los Angeles
Minimalist exterior home photo in Los Angeles

Sponsored
Plain City, OH

Kuhns Contracting, Inc.
Central Ohio's Trusted Home Remodeler Specializing in Kitchens & Baths
 Moderne Builders
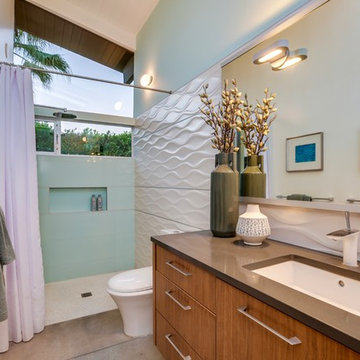
Gorgeous master bath with dramatic retro "wave" tile. Peak Photography
Example of a 1950s bathroom design in Los Angeles
Example of a 1950s bathroom design in Los Angeles
 Jeanne Campana Design
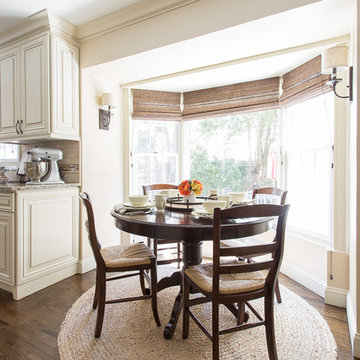
Classic Family Kitchen Renovation - Long Island, New York
Interior Design: Jeanne Campana Design
Enclosed kitchen - large traditional galley dark wood floor enclosed kitchen idea in New York with a farmhouse sink, raised-panel cabinets, beige cabinets, granite countertops, beige backsplash, glass tile backsplash, stainless steel appliances and a peninsula
Enclosed kitchen - large traditional galley dark wood floor enclosed kitchen idea in New York with a farmhouse sink, raised-panel cabinets, beige cabinets, granite countertops, beige backsplash, glass tile backsplash, stainless steel appliances and a peninsula
 B Smart Builders
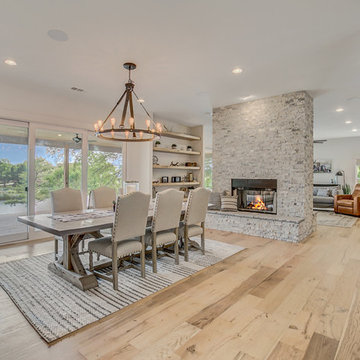
Photos by Norman & Young, Design selections by Stacy Buky with WestFort Home
Dining room - cottage dining room idea in Dallas
Dining room - cottage dining room idea in Dallas
8