

Shoal Creek Air BNB
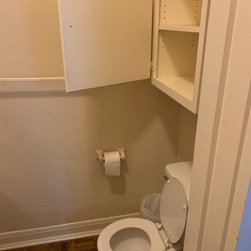
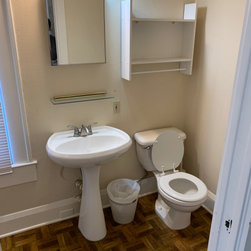
With so many financial benefits, it's no wonder that Airbnb is continuing to grow and thrive. For those who partake in the business, they know that all those tiny touches they put in have orchestrated into them earning a five-star review. Unlike a hotel room, where everything is a standard quality in accordance with the hotel, a successful Airbnb caters to those looking for a homely and personal experience. This homeowner wanted to upgrade their Airbnb rental home in order for their guests to have an even more enjoyable Austin experience. This project consisted of 5, yes, 5 bathrooms and a kitchen reno. This house was built in 1900 and had been added on to a few times previously.
Bath 1
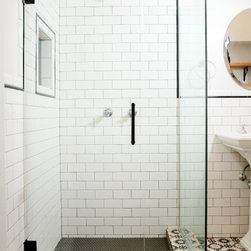
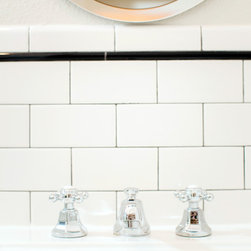
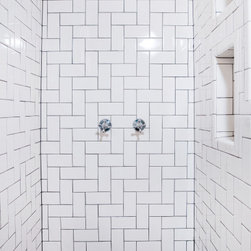
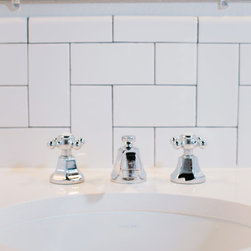
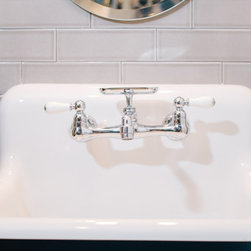
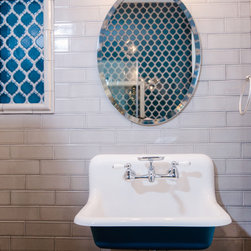
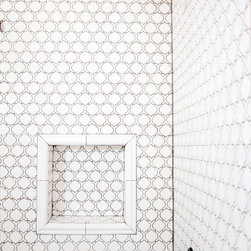
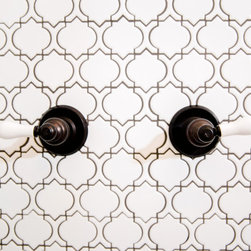
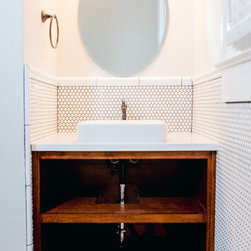
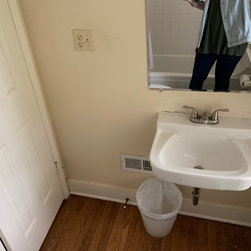
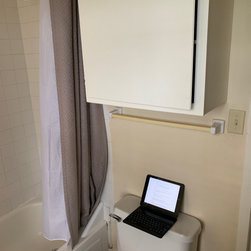
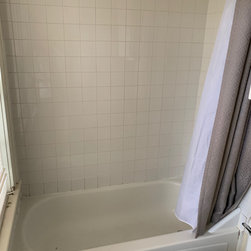
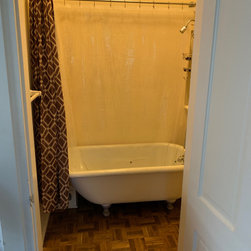
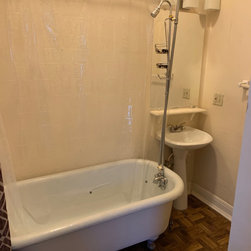
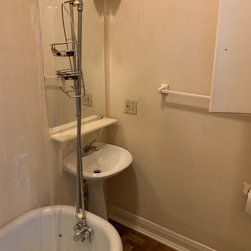
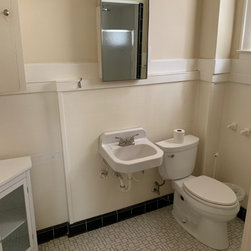
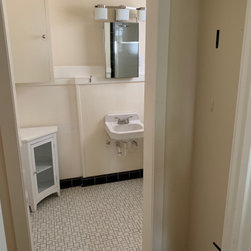
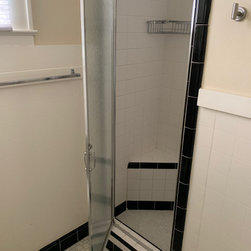
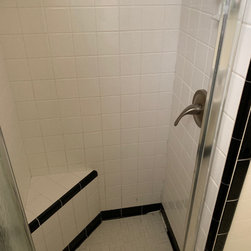
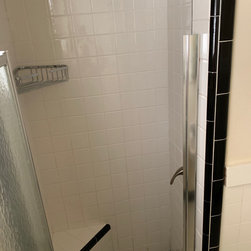
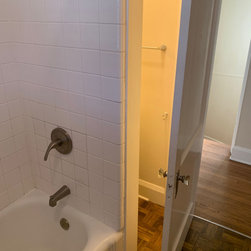
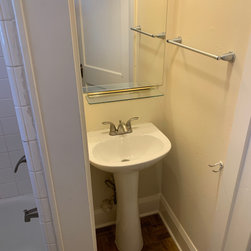
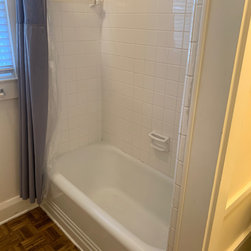
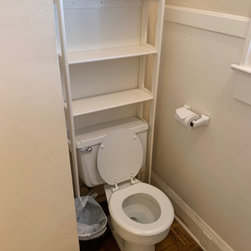
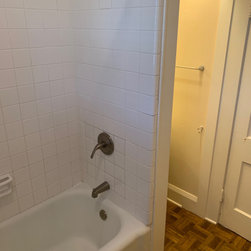
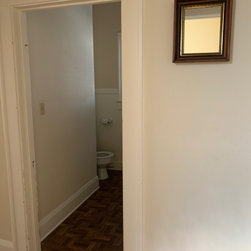
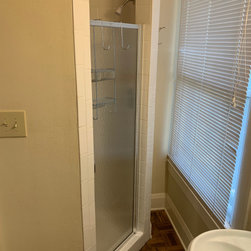
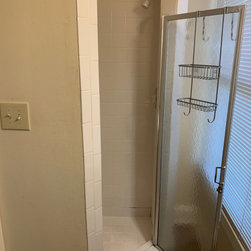
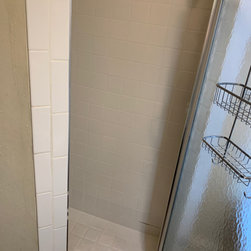
In this bathroom, the toilet, shower tiling, mirror vanity, and electrical fixtures were demoed out. The only items that were salvaged were the bathtub and flooring, which would later be used. The current plumbing locations were kept in place and new shower rough-ins and a toilet were installed. Electrically, all of the current light fixtures were replaced with new ones. Wall tiling was done halfway up on two walls and all the way to the ceiling for the shower area and vanity wall. Additionally, a niche was added next to the wall-mounted sink for storage. For the final touches, the new shower door was installed and the entire bathroom received a new paint color.
Bath 2
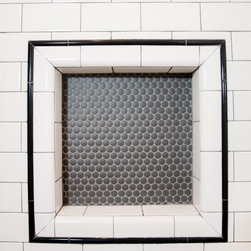
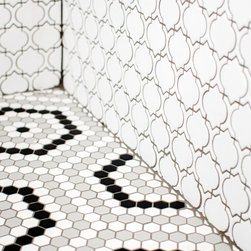
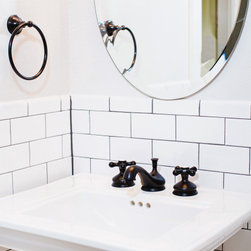
In the second bathroom, said goodbye to the current flooring, vanity area, bathtub and all the electrical. The bathtub was actually hiding a vent, so we relocated that. A new vanity along with all the new wiring for the classic dome shade light were installed. Matte black porcelain penny tiling was used for the shower floor and niche. The same tile used in the shower was then used around the perimeter of the room, 4 feet high.
Bath 3
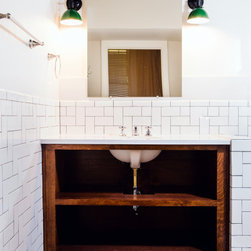
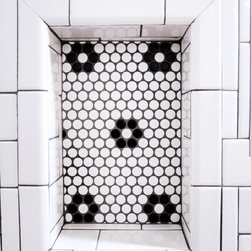
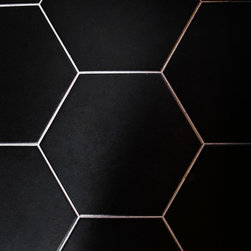
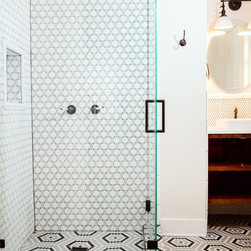
For the downstairs third bath, the first step was deoming out the flooring, shower, vanity area and electrical. After that, new framing was done for the expansion of the shower. A new shower niche and shower curb were tiled in a black and white mosaic, above that the shower walls were made up of ceramic tiles that connected to the half tile walls in the overall bathroom. The bathroom floor was made up of matte black hex tile. Electrically, all the light fixtures were replaced with sconce lights. A pony wall was built to separate the vanity and toilet. The last installation was the new custom-built oak vanity. After being sealed, a new granite countertop was installed above.
Bath 4
In the fourth bathroom, nothing was saved. The original layout had the door opening directly into the vanity area. Robin designed the layout to flow much better by moving the door from the hallway to the bedroom, opening where the previous vanity once stood. The vanity area and shower were moved to the opposite wall. The new bath floor was set to be the focal point of the room consisting of a hex porcelain mosaic. This tile was also used for the shower floor. All the current light fixtures were replaced with new hanging brass fixtures. Finally, penny round tile with black grout wainscotting was added to the surrounding walls up to 4 feet.
Bath 5
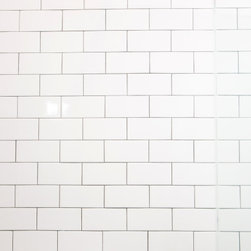
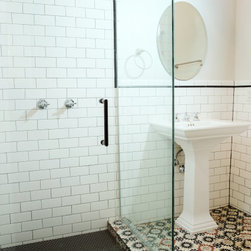
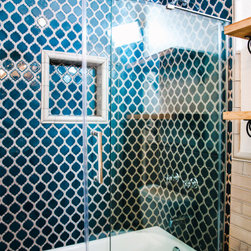
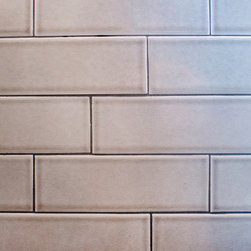
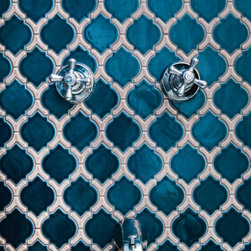
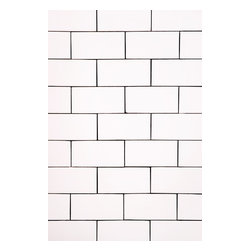
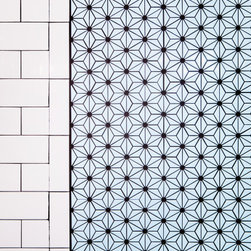
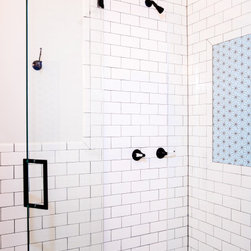
Everything was once again demoed out. The Skelly team and Robin rearranged the bathroom layout to accommodate all the new renovations. The vanity area was shifted to go where the shower once was, and the shower was moved to the opposite wall. Since the layout changed, the electrical system was reconfigured to match for all the lighting. The new overhead lighting consisted of a hand-blown glass fixture with brass accents. In the shower area, hexagon porcelain mosaic tile was used for the shower flooring (the same was used in bath 4), which then carried over to the overall bathroom flooring. A shower niche was built-in with a blue mosaic, and the 3 shower walls were tiled with ceramic subway tile, all this would then be enclosed by a new glass shower door. The same subway tiling was used to wainscot the bathroom walls up to 4 feet.
Kitchen
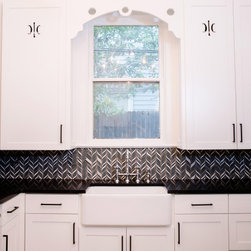
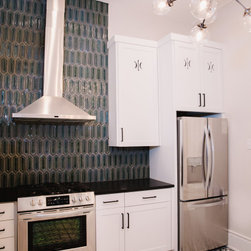
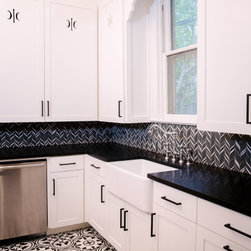
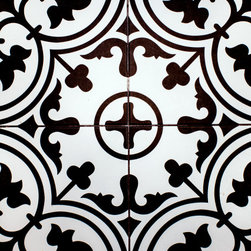
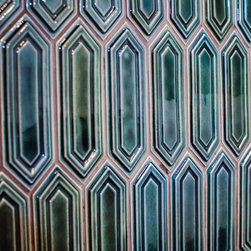
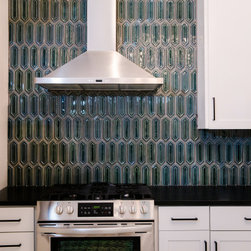
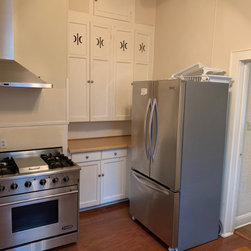
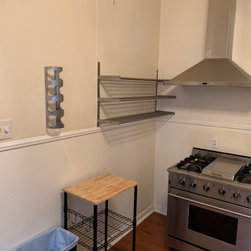
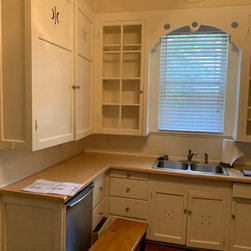
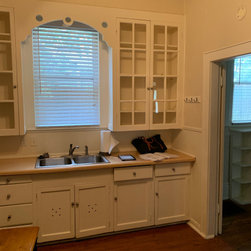
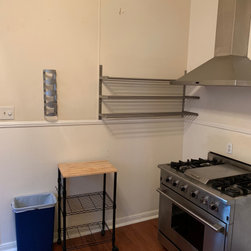
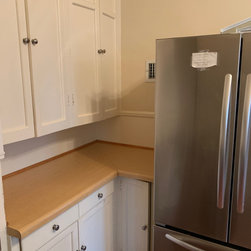
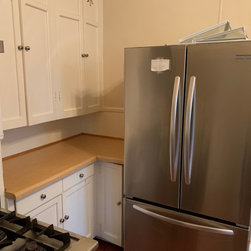
Almost nothing was left untouched in the kitchen, the entire room was demoed out - besides a few uppers! Starting from the bottom up, the floor received beautiful white tile with encaustic green art. New custom-built cabinetry was installed - to match existing, on top of that, new granite countertops (same used in the bath 3!) were put in place. Emerald hex tiling made of ceramic was used for the vent hood backsplash. The final touches including painting the entire room and tiling the window backsplash.
Bath 1
In this bathroom, the toilet, shower tiling, mirror vanity, and electrical fixtures were demoed out. The only items that were salvaged were the bathtub and flooring, which would later be used. The current plumbing locations were kept in place and new shower rough-ins and a toilet were installed. Electrically, all of the current light fixtures were replaced with new ones. Wall tiling was done halfway up on two walls and all the way to the ceiling for the shower area and vanity wall. Additionally, a niche was added next to the wall-mounted sink for storage. For the final touches, the new shower door was installed and the entire bathroom received a new paint color.
Bath 2
In the second bathroom, said goodbye to the current flooring, vanity area, bathtub and all the electrical. The bathtub was actually hiding a vent, so we relocated that. A new vanity along with all the new wiring for the classic dome shade light were installed. Matte black porcelain penny tiling was used for the shower floor and niche. The same tile used in the shower was then used around the perimeter of the room, 4 feet high.
Bath 3
For the downstairs third bath, the first step was deoming out the flooring, shower, vanity area and electrical. After that, new framing was done for the expansion of the shower. A new shower niche and shower curb were tiled in a black and white mosaic, above that the shower walls were made up of ceramic tiles that connected to the half tile walls in the overall bathroom. The bathroom floor was made up of matte black hex tile. Electrically, all the light fixtures were replaced with sconce lights. A pony wall was built to separate the vanity and toilet. The last installation was the new custom-built oak vanity. After being sealed, a new granite countertop was installed above.
Bath 4
In the fourth bathroom, nothing was saved. The original layout had the door opening directly into the vanity area. Robin designed the layout to flow much better by moving the door from the hallway to the bedroom, opening where the previous vanity once stood. The vanity area and shower were moved to the opposite wall. The new bath floor was set to be the focal point of the room consisting of a hex porcelain mosaic. This tile was also used for the shower floor. All the current light fixtures were replaced with new hanging brass fixtures. Finally, penny round tile with black grout wainscotting was added to the surrounding walls up to 4 feet.
Bath 5
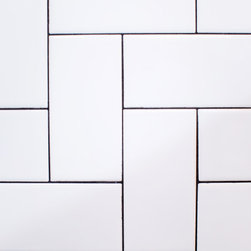
Everything was once again demoed out. The Skelly team and Robin rearranged the bathroom layout to accommodate all the new renovations. The vanity area was shifted to go where the shower once was, and the shower was moved to the opposite wall. Since the layout changed, the electrical system was reconfigured to match for all the lighting. The new overhead lighting consisted of a hand-blown glass fixture with brass accents. In the shower area, hexagon porcelain mosaic tile was used for the shower flooring (the same was used in bath 4), which then carried over to the overall bathroom flooring. A shower niche was built-in with a blue mosaic, and the 3 shower walls were tiled with ceramic subway tile, all this would then be enclosed by a new glass shower door. The same subway tiling was used to wainscot the bathroom walls up to 4 feet.
Kitchen
Almost nothing was left untouched in the kitchen, the entire room was demoed out - besides a few uppers! Starting from the bottom up, the floor received beautiful white tile with encaustic green art. New custom-built cabinetry was installed - to match existing, on top of that, new granite countertops (same used in the bath 3!) were put in place. Emerald hex tiling made of ceramic was used for the vent hood backsplash. The final touches including painting the entire room and tiling the window backsplash.
Project Year: 2019
Project Cost: $200,001 - $500,000
Country: United States
Zip Code: 78705
Others who worked on this project: Robin Gonzales Interiors