


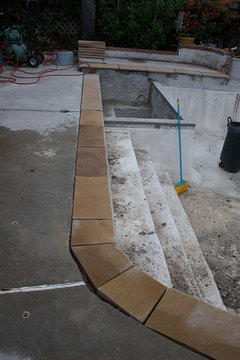
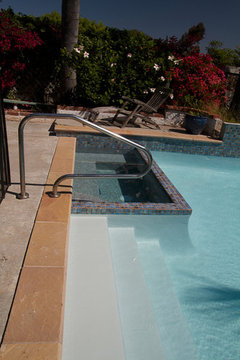
Pool coping - how do I best set straight stone on slight curves?
15 years ago
Featured Answer
Sort by:Oldest
Comments (17)
 15 years ago
Related Professionals
Grand Rapids Swimming Pool Builders · Roxbury Crossing Landscape Architects & Landscape Designers · Bainbridge Island Landscape Contractors · Chesapeake Ranch Estates Landscape Contractors · Franklin Landscape Contractors · Goodlettsville Landscape Contractors · Holland Landscape Contractors · Pleasant Prairie Landscape Contractors · Salem Landscape Contractors · South Lake Tahoe Landscape Contractors · Teaneck Landscape Contractors · Thornton Landscape Contractors · Northlake Landscape Contractors · Hockessin Decks, Patios & Outdoor Enclosures · Surfside Decks, Patios & Outdoor Enclosures- 15 years ago
- 15 years ago
- 15 years ago
- 15 years ago
- 15 years ago
- 15 years ago
- 15 years ago
- 15 years ago
- 15 years ago
- 14 years ago
- 14 years ago
- 13 years ago
- 13 years ago
- 13 years ago
- 13 years ago

Related Stories

DECORATING GUIDESHow to Get Curves in All the Right Spaces
Use the softening effect of curves to enhance and define your indoor and outdoor areas
Full Story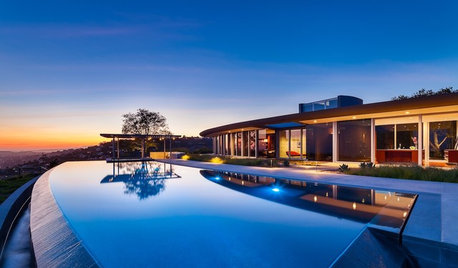
CONTEMPORARY HOMESHouzz Tour: Throwing Curves in Santa Barbara
Simple crescents and arcs in the architecture make the most of spectacular views all around this remarkable home
Full Story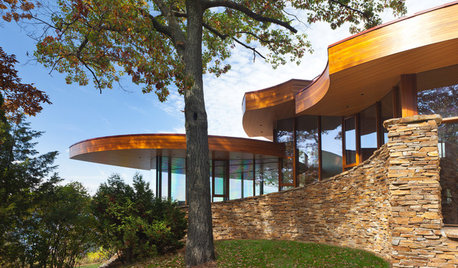
CONTEMPORARY HOMESHouzz Tour: Stunning Curved Architecture Rises Among the Trees
You can see the love of nature and organic shapes at first glance. Look more closely at this Wisconsin home and you’ll also see amazing flow
Full Story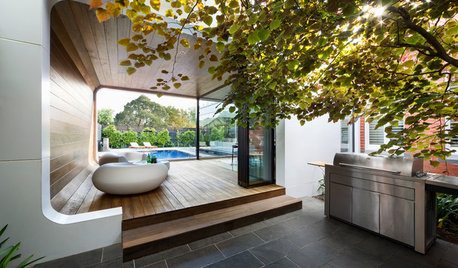
GARDENING AND LANDSCAPINGHouzz Tour: An Aussie Pavilion Throws Its Home a Curve
A pavilion, a chef’s kitchen and plenty of poolside dining create an entertainer’s haven for one happy family
Full Story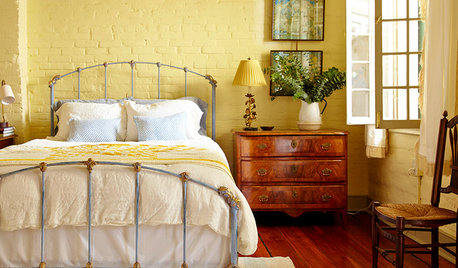
COLORSet the Mood: 4 Colors for a Cozy Bedroom
Look to warm hues for that snuggle-friendly feeling
Full Story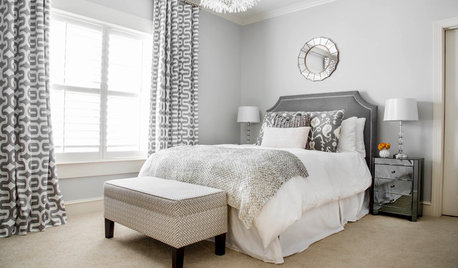
COLORSet the Mood: 5 Colors for a Calming Bedroom
Stressed? Can't sleep? Consider one of these cool, soothing hues for your walls
Full Story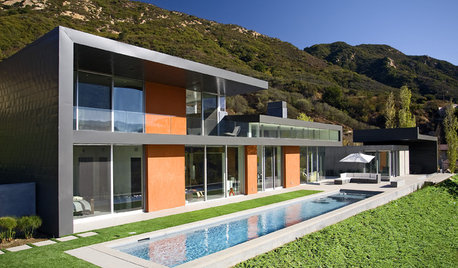
GARDENING AND LANDSCAPINGPool Design Flows From Home Lines
From straight to curvy to free form, here's how to design a pool that reflects your home inside and out
Full Story
GARDENING AND LANDSCAPING19 Spectacular Pools Near and Far
These incredible infinity pools, heavenly oceanside pools and luxurious lap pools around the world have unmatched allure. Take a dip
Full Story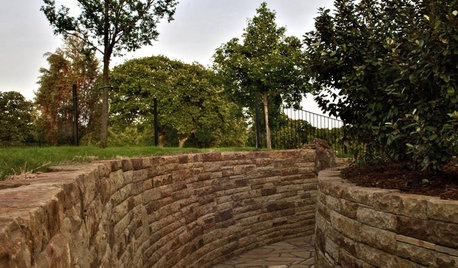
LANDSCAPE DESIGNPile On Style With a Dry-Laid Stone Retaining Wall
Durable, natural and practical, this landscape feature is an art form unto itself
Full Story
DECORATING GUIDESThe Dumbest Decorating Decisions I’ve Ever Made
Caution: Do not try these at home
Full Story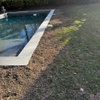


sunkidOriginal Author