


Need advice about baseboard and chair rail installation
18 years ago
Sort by:Oldest
Comments (12)
Related Stories

DECORATING GUIDES10 Design Tips Learned From the Worst Advice Ever
If these Houzzers’ tales don’t bolster the courage of your design convictions, nothing will
Full Story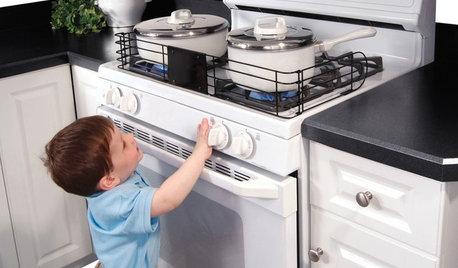
HEALTHY HOMEHow to Childproof Your Home: Expert Advice
Safety strategies, Part 1: Get the lowdown from the pros on which areas of the home need locks, lids, gates and more
Full Story
LIFEEdit Your Photo Collection and Display It Best — a Designer's Advice
Learn why formal shots may make better album fodder, unexpected display spaces are sometimes spot-on and much more
Full Story
REMODELING GUIDESContractor Tips: Advice for Laundry Room Design
Thinking ahead when installing or moving a washer and dryer can prevent frustration and damage down the road
Full Story
GREAT HOME PROJECTSWhat to Know About Adding a Reclaimed-Wood Wall
Here’s advice on where to put it, how to find and select wood, what it might cost and how to get it done
Full Story
LIGHTINGReady to Install a Chandelier? Here's How to Get It Done
Go for a dramatic look or define a space in an open plan with a light fixture that’s a star
Full Story
FENCES AND GATESHow to Install a Wood Fence
Gain privacy and separate areas with one of the most economical fencing choices: stained, painted or untreated wood
Full Story
REMODELING GUIDESContractor Tips: How to Install Tile
Before you pick up a single tile, pull from these tips for expert results
Full Story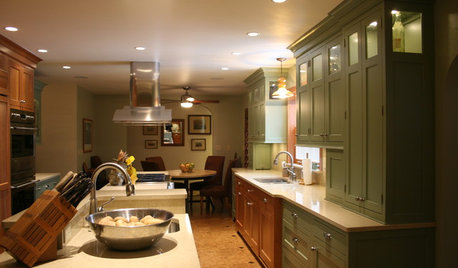
KITCHEN DESIGNSmart Investments in Kitchen Cabinetry — a Realtor's Advice
Get expert info on what cabinet features are worth the money, for both you and potential buyers of your home
Full Story
DECORATING GUIDESDecorating Advice to Steal From Your Suit
Create a look of confidence that’s tailor made to fit your style by following these 7 key tips
Full Story
Michael_H
beenie130Original Author
Related Professionals
Frankfort Kitchen & Bathroom Designers · Redmond Kitchen & Bathroom Designers · Sun City Kitchen & Bathroom Designers · Spanish Springs Kitchen & Bathroom Remodelers · Palestine Kitchen & Bathroom Remodelers · Four Corners General Contractors · Athens General Contractors · Boardman General Contractors · Coffeyville General Contractors · Fort Salonga General Contractors · Franklin General Contractors · Middletown General Contractors · Mira Loma General Contractors · West Babylon General Contractors · Williston General Contractorsbeenie130Original Author
User
randymeyer
rjoh878646
beenie130Original Author
beenie130Original Author
beenie130Original Author
Michael
mag77
beenie130Original Author