


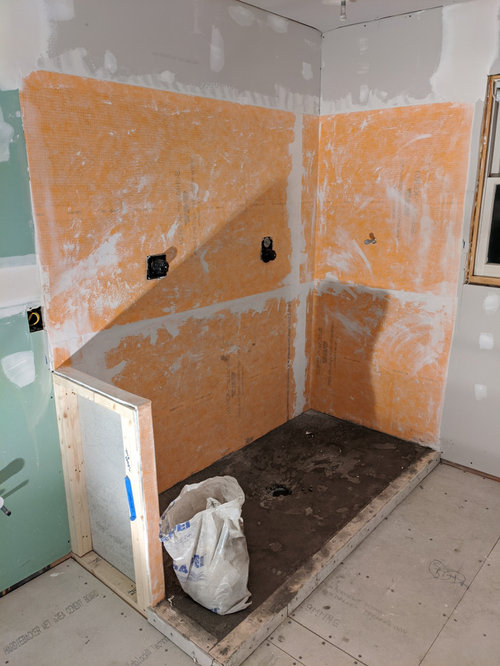
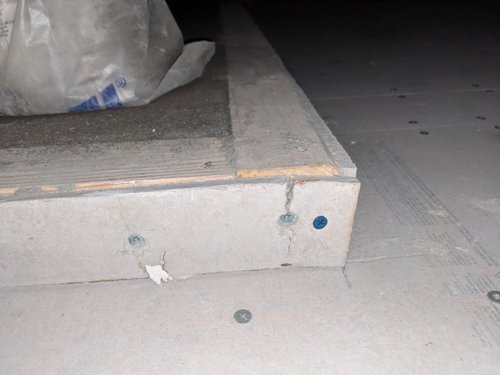
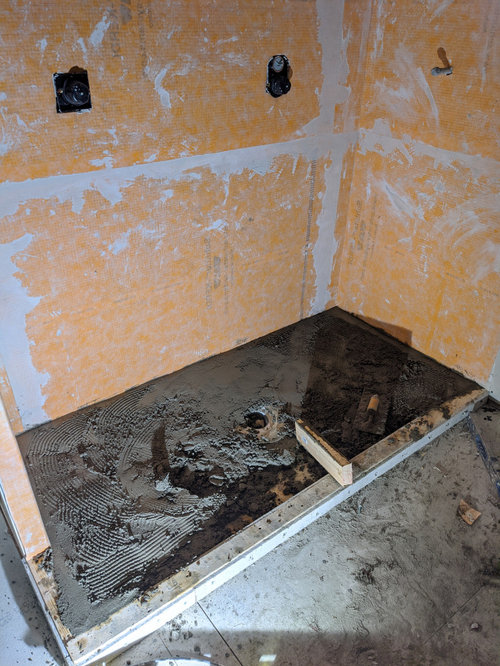
Mud Pan/curb height in tile shower
4 years ago
Sort by:Oldest
Comments (52)
Related Stories
BATHROOM DESIGNHow to Build a Better Shower Curb
Work with your contractors and installers to ensure a safe, stylish curb that keeps the water where it belongs
Full Story
BATHROOM DESIGNNew This Week: 5 Bathrooms With a Curbless or Low-Curb Shower
Design pros, including one found on Houzz, share how they handled the shower entrances and other details in these rooms
Full Story
BATHROOM DESIGNNew This Week: 6 Midsize Bathrooms With a Low-Curb Shower
See the features and finishes that bring style and functionality to this popular bathroom configuration
Full Story
REMODELING GUIDESTop 10 Tips for Choosing Shower Tile
Slip resistance, curves and even the mineral content of your water all affect which tile is best for your shower
Full Story
BATHROOM DESIGNHow to Choose Tile for a Steam Shower
In steamy quarters, tile needs to stand up to all that water and vapor in style. Here's how to get it right the first time
Full Story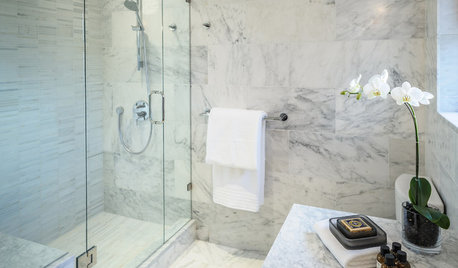
BATHROOM DESIGNConvert Your Tub Space Into a Shower — the Tiling and Grouting Phase
Step 3 in swapping your tub for a sleek new shower: Pick the right tile and test it out, then choose your grout color and type
Full Story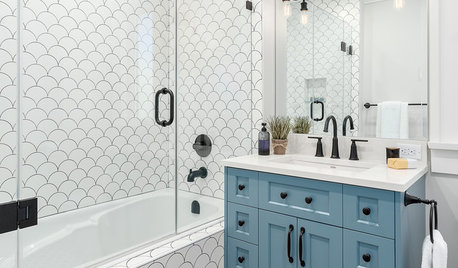
BATHROOM DESIGNShower Curtain or Shower Door?
Find out which option is the ideal partner for your shower-bath combo
Full Story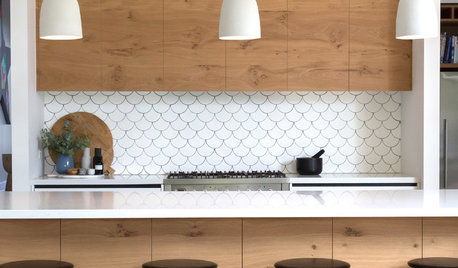
TILELet’s Talk Tile: An Alphabetical Guide to Tile Terminology
Get set for a tile project with this handy glossary of shapes, materials, finishes and more
Full Story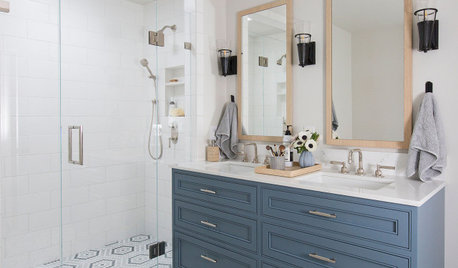
BATHROOM DESIGNNew This Week: 9 Bathrooms With Stylish Walk-In Showers
Pros use tile and color to create a cohesive feeling in rooms with curbless and low-barrier showers
Full Story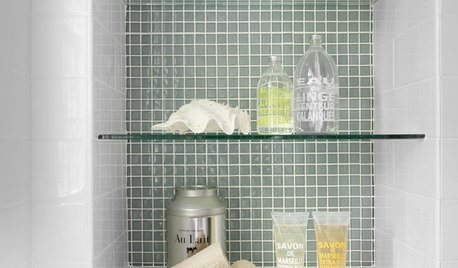
BATHROOM DESIGNHow to Pick a Shower Niche That's Not Stuck in a Rut
Forget "standard." When you're designing a niche, the shelves and spacing have to work for your individual needs
Full Story
GregOriginal Author
catbuilder
Related Professionals
Cocoa Beach Kitchen & Bathroom Remodelers · Luling Kitchen & Bathroom Remodelers · Niles Glass & Shower Door Dealers · Eureka Cabinets & Cabinetry · Ogden Interior Designers & Decorators · San Angelo Architects & Building Designers · Vancouver Architects & Building Designers · Santa Barbara Furniture & Accessories · Van Buren General Contractors · Palmetto Estates Kitchen & Bathroom Designers · Vienna Kitchen & Bathroom Remodelers · Eatontown General Contractors · Mount Vernon General Contractors · Owosso General Contractors · Port Saint Lucie General ContractorsGregOriginal Author
catbuilder
GregOriginal Author
catbuilder
catbuilder
HU-527663426
GregOriginal Author
catbuilder
Creative Tile Eastern CT
Mint tile Minneapolis
Creative Tile Eastern CT
Mint tile Minneapolis
GregOriginal Author
GregOriginal Author
GregOriginal Author
GregOriginal Author
Creative Tile Eastern CT
GregOriginal Author
GregOriginal Author
Anthony C
GregOriginal Author
GregOriginal Author
User
Snaggy
GregOriginal Author
Snaggy
User
User
Creative Tile Eastern CT
User
Mint tile Minneapolis
Creative Tile Eastern CT
Creative Tile Eastern CT
User
User
Mint tile Minneapolis
Creative Tile Eastern CT
User
User
Creative Tile Eastern CT
User
User
Creative Tile Eastern CT
User
Creative Tile Eastern CT
User
User
User