

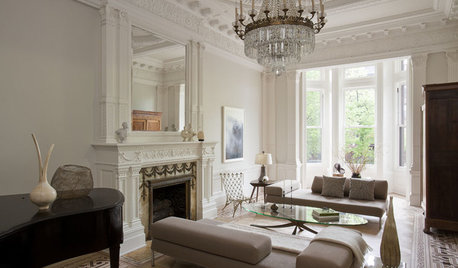
Crown molding abutts tile
16 years ago
Featured Answer
Sort by:Oldest
Comments (13)
 16 years ago
Related Professionals
Saint Peters Kitchen & Bathroom Designers · 20781 Kitchen & Bathroom Remodelers · Dearborn Kitchen & Bathroom Remodelers · Park Ridge Kitchen & Bathroom Remodelers · Toms River Kitchen & Bathroom Remodelers · Glenn Heights Kitchen & Bathroom Remodelers · Del Aire Glass & Shower Door Dealers · Miami Glass & Shower Door Dealers · Temple Terrace Glass & Shower Door Dealers · Lakeside Cabinets & Cabinetry · Phelan Cabinets & Cabinetry · Phoenix Window Treatments · Rockville Window Treatments · Rolling Meadows Window Treatments · West Des Moines Window Treatments 16 years ago
- 16 years ago
- 16 years ago
- 16 years ago
- 16 years ago
- 16 years ago
- 16 years ago
- 16 years ago
- 16 years ago
- 16 years ago
- 16 years ago
Related Stories
REMODELING GUIDESCrown Molding: Is It Right for Your Home?
See how to find the right trim for the height of your ceilings and style of your room
Full Story
KITCHEN DESIGN9 Molding Types to Raise the Bar on Your Kitchen Cabinetry
Customize your kitchen cabinets the affordable way with crown, edge or other kinds of molding
Full Story
REMODELING GUIDESHow to Size Interior Trim for a Finished Look
There's an art to striking an appealing balance of sizes for baseboards, crown moldings and other millwork. An architect shares his secrets
Full Story
REMODELING GUIDESDesign Details: Moldings — or Not?
16 new and unusual ways to trim your doors, floors and ceilings
Full Story
GREAT HOME PROJECTSHow to Bring Out Your Home’s Character With Trim
New project for a new year: Add moldings and baseboards to enhance architectural style and create visual interest
Full Story
DECORATING GUIDESArchitectural Details Make All the Difference
Are you missing an opportunity to enhance your home with brackets, cabinet feet and moldings?
Full Story
DECORATING GUIDESChoose an Unexpected Color for Your Trim
Go Beyond Glossy White Molding for a Room With Distinction
Full Story
BATHROOM DESIGNCrown Your Pedestal Sink With a Fitting Mirror
Take your bathroom's design all the way to the top with a gorgeous mirror to fit your sink's style
Full Story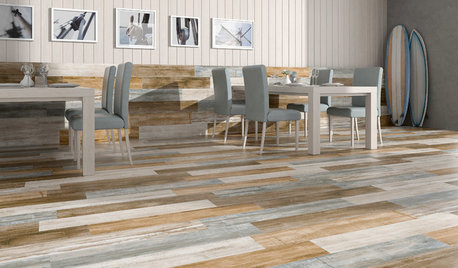
TILETop Tile Trends From the Coverings 2013 Show — the Wood Look
Get the beauty of wood while waving off potential splinters, rotting and long searches, thanks to eye-fooling ceramic and porcelain tiles
Full Story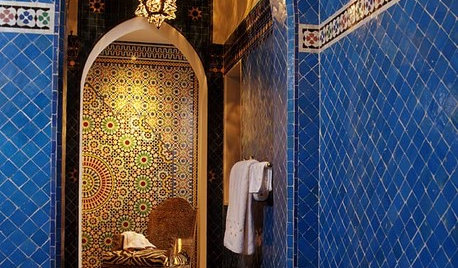
TILEMoor Tile, Please!
Add an exotic touch with Moroccan tiles in everything from intricate patterns and rich colors to subtle, luminous neutrals
Full StoryMore Discussions

kgwlisa