
A New Idea(?) Cardboard Mold (image intensive)
20 years ago
Featured Answer
Sort by:Oldest
Comments (80)
 20 years ago
- 20 years ago
Related Professionals
Beavercreek Landscape Architects & Landscape Designers · Garden City Landscape Architects & Landscape Designers · Jennings Landscape Architects & Landscape Designers · Kyle Landscape Architects & Landscape Designers · McKinney Landscape Contractors · Barrington Landscape Contractors · Brookline Landscape Contractors · Fairview Landscape Contractors · Fuquay-Varina Landscape Contractors · Hayward Landscape Contractors · Kahului Landscape Contractors · Mission Bend Landscape Contractors · Shaker Heights Landscape Contractors · Spring Landscape Contractors · The Woodlands Landscape Contractors- 20 years ago
- 20 years ago
- 20 years ago
- 20 years ago
- 20 years ago
- 20 years ago
- 20 years ago
- 20 years ago
- 20 years ago
- 20 years ago
- 20 years ago
- 20 years ago
- 19 years ago
- 19 years ago
- 19 years ago
- 19 years ago
- 19 years ago
- 19 years ago
- 19 years ago
- 19 years ago
- 19 years ago
- 19 years ago
- 19 years ago
- 19 years ago
 19 years ago
- 19 years ago
- 19 years ago
- 19 years ago
- 19 years ago
- 19 years ago
- 19 years ago
- 19 years ago
- 19 years ago
- 19 years ago
- 19 years ago
- 19 years ago
- 19 years ago
- 19 years ago
- 19 years ago
- 19 years ago
- 18 years ago
- 16 years ago
- 15 years ago
- 15 years ago
- 14 years ago
- 13 years ago
 3 years ago
Related Stories
FRONT YARD IDEASBefore and After: Front Lawn to Prairie Garden
How they did it: Homeowners create a plan, stick to it and keep the neighbors (and wildlife) in mind
Full Story
HEALTHY HOME6 Tips From a Nearly Zero-Waste Home
Lower your trash output and increase your quality of life with these ideas from a mom who did it to the max
Full Story
BUDGET DECORATINGThe Cure for Houzz Envy: Living Room Touches Anyone Can Do
Spiff up your living room with very little effort or expense, using ideas borrowed from covetable ones
Full Story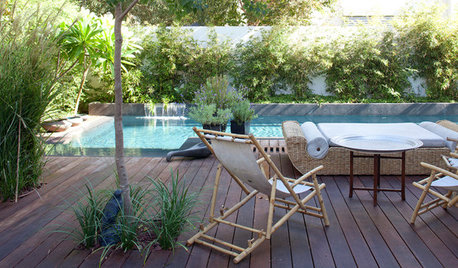
GARDENING AND LANDSCAPING10 Great Outdoor Chill Zones
Whether you have a huge poolside deck or a sliver of a patio, these ideas will kick stress to the curb all summer long
Full Story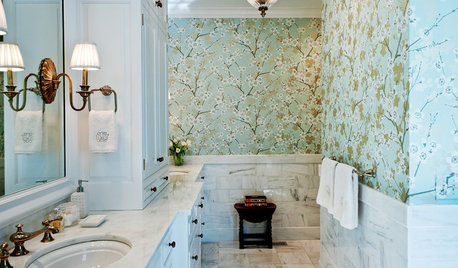
WALL TREATMENTS11 Ways to Roll With Wallpaper All Over the Home
Ditch the misconceptions and latch on to some great ideas for decorating your walls with patterned, textural and colorful wallpaper
Full Story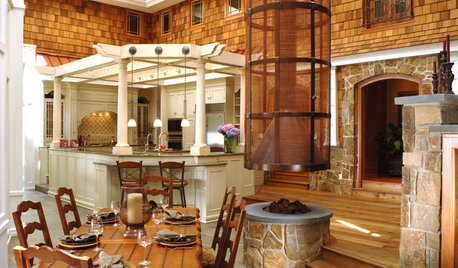
KITCHEN DESIGNNew This Week: 4 Kitchen Design Ideas You Might Not Have Thought Of
A table on wheels? Exterior siding on interior walls? Consider these unique ideas and more from projects recently uploaded to Houzz
Full Story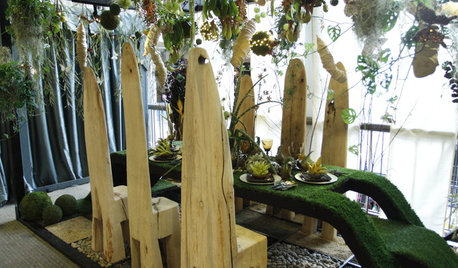
MORE ROOMS8 Fantasy Dining Room Designs
Get ideas for your own over-the-top dinner party from the creations at San Francisco's Dining By Design Event
Full Story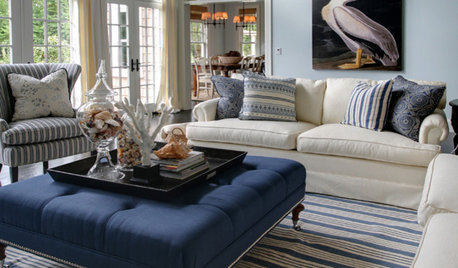
DECORATING GUIDESUpdate That Beachy Style!
Clear the Clutter and Go Beyond Shells for Fresh Take on the Coastal Look
Full Story
DECORATING GUIDESPaint Color Ideas: 8 Uplifting Ways With Yellow and Green
Dial up the cheer with yellow and green paint combinations sure to cast off winter doldrums
Full Story
LANDSCAPE DESIGNGet Along With Less Lawn — Ideas to Save Water and Effort
Ditch the mower and lower your water bill while creating a feast for the eyes with diverse plantings and gathering places
Full Story
LinaM