


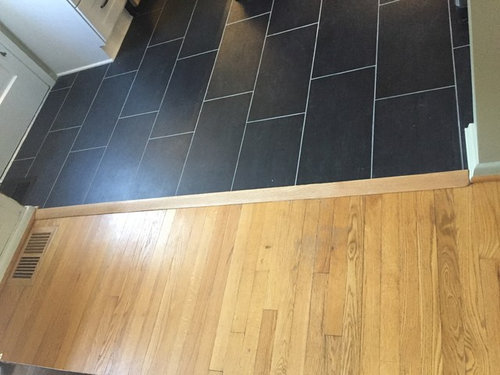
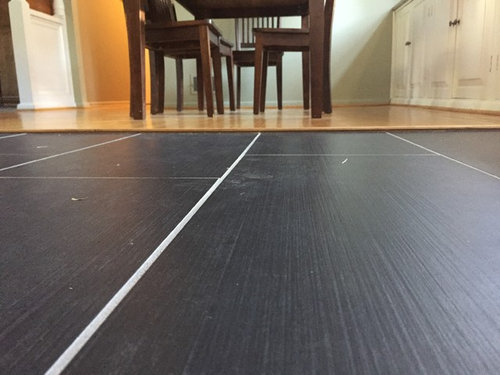
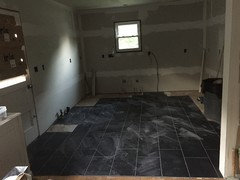
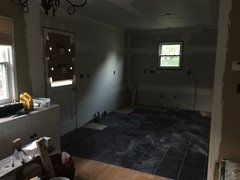
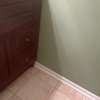
Flooring Transition is Tripping hazard
7 years ago
last modified: 7 years ago
Featured Answer
Sort by:Oldest
Comments (13)
 7 years ago
 7 years ago
Related Professionals
Burlington Flooring Contractors · Oak Ridge Flooring Contractors · Roselle Flooring Contractors · St. Louis Flooring Contractors · West Haven Flooring Contractors · Brookline Tile and Stone Contractors · Athens General Contractors · Euclid General Contractors · Mount Vernon General Contractors · New Baltimore General Contractors · Parkersburg General Contractors · Pine Hills General Contractors · Rancho Cordova General Contractors · Spencer General Contractors · Tuckahoe General Contractors- 7 years agolast modified: 7 years ago
- 7 years ago
- 7 years agolast modified: 7 years ago
 7 years ago
- 7 years agolast modified: 7 years ago
- 7 years ago
Related Stories
REMODELING GUIDES20 Great Examples of Transitions in Flooring
Wood in One Room, Tile or Stone in Another? Here's How to Make Them Work Together
Full Story
DECORATING GUIDESHouzz Tour: Traditional Meets Transitional in a Townhouse
A Southern California couple downsizes, and their designer helps them push past traditional boundaries
Full Story
ENTRYWAYSTransition Zone: How to Create a Mudroom
Save your sanity by planning a well-organized area that draws the line between inside and out
Full Story
FUN HOUZZGeek Lab: How to Build a Steampunk Cat Transit System
Give your kitty another avenue for fun with a tubular walkway system that lets him go his own way
Full Story
STAIRWAYSThe Upstairs-Downstairs Connection: Picking the Right Stair Treatment
Carpeting, runner or bare wood? Check out these ideas for matching your staircase floor treatment to upstairs and downstairs flooring
Full Story
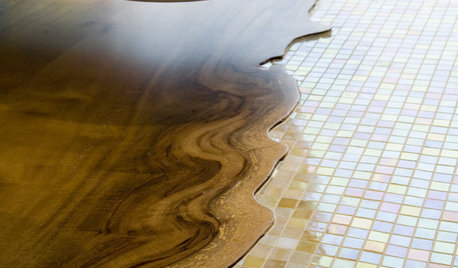
FLOORSFloors Blur the Line Between Inside and Out
Feel the Magic of a Floor That Seems to Flow Right Outside
Full Story
PETSPet-Proofing Your Home: A Room-by-Room Guide
Not all pet dangers are obvious. Keep furry friends safe and sound by handling all of these potential hazards
Full Story
HOUZZ TOURSHouzz Tour: Rolling With the Seasons in a New York Beach House
With plush sheepskins for winter and an airy vibe for summer, this Long Island home appeals all year round
Full Story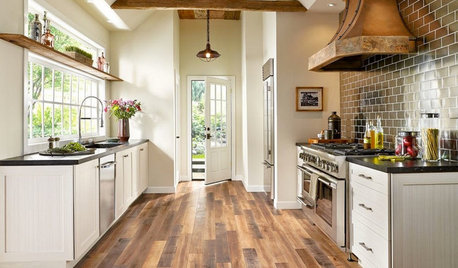
MOST POPULARPros and Cons of 5 Popular Kitchen Flooring Materials
Which kitchen flooring is right for you? An expert gives us the rundown
Full Story
APARTMENTSHouzz Tour: Life in a Converted School Building
A son renovates a space his mother can call her own when she comes to visit
Full Story


Cancork Floor Inc.